Do you remember Pottery Barn catalogs?
When Fireman and I moved into our first little 900 sf home in the late ’90s, I spent hours pouring over their glossy pages.
I pined over the nubby textures and warm colors of the living rooms, the cozy quilted beds I longed to climb into, the dining tablescapes beautifully styled with enormous glass vases and simple greenery.
How I wanted my house to look like those perfectly styled Pottery Barn rooms! If only I had the right sofa, or the right lamps, or even the gorgeous accessories on the shelves, I was certain I could recreate similar looks in my own home.
The thing is, most of my designing and styling efforts ended in puzzlement and frustration. And it seemed the harder I tried, the more frustrated I became.
Have you been there?
I just knew there had to be specific secrets or strategies for designing and styling a room. The challenge to learn insider secrets became a personal quest in the years to follow.
Today I’d love to share a few crazy-simple tips for Styling Bookshelves that will hopefully prevent another wife from experiencing similar frustrations in styling her home.
Even better? These are steps you can implement right now, today, after you’ve had your coffee.
Are you ready?
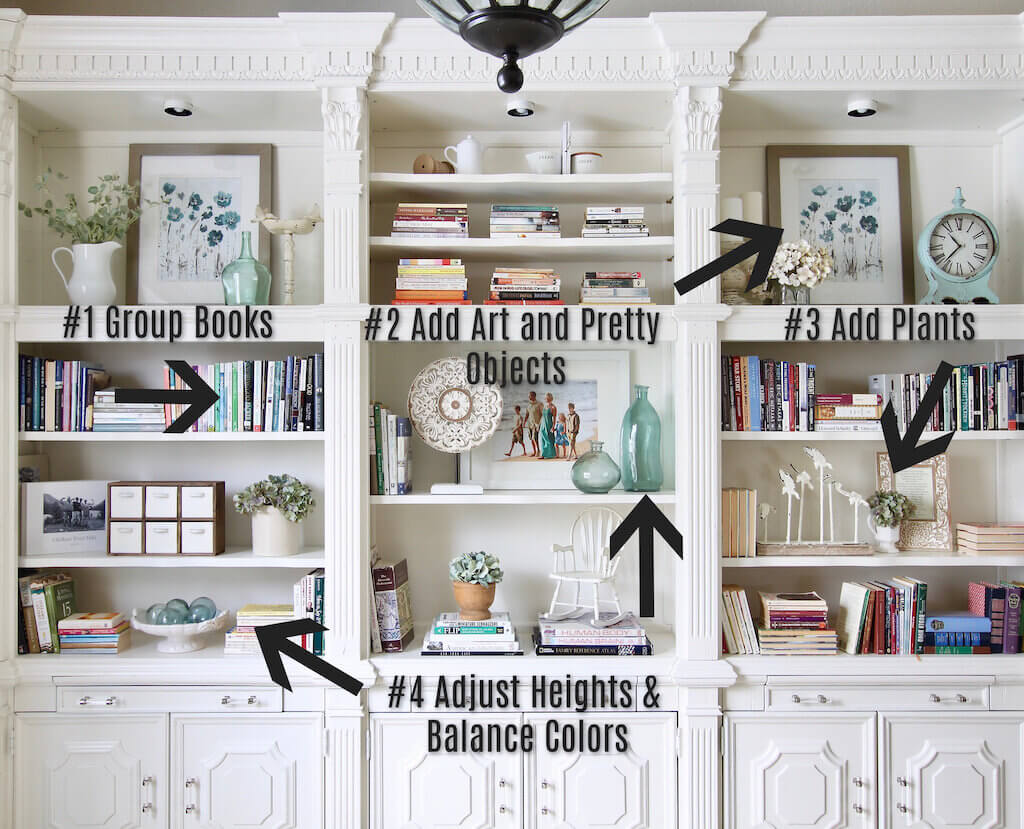
1. Group your Books
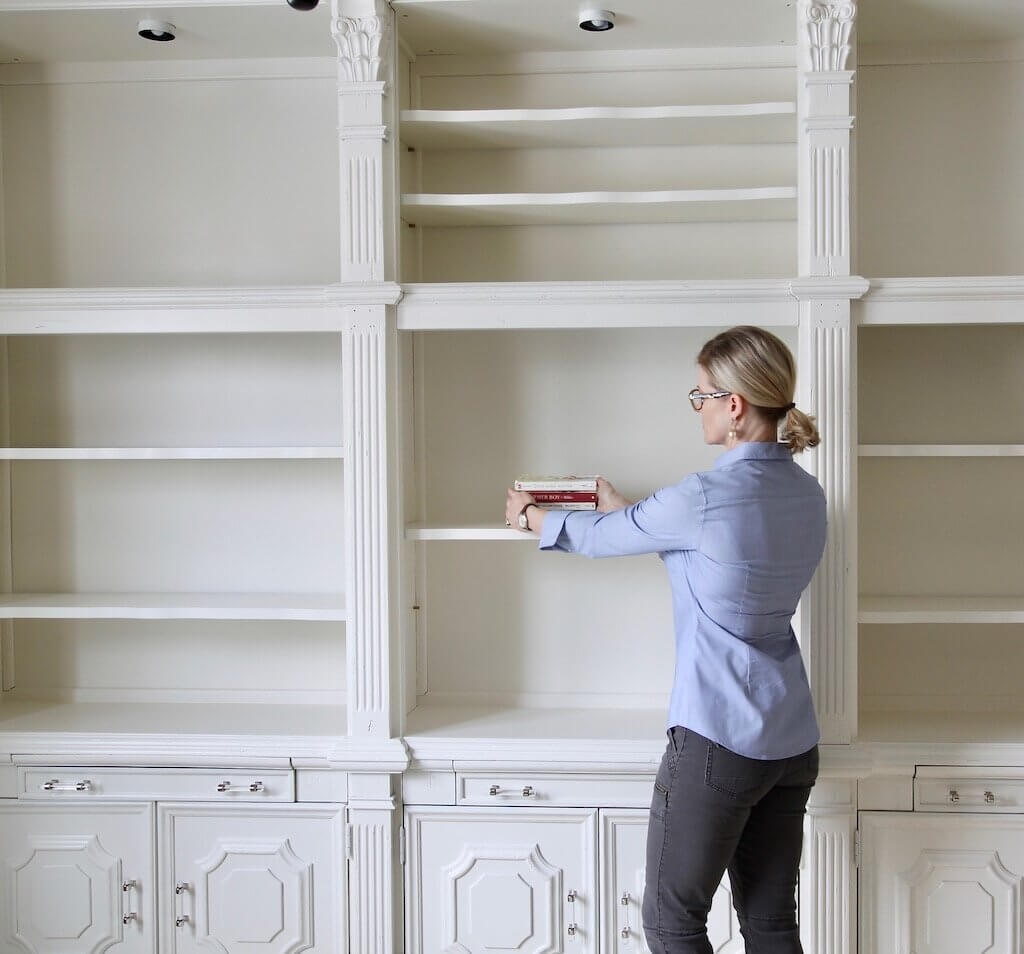
Let’s face it; most of us have bookshelves because we need them to hold and display our books, so let’s start with function. How you group your books on the shelves doesn’t matter (genre, size, color, etc) but play around with stacking them horizontally, standing some upright, and varying the appearance of the groups a little.
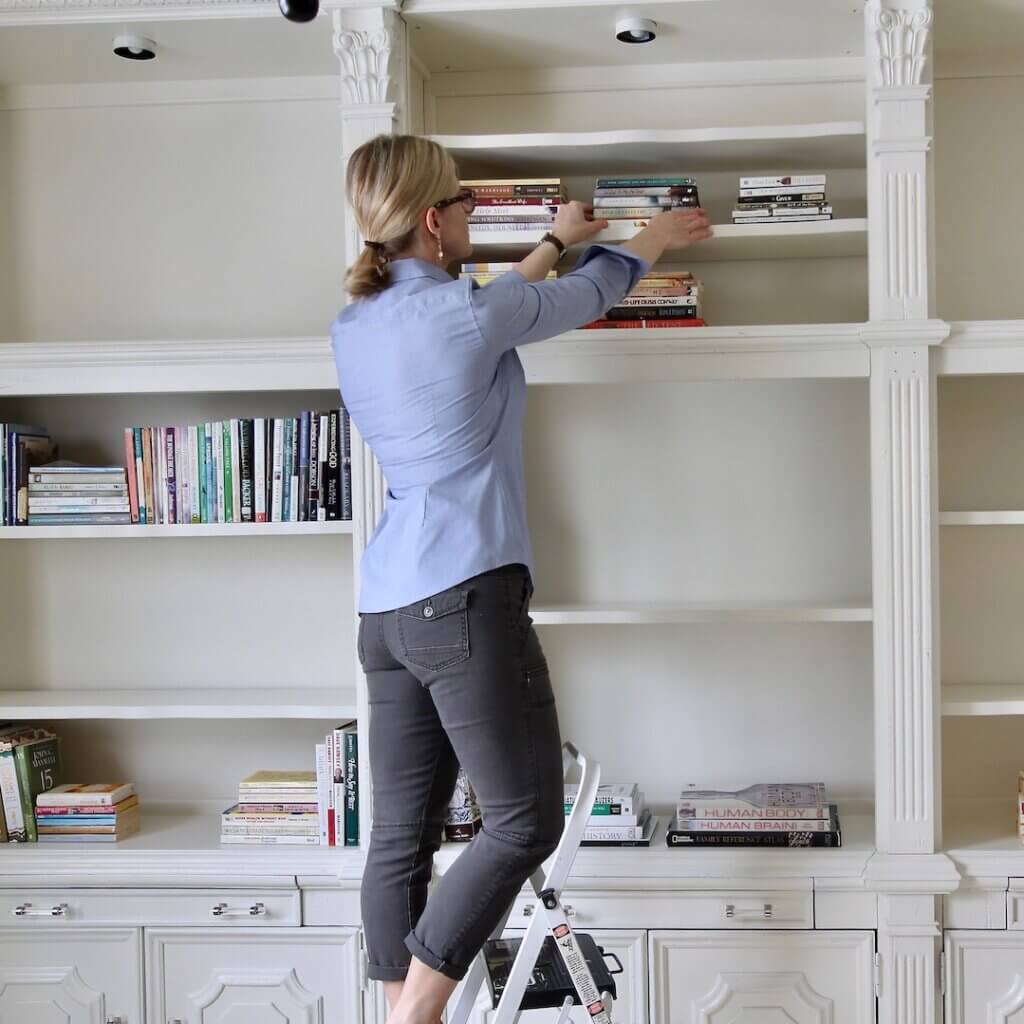
Here’s what my bookshelves looked like after I grouped my books (I like to group mine by content). You can see I sorta balanced out the groups so I have a fairly equal amount of books side to side and top to bottom. Don’t worry about being too perfect here….my groups certainly aren’t, but they’re mine and I love them all.
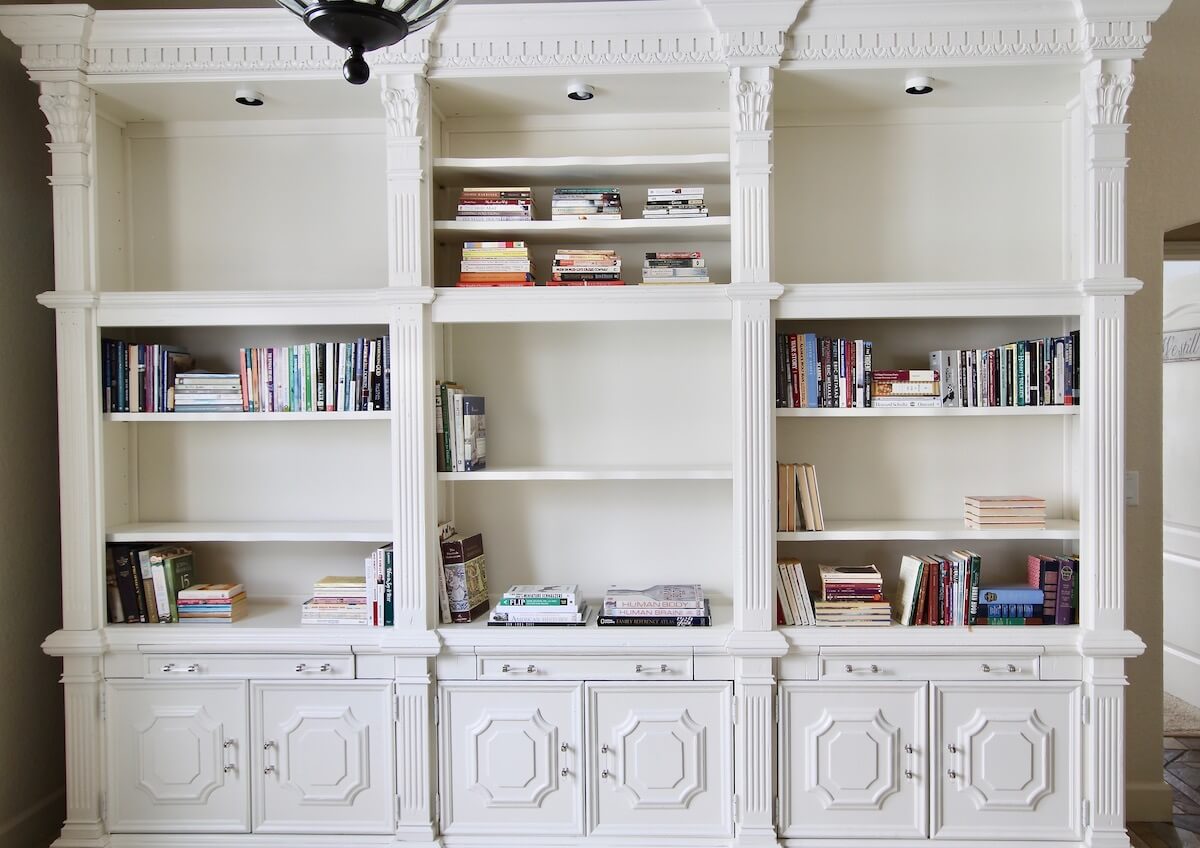
2. Add Art and Pretty Objects
This is when things get fun.
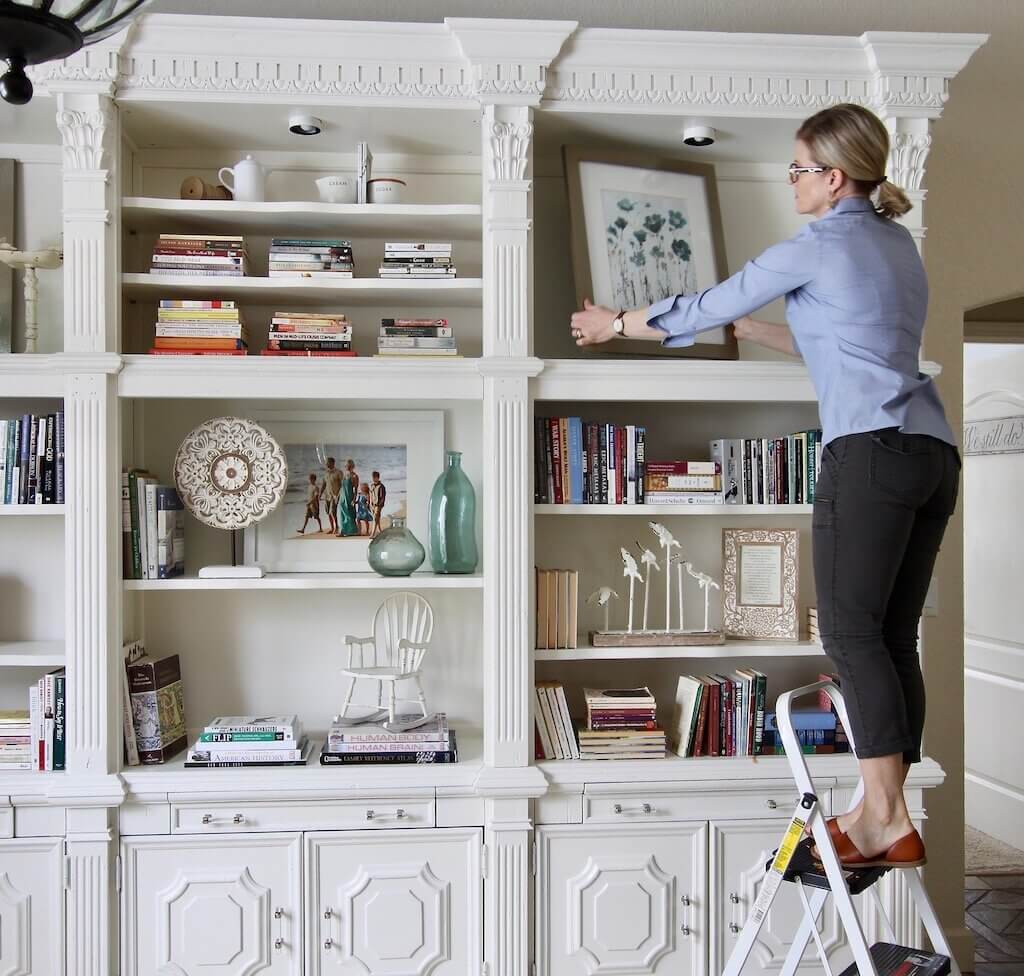
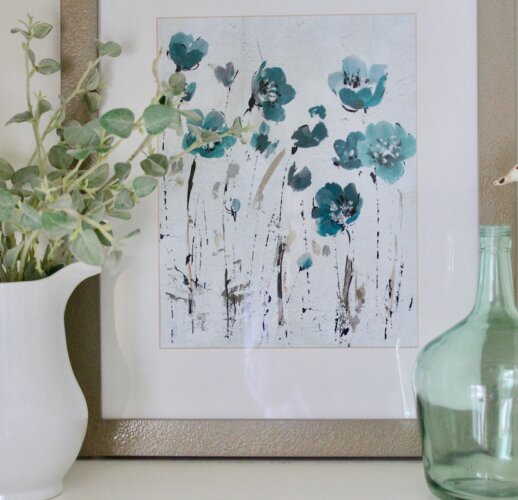
I usually have a color scheme in mind before I style a bookshelf to help me narrow down the art and objects I want to add. In this case, you already guessed my blue and cream palette.
I love to shop my house and look for items in my color palette. Usually you’ll find several items from other rooms and can breathe new life into old art or accessories by simply displaying them in a new place.
3. Add Plants
If you are a plant lady, here is your chance to shine. Adding greenery and/or flowers to your bookshelves brings instant life and makes shelves sing Hallelujah.
I must confess, I’m a really-badly-wanna-be plant lady, but I’m not there yet. So for these shelves, I opted primarily for faux hydrangeas (is this not the prettiest flower ever?) and lamb’s ear. (Added perk? Faux plants weather our extra-long Alaskan winters, too.)
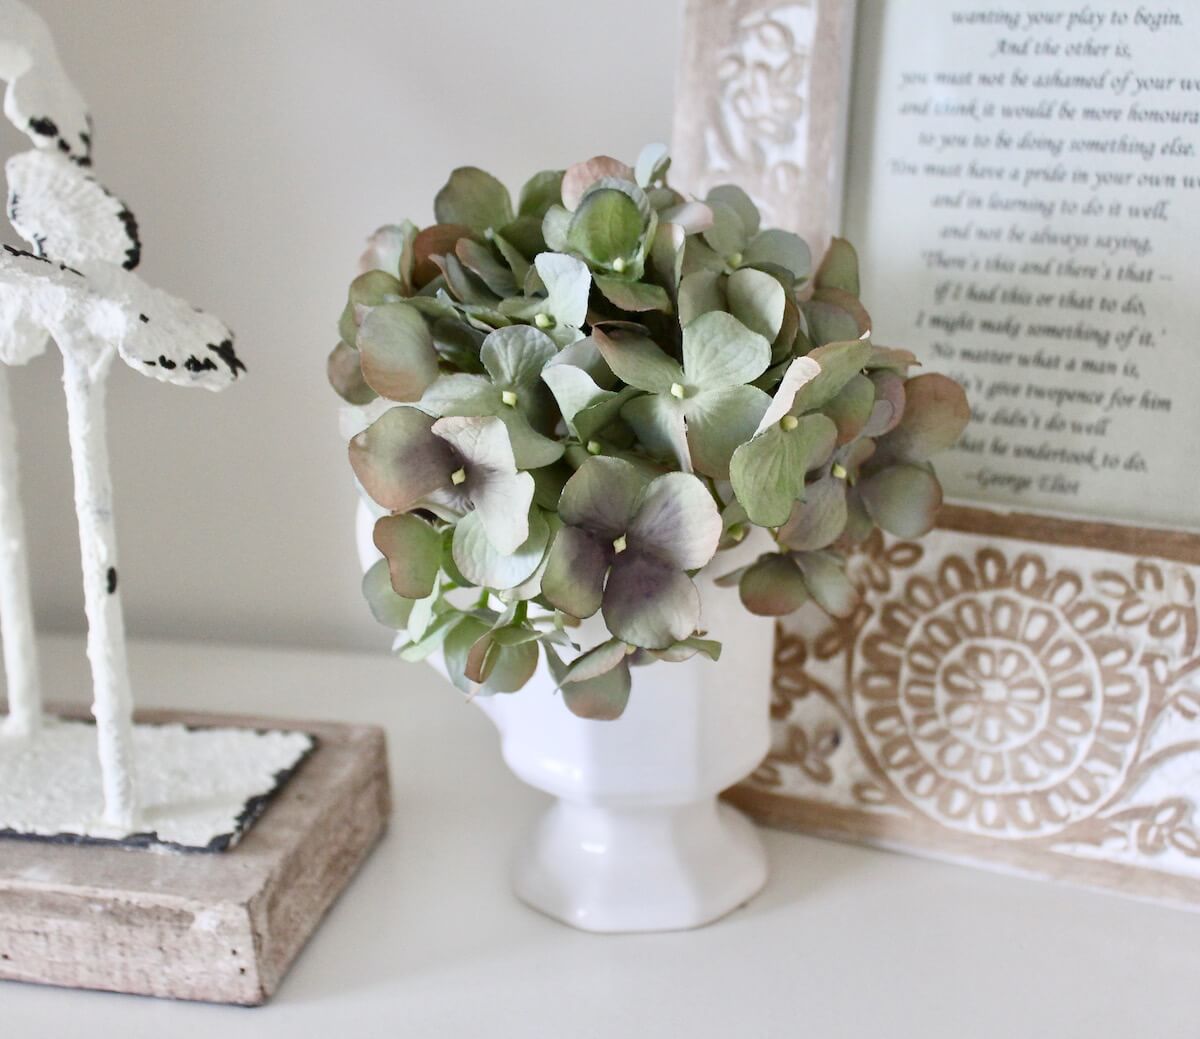
Here are the bookshelves after I added a few plants.
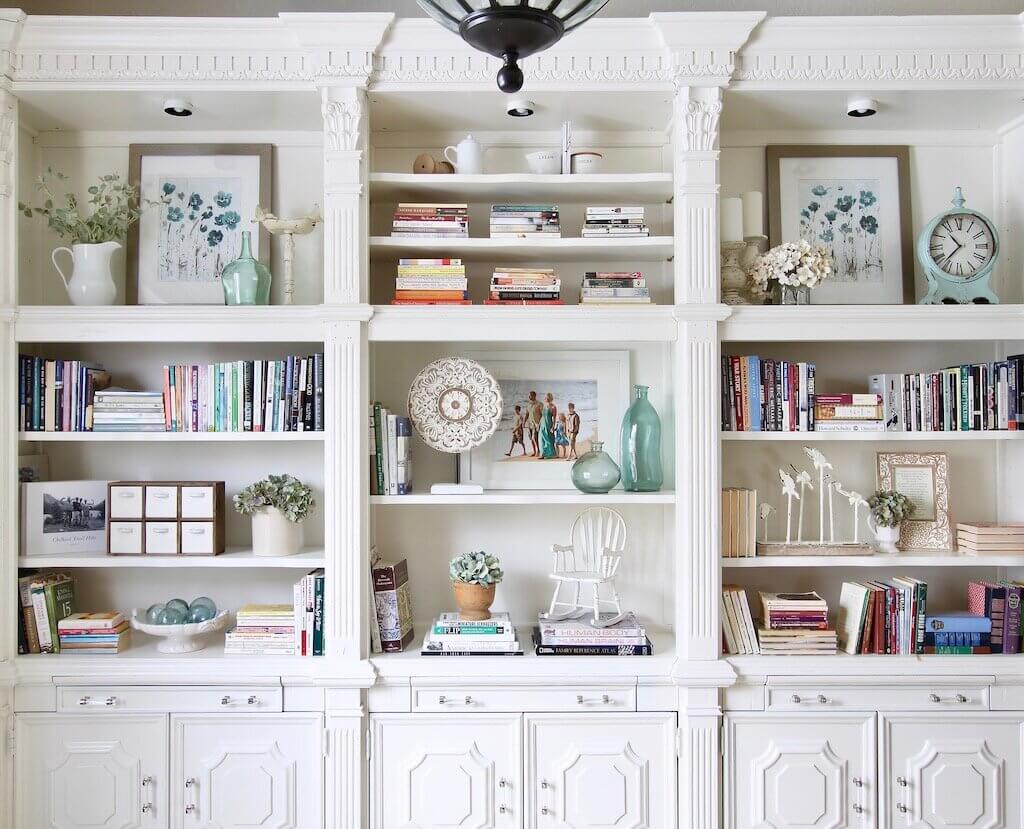
4. Adjust Heights and Balance Color.
After you’ve added plants, stand back and look at your shelves.
Is every book and object the same height, or is there a variety of heights? Different heights add visual interest, so move things around a bit to achieve it.
Are the colored items on your shelves counterbalanced (Meaning: if you have blue on one side or at the top, do you have something else blue on the other side or at the bottom to counterbalance color? Look at the blue items on my shelves. See how the blue is distributed throughout all three bookcases to balance the color throughout?)
Here’s a helpful diagram to review our Four Steps:
Are you ready to give it a shot? I can’t wait to see pictures of your Befores and Afters. Thank you for coming today ~ I love sharing our morning coffee together.
Happy Styling!
Jaimee
**To see the painting transformation of these bookshelves using my very own indoor paint tent, check out this post.
 Decorating Dilemma 101: Start with Art
 Office Makeover: The Design
 Dining Area Updates ~ A Painted Railing & New Seat Covers