Before we jump into the delights of upgraded door trim (which I’m beyond excited about), we need to take a walk down memory lane.
You will remember we are slooowwwlllyy updating our downstairs Family Room into a fun-loving, kid-focused, Rustic Boho space.
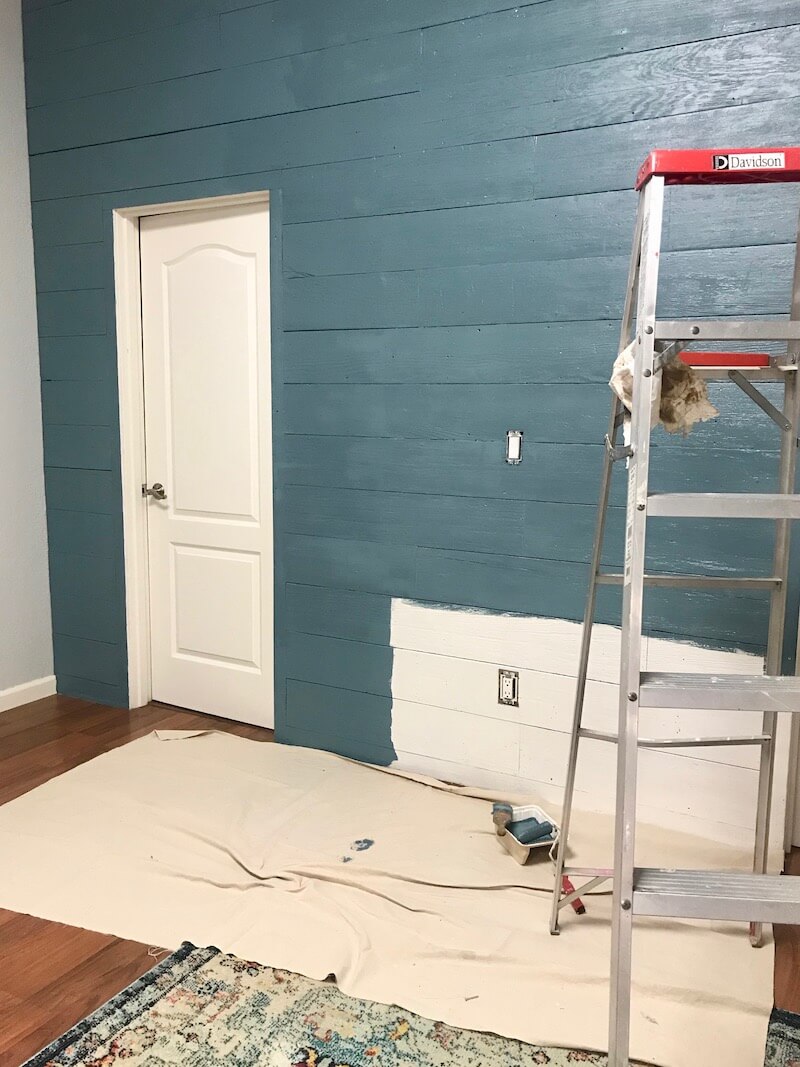
And you will remember the dilemma of a certain plank wall outside our boys’ bedrooms that began like this:
…and transitioned into this when I decided to whitewash the rustic planks:
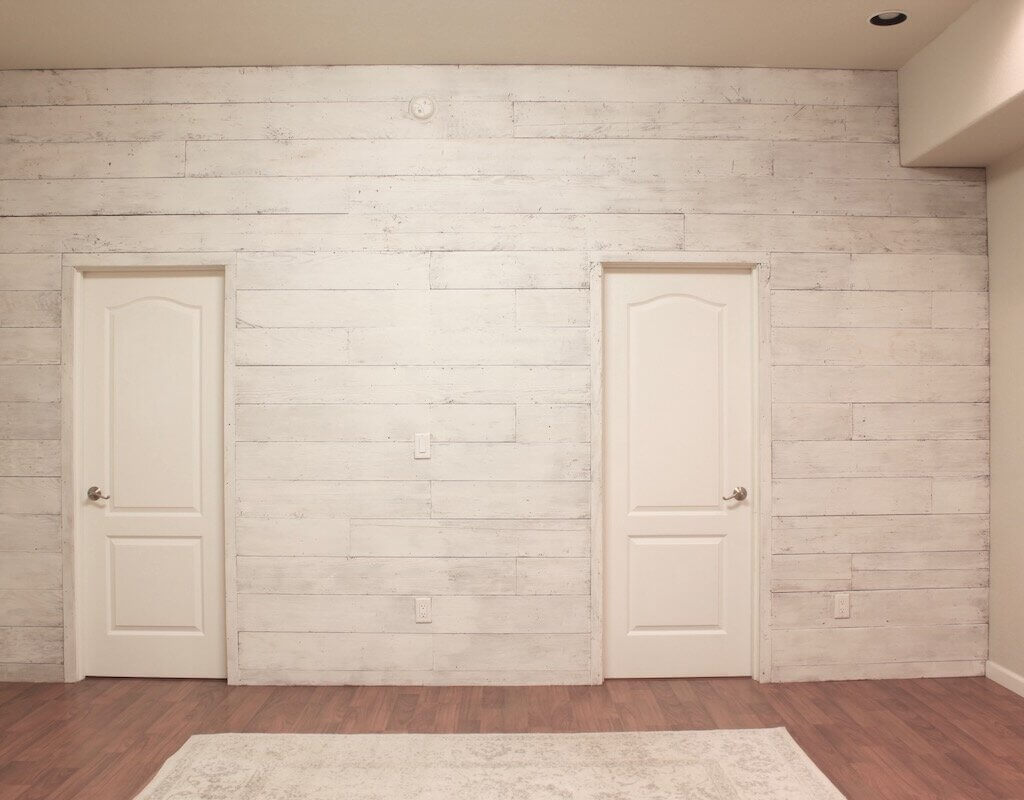
However, I was not over-the-top happy with the outcome, so I painted over the whitewash to get this:
Better, but still not right. It seemed to lack something special.
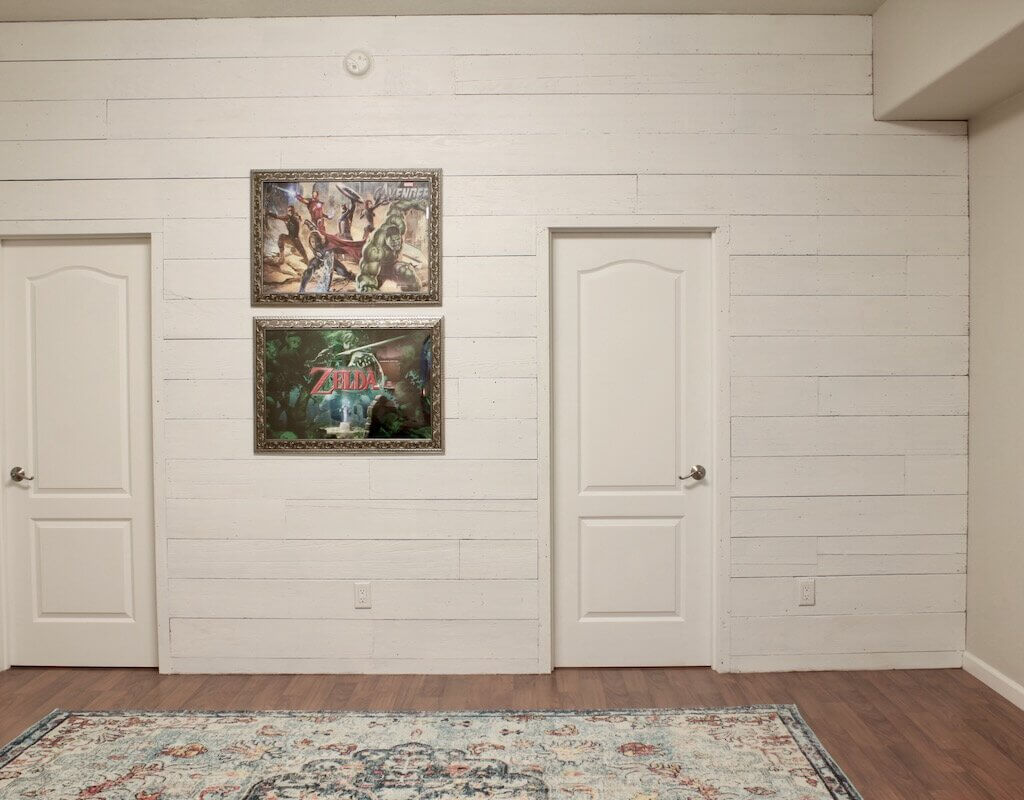
I let the wall sit for awhile, a remedy often helpful when I’m stuck design-wise.
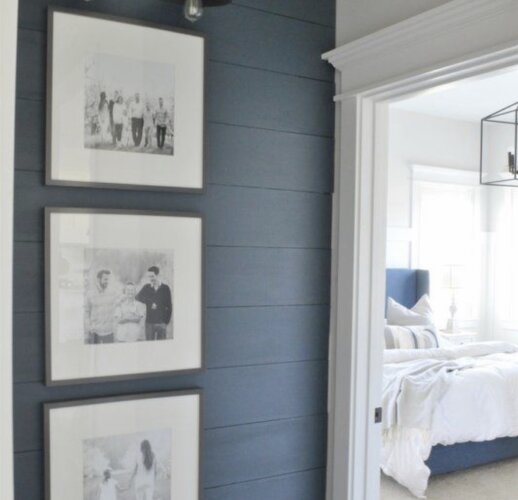
Then lo and behold, this inspirational screen shot I’d saved months ago came to mind. Suddenly, my inspiration kicked back in.
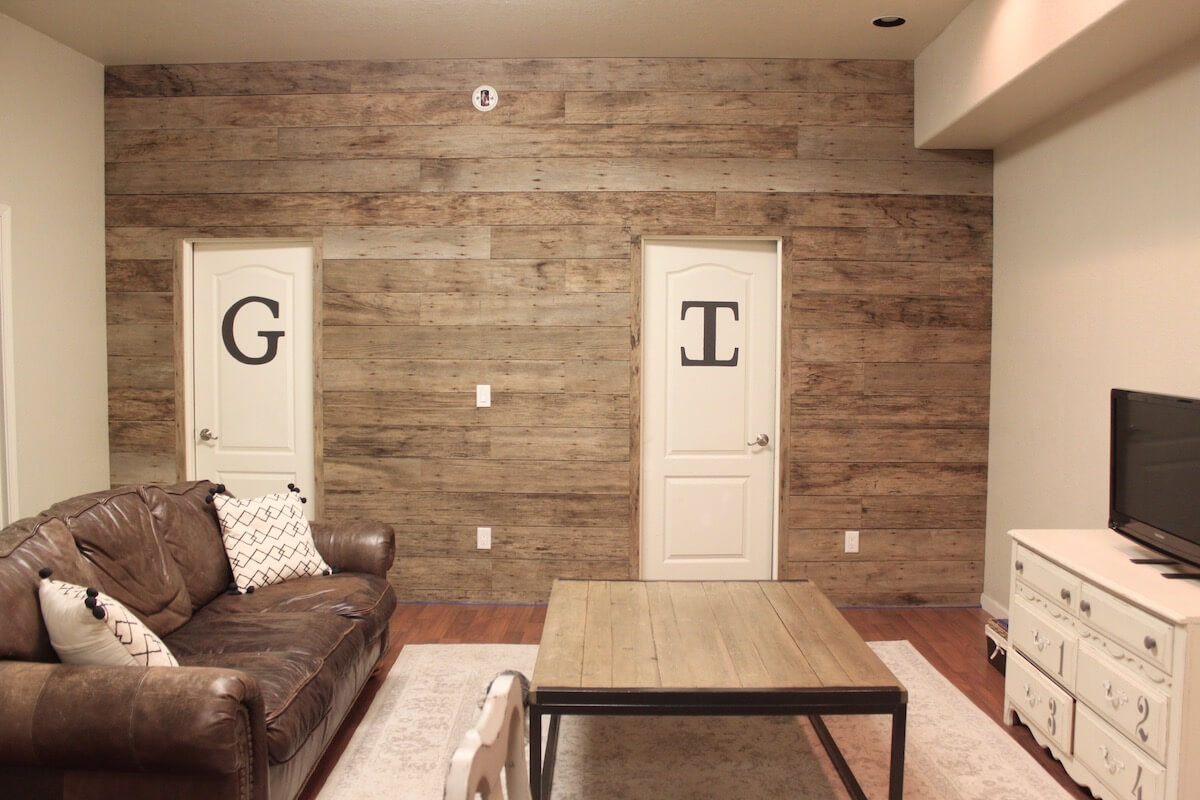
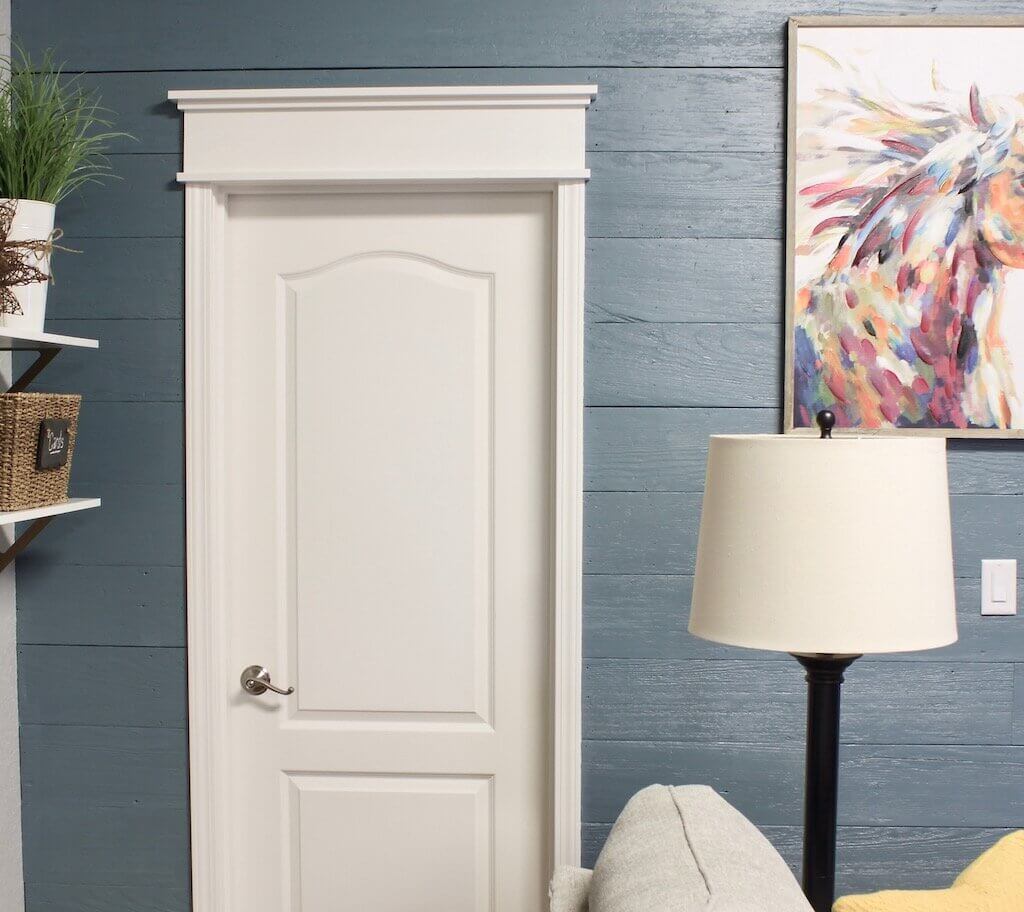
Obviously what my Family Room wall needed was a heavy dose of Sherwin Williams Refuge.
And friends, within one hour, this plank wall went from ho-hum to somethin’ special.
But before I post a full reveal on this Family Room (we’re waiting on a tv console with a fancy built-in fireplace…eek!), I want to show you a quick way to fancy up your standard door or window trim so it looks like you live way down south where they truly embrace all things architectural.
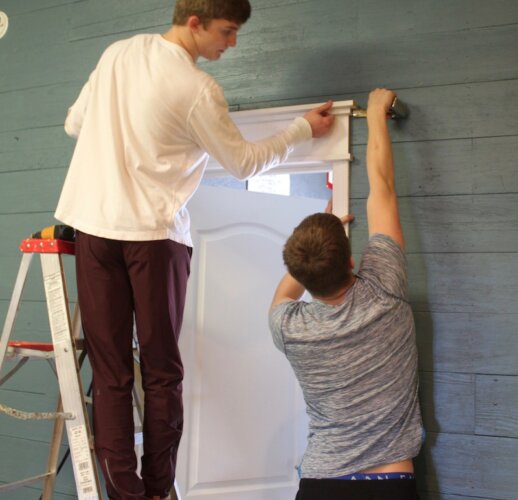
And to further convince you how quick and easy this is, my two teens cut and installed the trim on these two doors in under one hour.

Let’s begin.
Tools needed:
- miter saw
- tape measure
- pencil
- balance
- nailer (we used a pneumatic nailer like this)
- caulk
- paint
- trim pieces (we got ours from Lowe’s)
Steps:
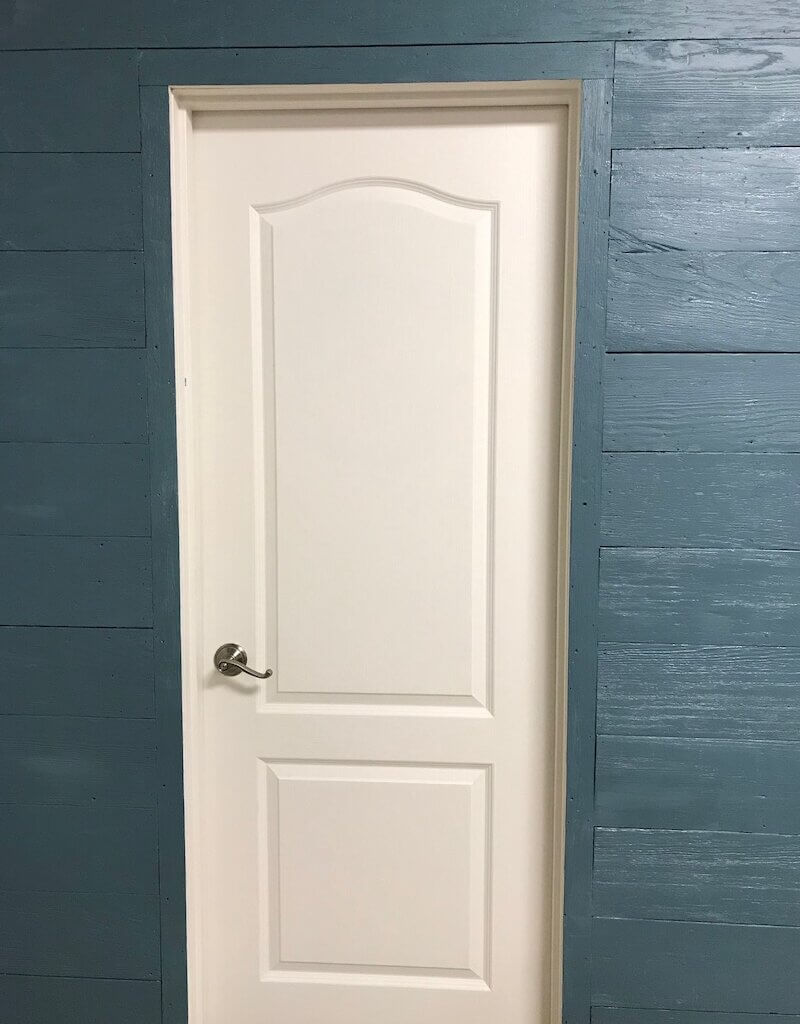
- Measure the width of your doorway from one side trim to the other. Our door did not already have side trim so we installed that at the same time. However, if you cut the existing top piece of trim off your doorway with a handheld circular saw, you can easily follow the remaining steps below.
- Purchase 1×2, 1×6, and 1×3 trim based on your measurements (for 2 doorways I needed 12′ of 1×2’s, 8′ of 1×3’s, and 6′ of 1×6’s). Lowe’s was out of almost all pine trim, so I paid a little extra for primed mdf.
- Cut trim according to this diagram. See Note below.
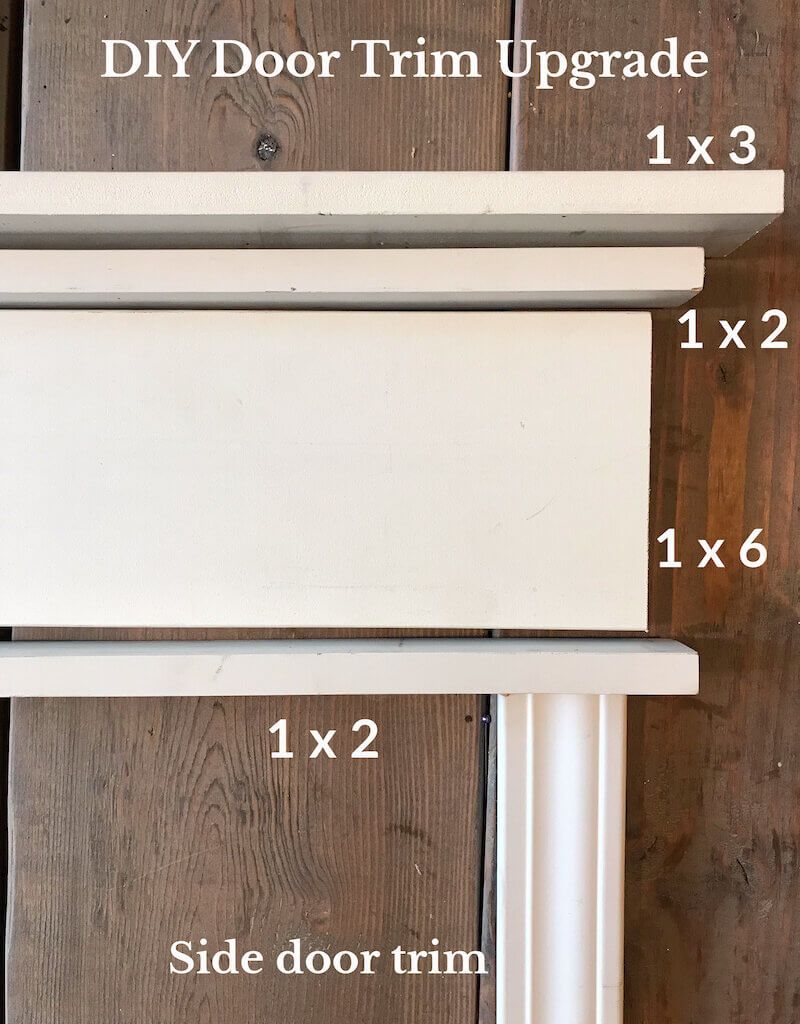
Note: The first 1×2 sits directly on top of the door’s existing side trim and overhangs by an inch on each side. The 1×6 sits on top of the first 1×2 and is the same width as the existing side trim. The 2nd 1×2 measures the same width as the first, and the top 1×3 measures one inch beyond the 1×2’s to complete the layered look.
4. Nail trim in place. We used a pneumatic nailer like this. Use a balance as you go to ensure each piece is level.
5. Caulk all gaps, holes, and seams, then paint. I used Sherwin Williams Alabaster.
6. Stand back and ask your family as you marvel: Why have we not done this before??
BEFORE
AFTER
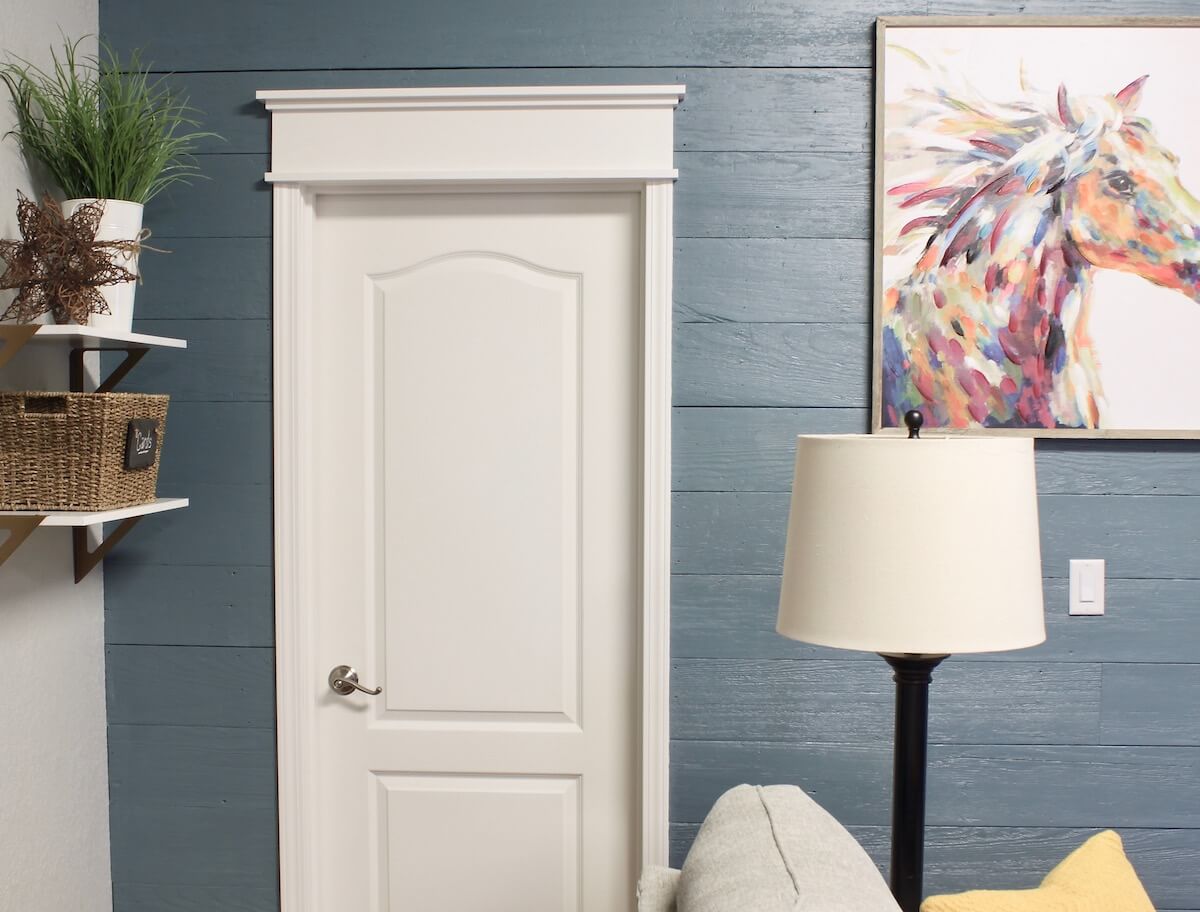
I was shocked how much this simple upgrade in our Family Room elevated the design factor ten-fold. It reminded me of the following quote: “When the architecture in a room is beautiful, you don’t need much else.”
With so many teens in our home, I’m calculating how long it will take to transform the remaining doors….
Happy Decorating, from our family to yours ~
Jaimee
 Vintage Market ~ Sneak Peek
 3 Things I Learned from my First Vintage Market
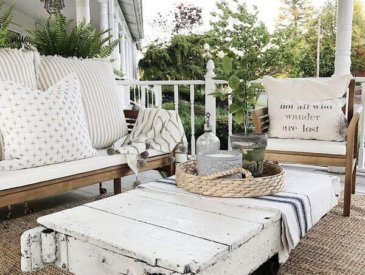 So I Bought this Couch
I think the boys could have a new business venture. What an impact. Sure is pretty.
So excited…Isaac will be working construction with Darrell Russell this year, a family friend who sells Nelson Homes. He’ll learn so many wonderful skills!! He really enjoyed doing this…although his intensity is a bit much.:-). Thanks for reading, sweet friend.
Wow Jaimee! Such an improvement! The additional trim really beefs up the door. Your paint color is perfect for that large room too. I am a big fan of accent walls – especially in a large room. Can’t wait to see the full reveal my friend! Take care and stay safe!
Thank you, Cindy….the extra hands make all jobs a little easier. So happy you stopped by today. 🙂