Necessity is the mother of invention, but I would venture to guess most interior designers swear a Completed Room is the mother of Design Hacks.
Our Office Makeover was no exception.
I undertook two unintentional hacks in our office which fell outside the original Design Plan. It always amazes me when I’m ready to be finished with a space but am short on time and resources how my mind will expand in unconventional ways to devise functional solutions.
It’s part of the mental challenges I love about interior design.
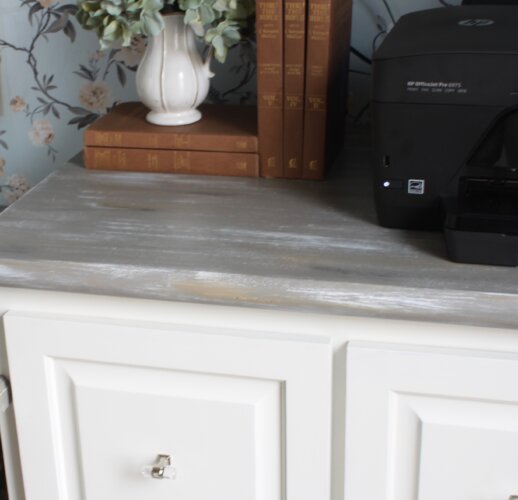
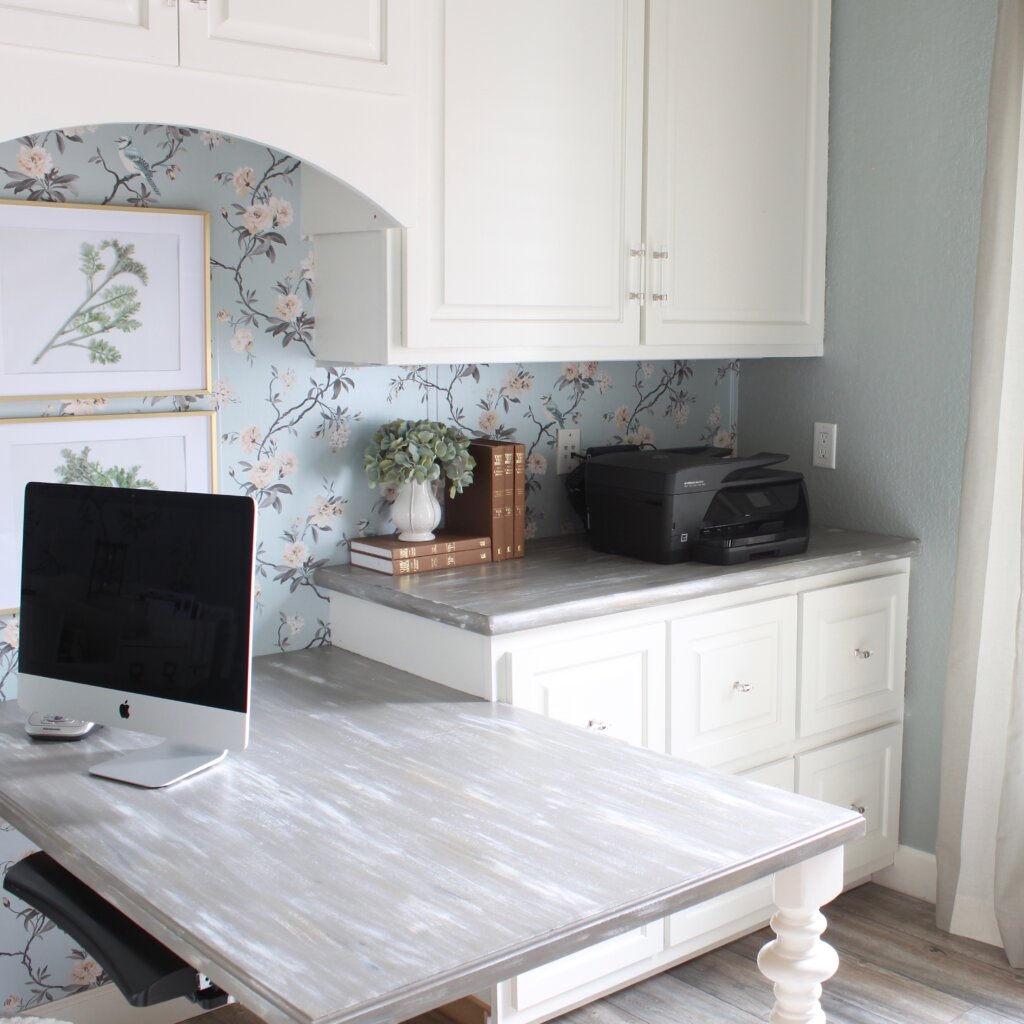
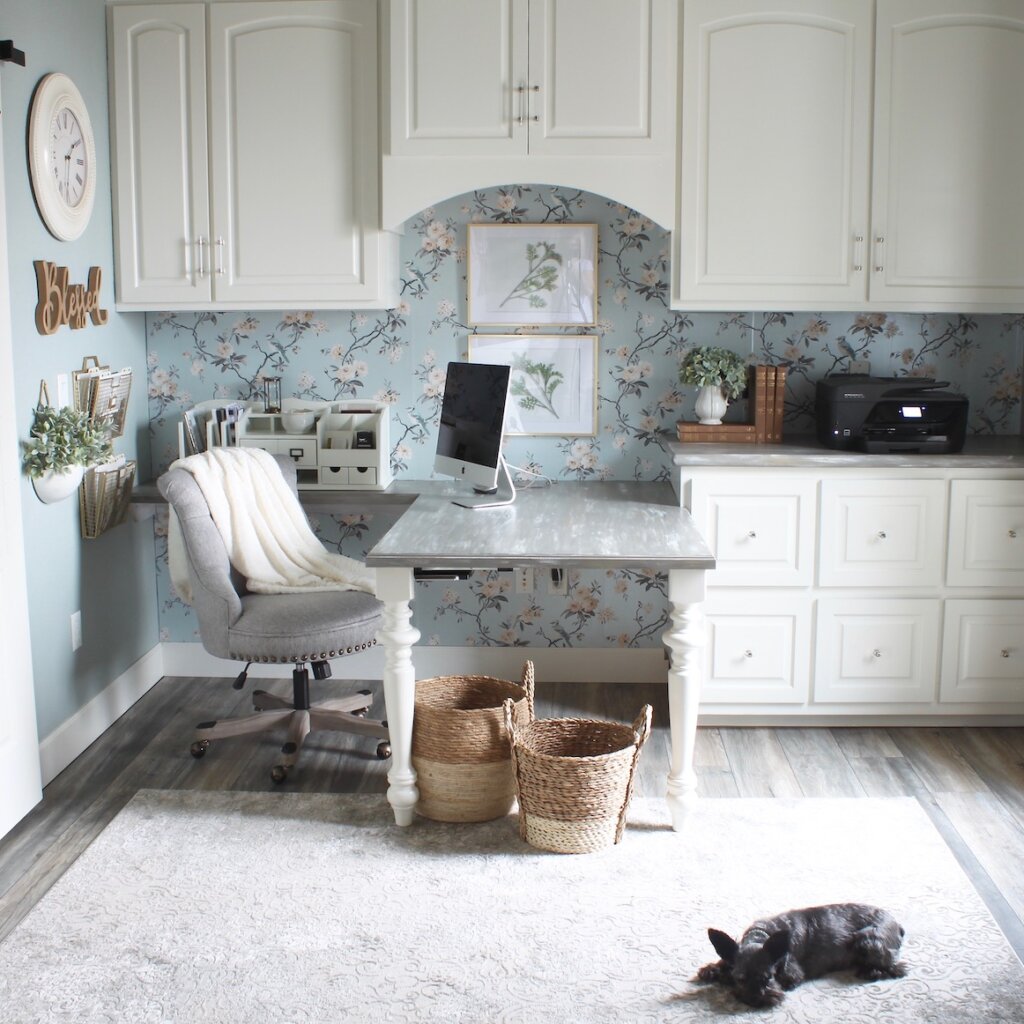
In our Office Makeover, one of my plans was to paint the existing desktop to resemble weathered wood. In fact, here’s a little tutorial showing just how I pulled that off.
The desktop was easy. But I struggled with another existing element in the room: The adjoining granite countertop.
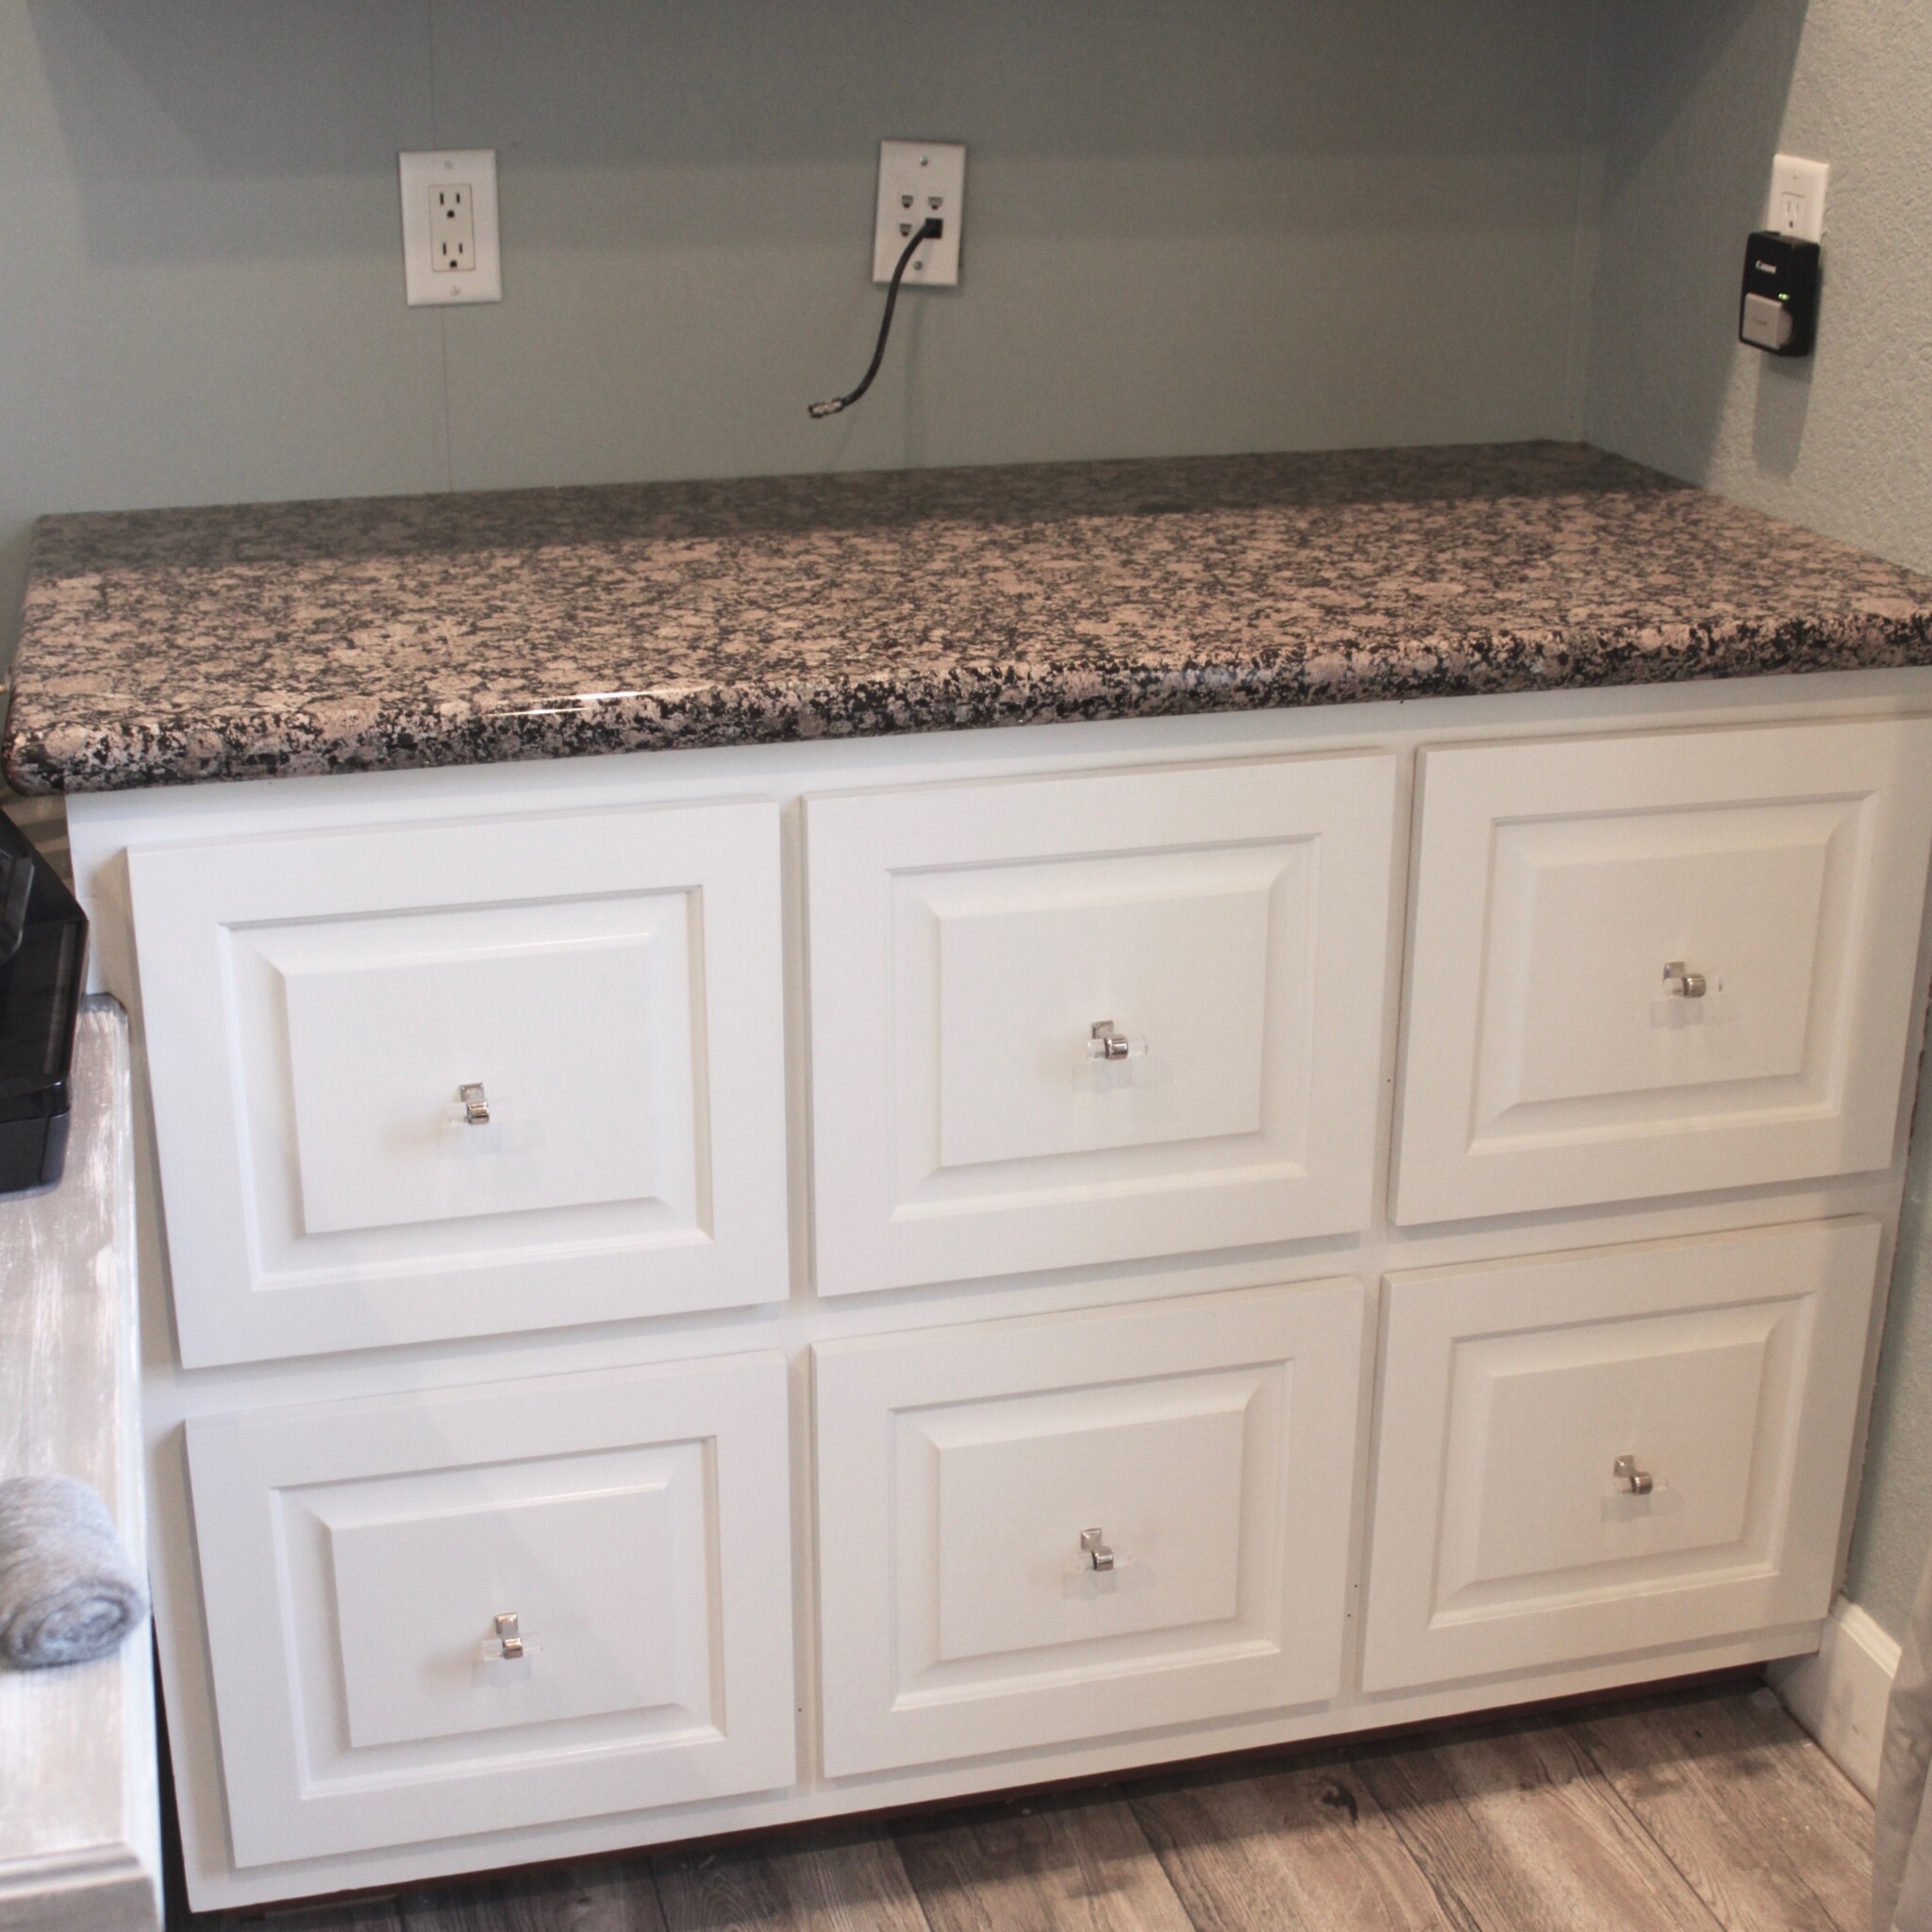
Replace it? Leave it as is? Paint it? It was a decision over which I struggled right up until the last few days of this room completion.
Finally, Fireman’s insistence to paint it to match the desktop prevailed. It was decided: Painting wins again!
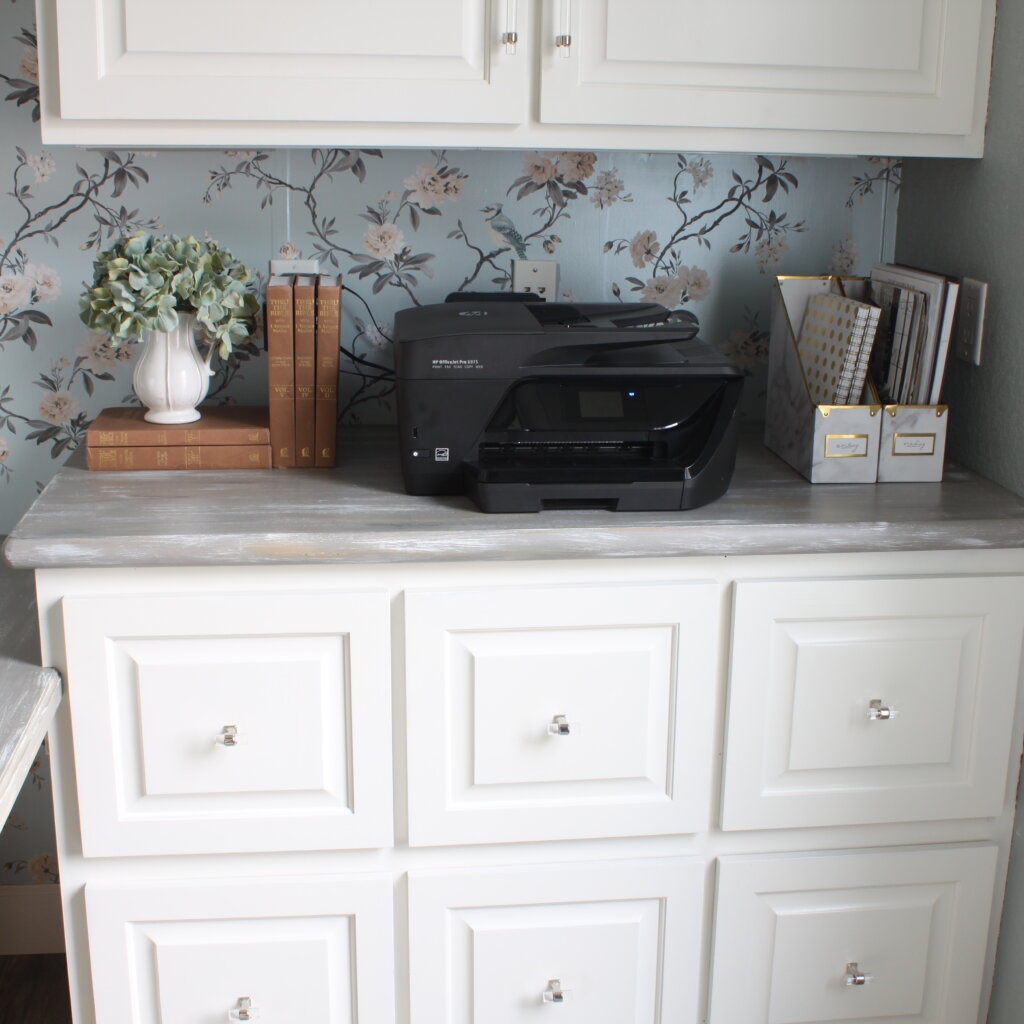
Now, I’ll say here that if this were a granite countertop in our kitchen which endured banging pots, daily wipe-downs, colorful spills, math homework, and general mayhem each and every day, I would NOT go this route. However, for a tiny bit of countertop whose primary job is to hold up a printer, it was an economically feasible, hassle-free solution.
Side note: If you’re REALLY interested in painting your granite, check out the kitchen counter transformation at this site which the owner claims held up for more than a YEAR.
After reading online about prepping granite for paint, I tried scuffing the shiny surface with steel wool. It didn’t seem to make a lick of difference. So I resorted to my tried-and-true Skil mouse sander and that seemed to do the trick. All I needed to do was knock down the shine and give the surface some “tooth” for the primer to adhere.

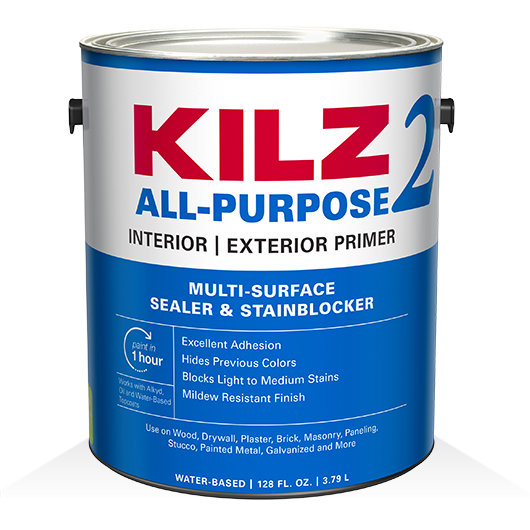
After wiping down the now-scuffed surface with a microfiber rag to remove all the dust, I primed with Kilz primer.
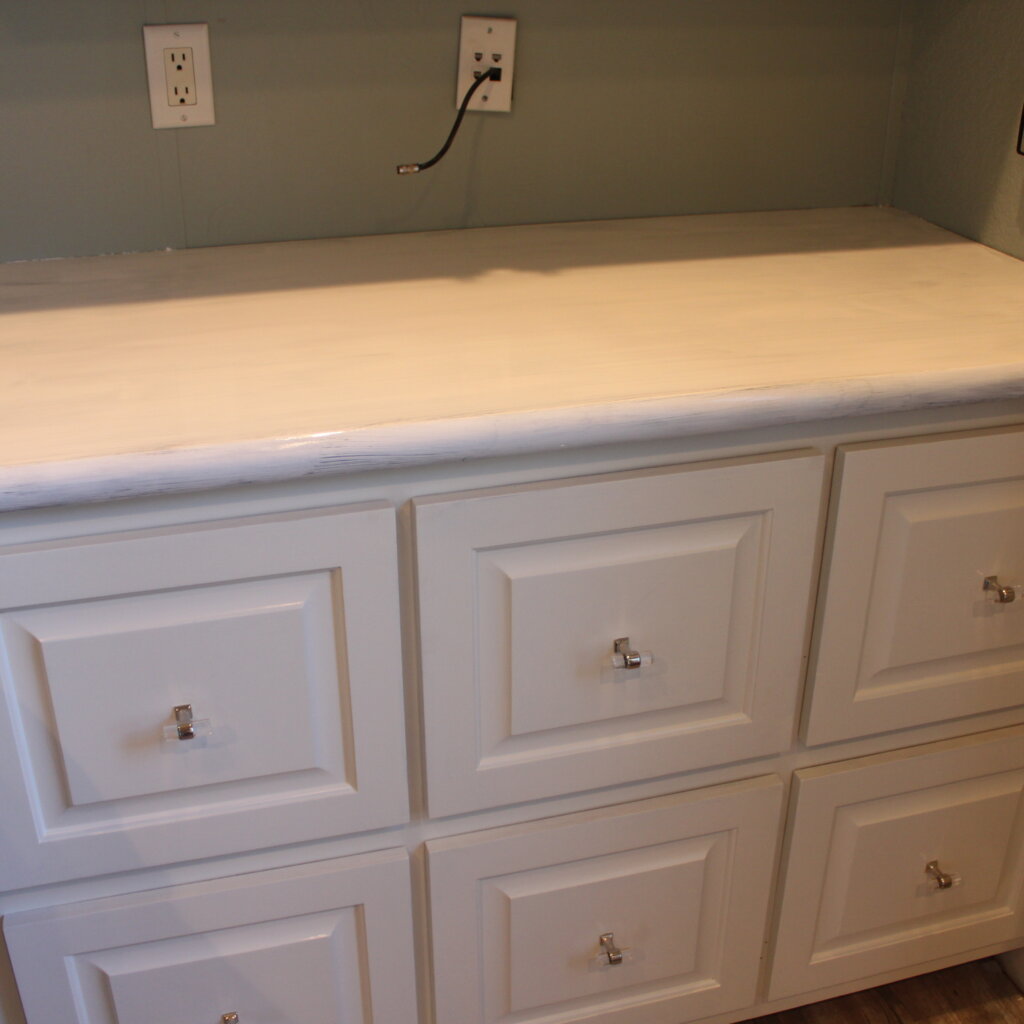
I let the primer dry the recommended amount of time, then painted two coats of Annie Sloan Chalkpaint in Linen with adequate dry time between coats.
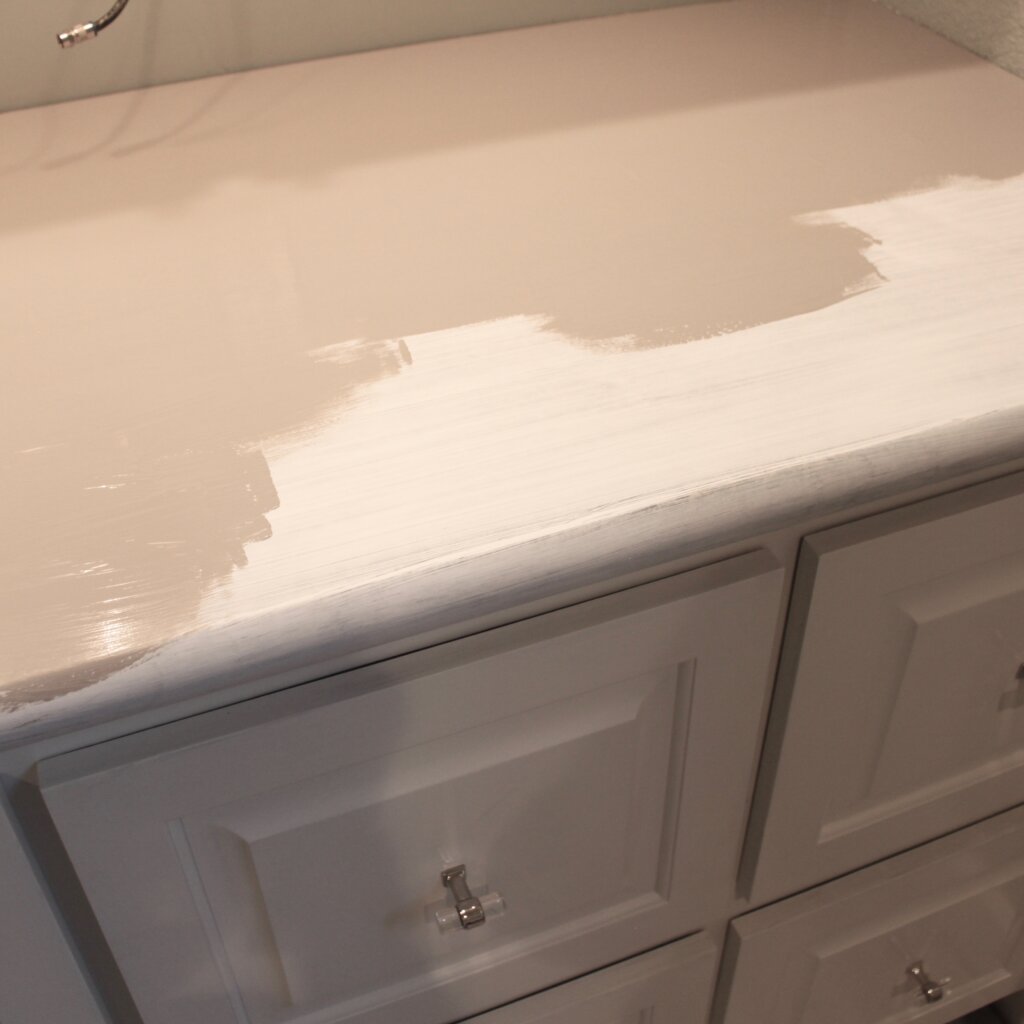
I then followed my dry brush technique using white, tan, and black paint (see tutorial above) and randomly painted over the entire surface. I followed up with two coats of Minwax Polycrylic sealer in Satin.
And it was finished.
Once again, painting ended up being a good choice.
Another hack I performed in here was the artwork. I absolutely loved these frames from Walmart, but could not for the life of me find 11×14 botanical artwork, landscape orientation, within the time frame I needed.

Enter….faux botanicals from my decor closet!

With a few quick snips of my wire cutter and some tricky bending and shaping of the stems and leaves, I gently squished one faux branch behind each frame’s glass and viola! Instant botanical art.
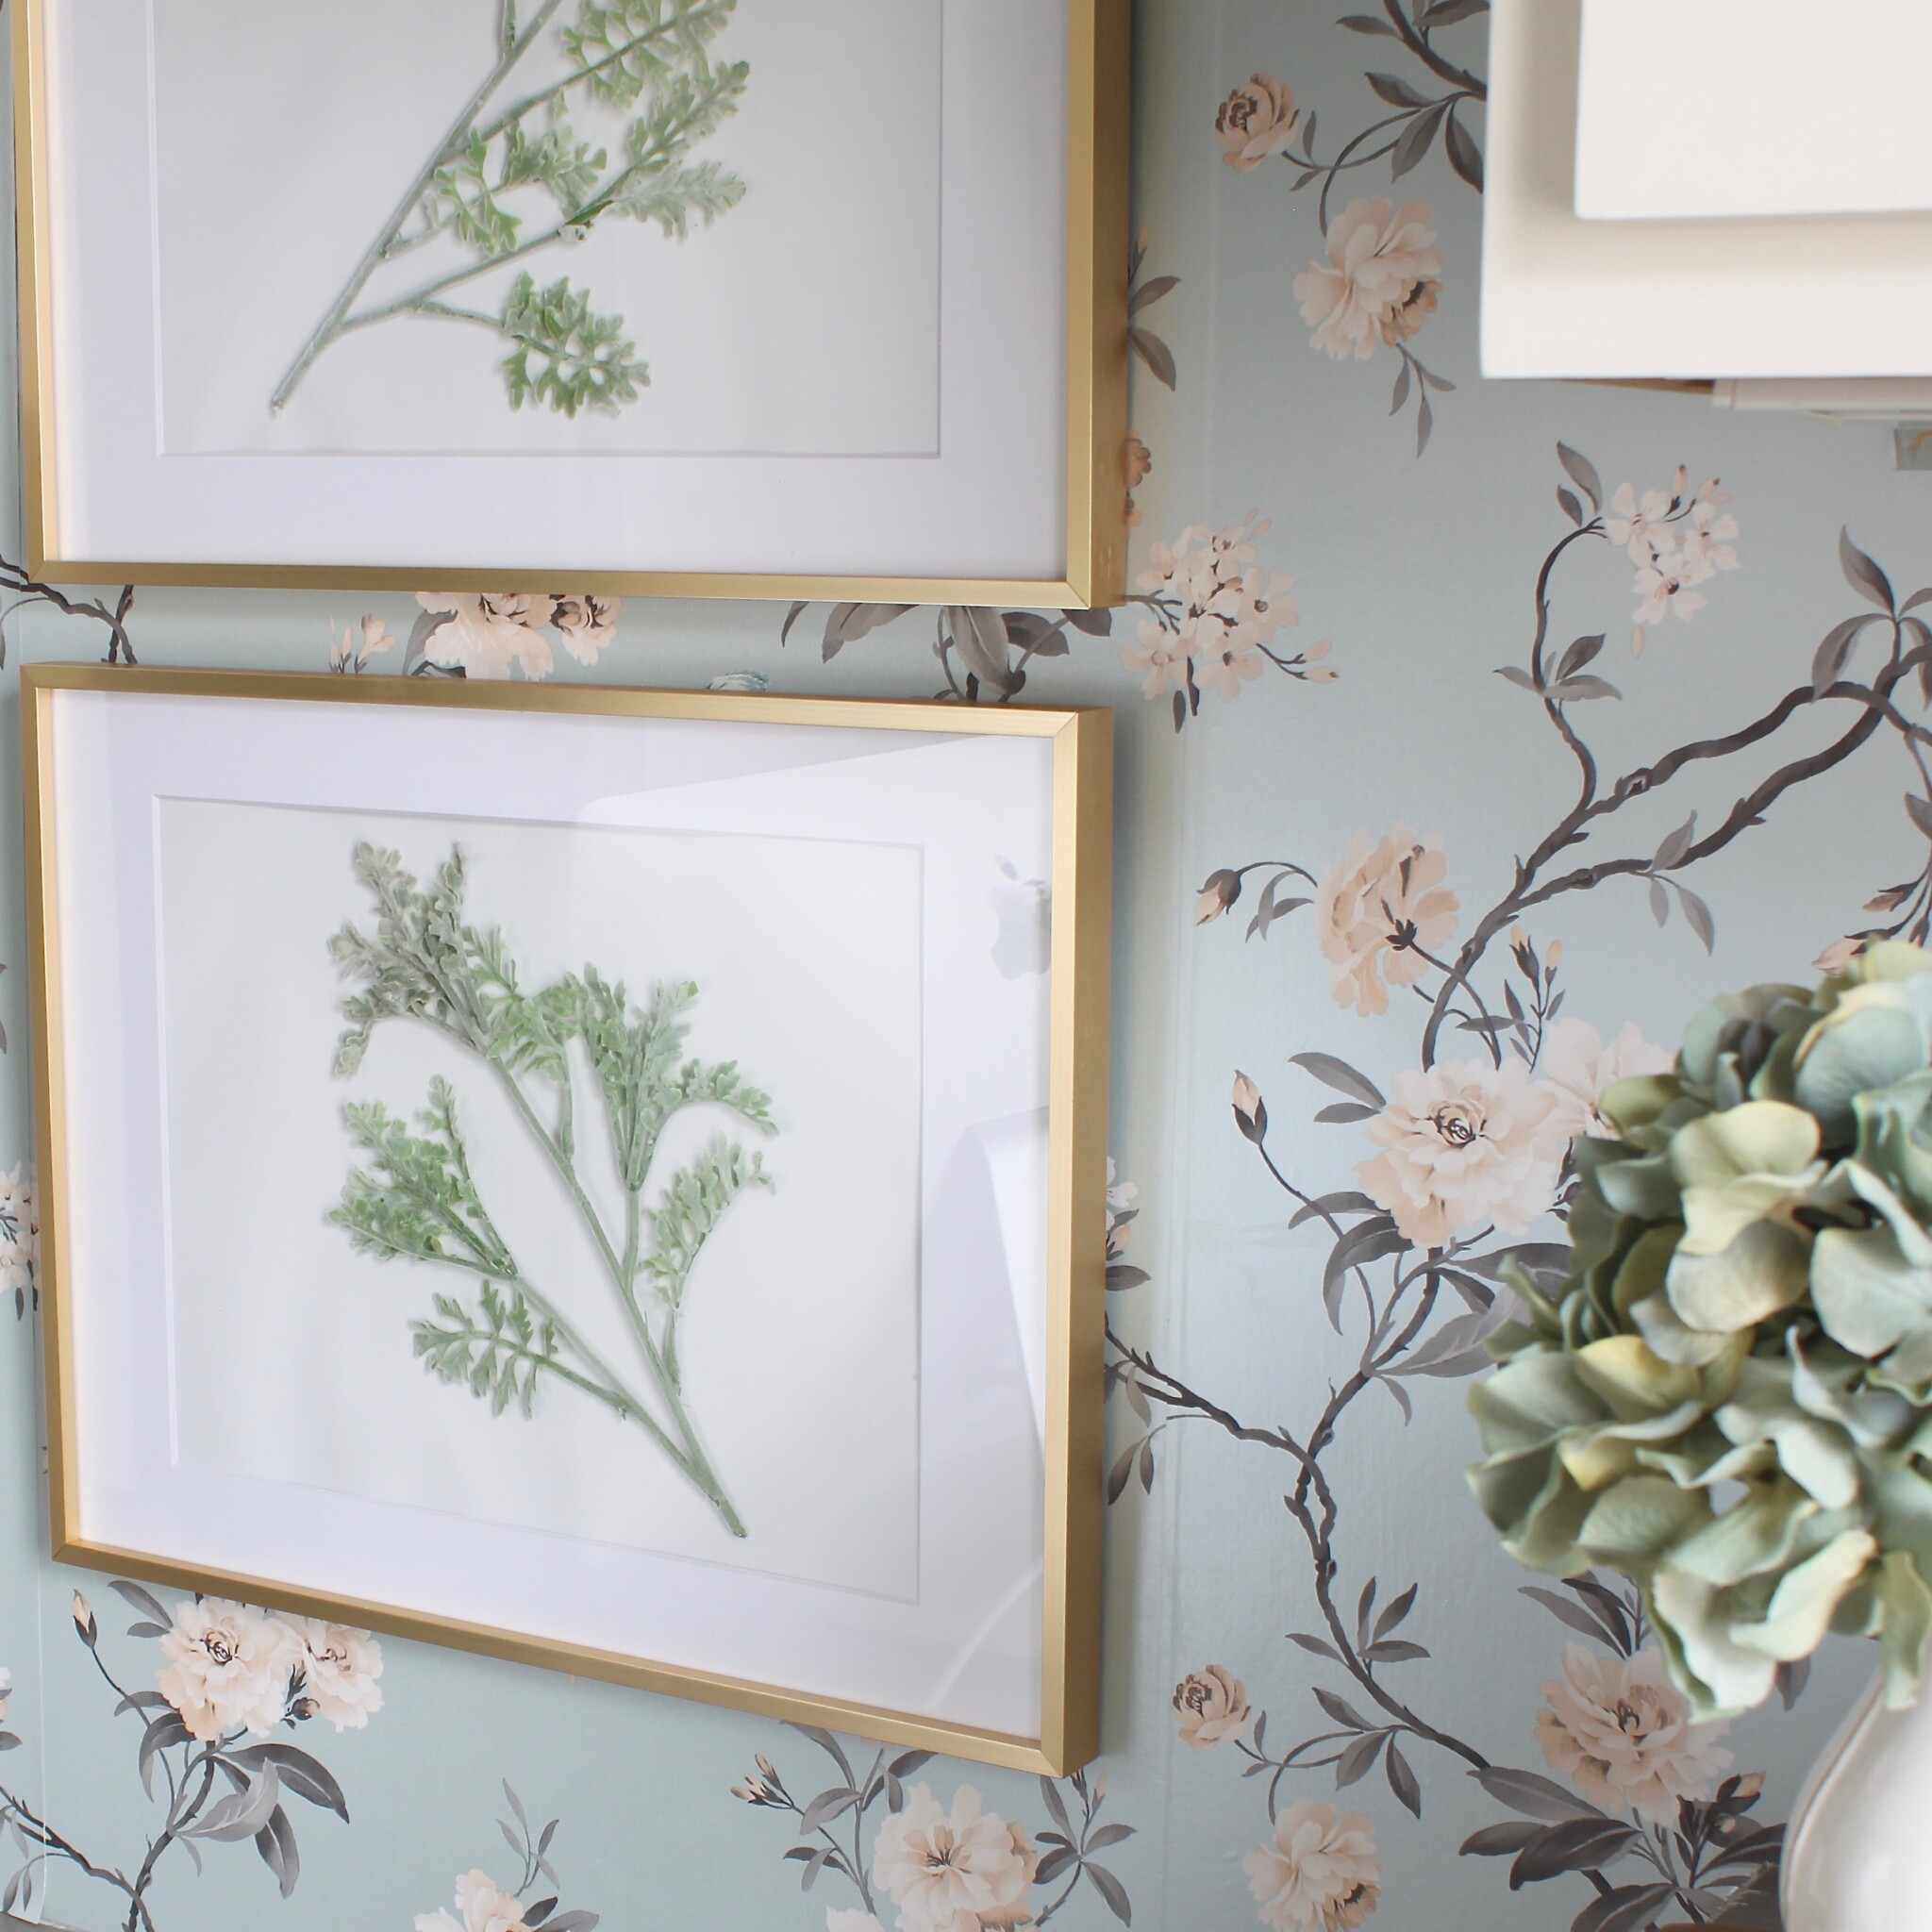
It’s certainly not a forever solution, but for now, it’s enough for me to declare “Finished!” and turn my attention to other things.
Blessings on your week!
 Stronger ~ A Journey & Fun Announcement
 My first Annie Sloan
 Ethan Allen Table Refinished