You know you’re not keeping all the balls in the air when your upholstered barstool seats are in this condition.

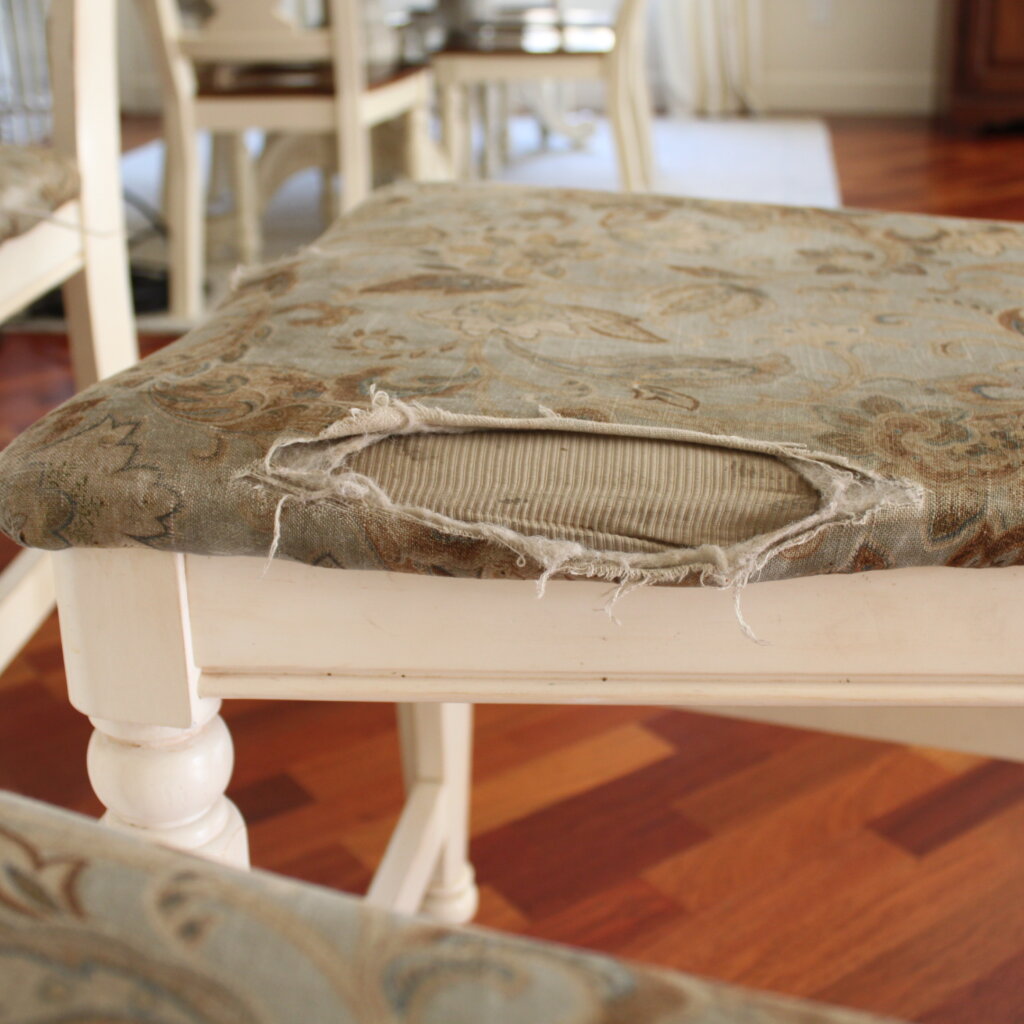
But in my defense, at times I actively choose to *bomb* simple things like recovering a barstool seat so I can pursue alternative endeavors in my life which pay greater dividends longterm. (Thank you, Jon Acuff, for this life-changing tip in your book Finish: Give Yourself the Gift of Done. I will forever be grateful for the Choosing What To Bomb exercise.)
It is freeing to intentionally choose to Bomb Things. I highly recommend the exercise.
However, when every child in the house and one’s husband wonder aloud why mom is allowing such radical deficiency in the home, it’s probably time to act. (It’s also sobering when the 10-year old comes downstairs carrying three grimy seat cushions after having taken it upon herself to remove them for you.) Alas, I prioritized a trip to JoAnn’s for fabric.
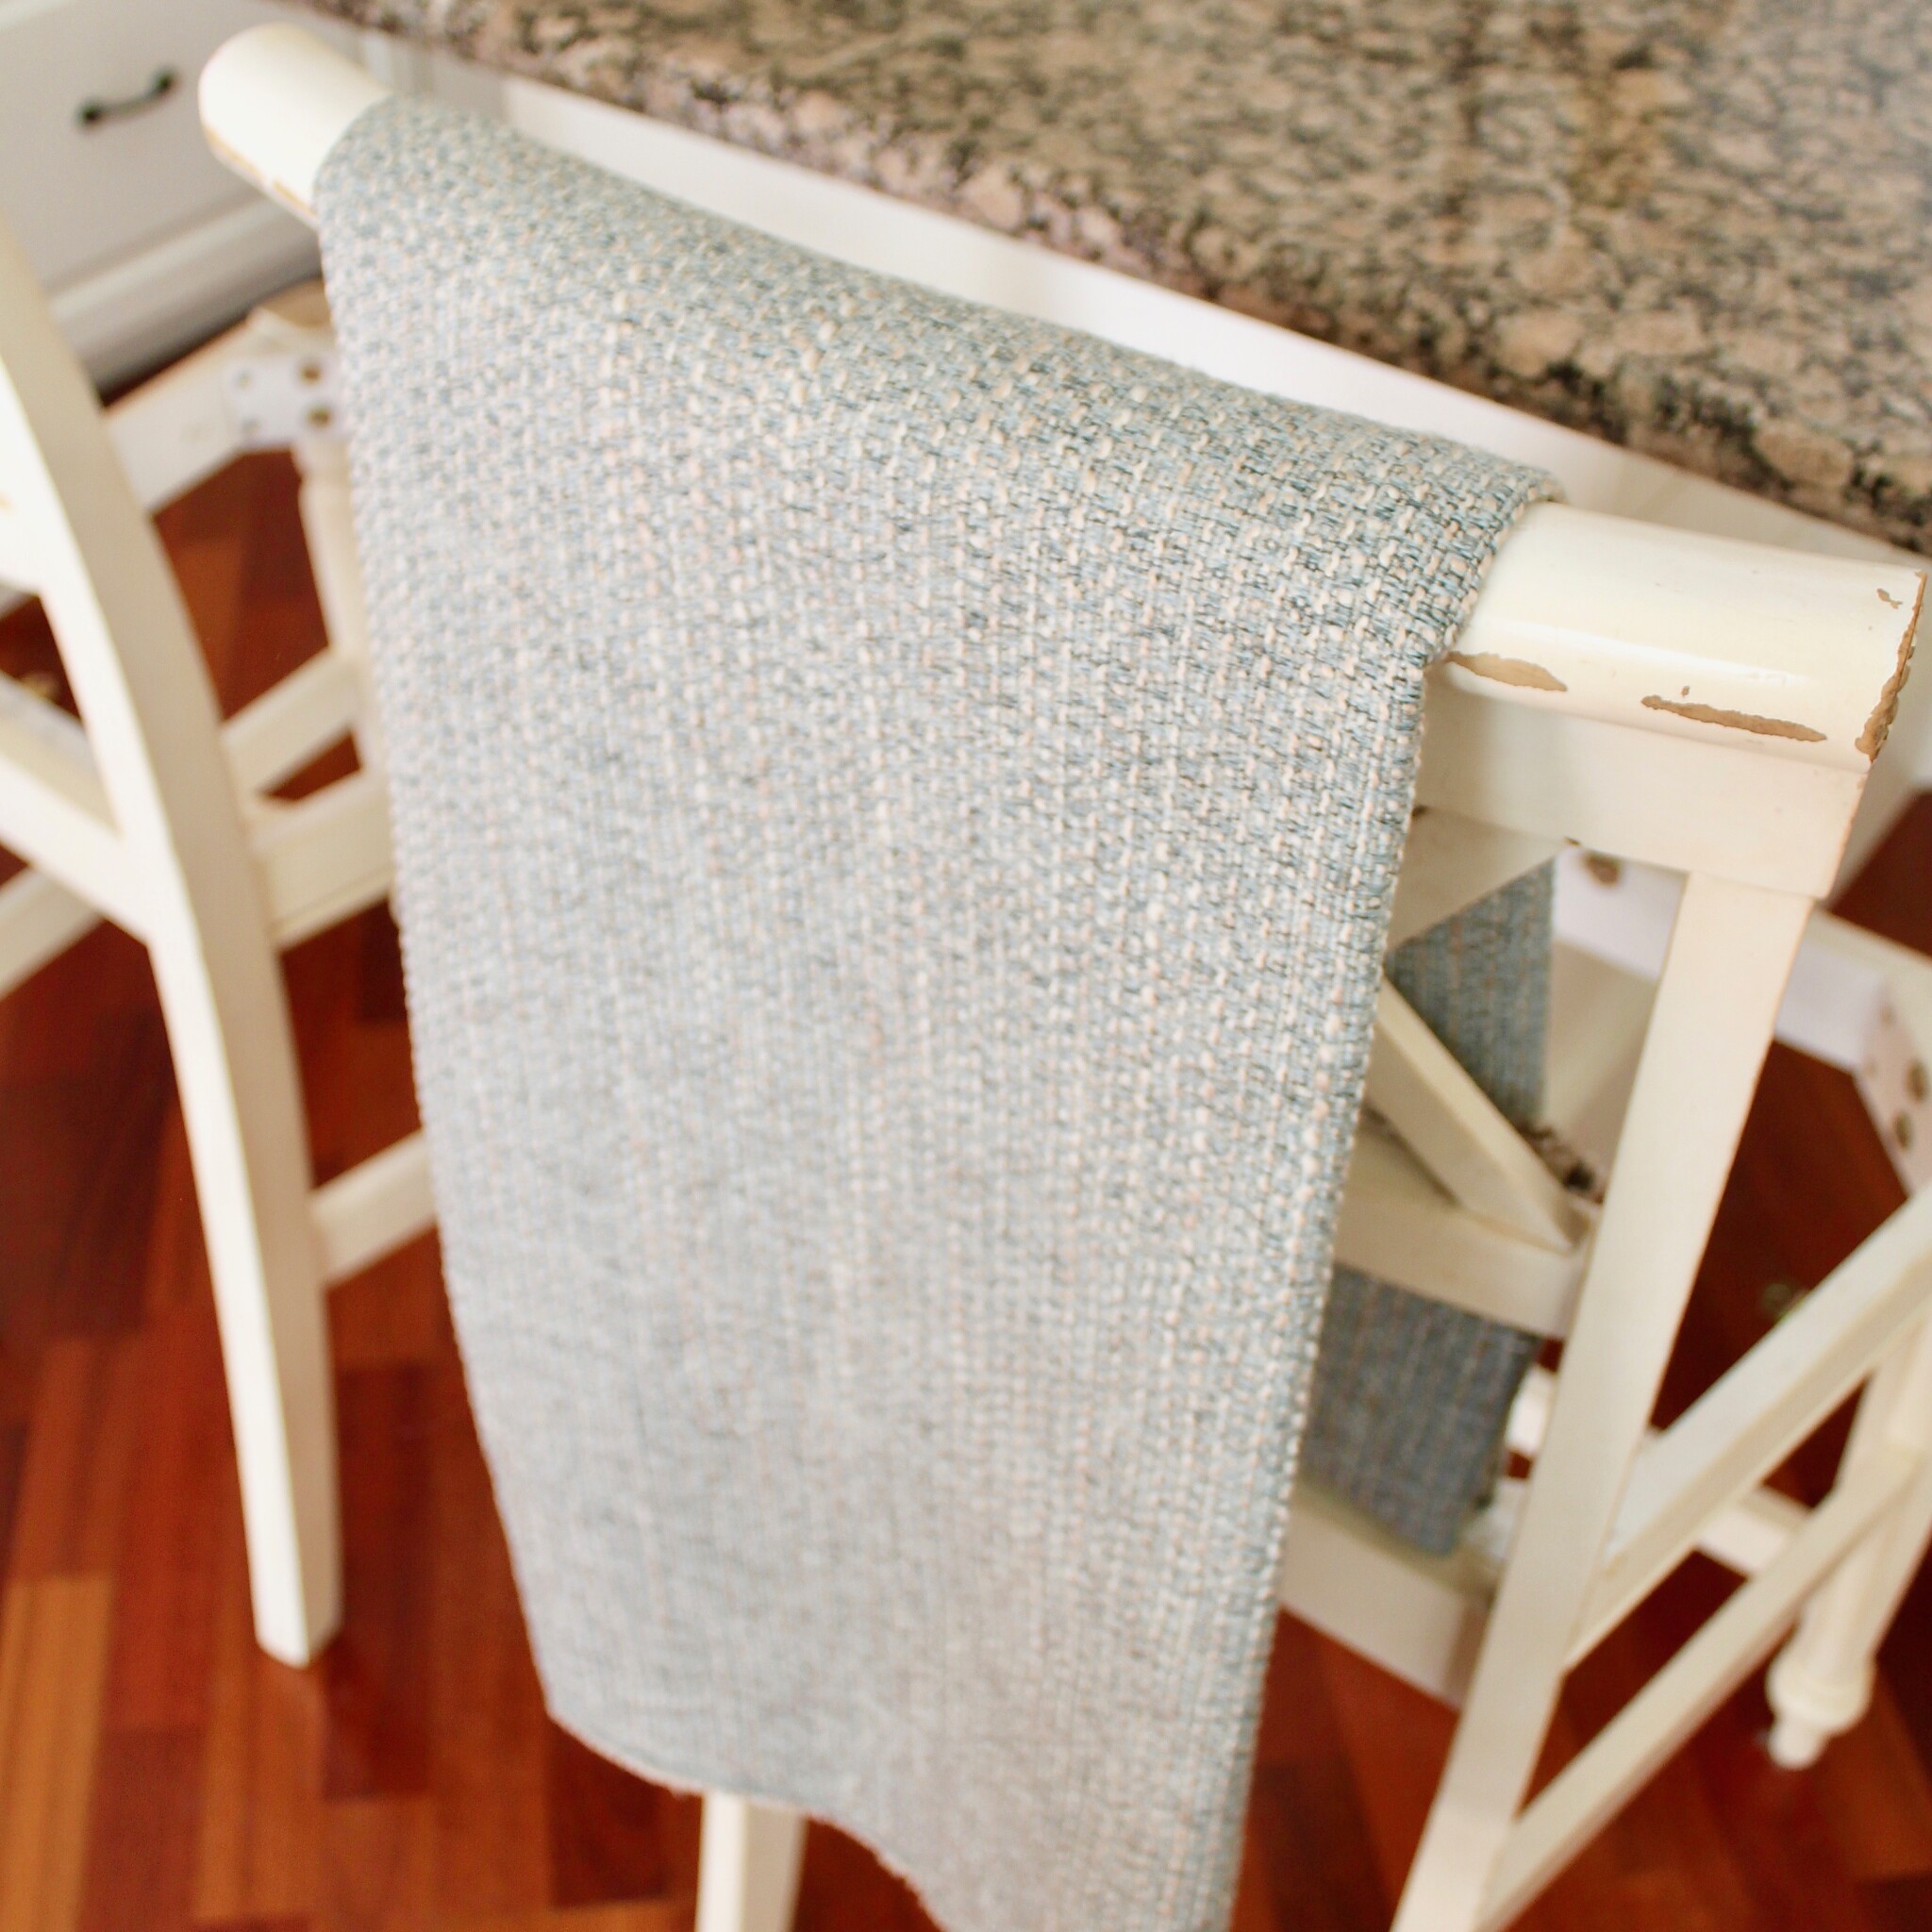
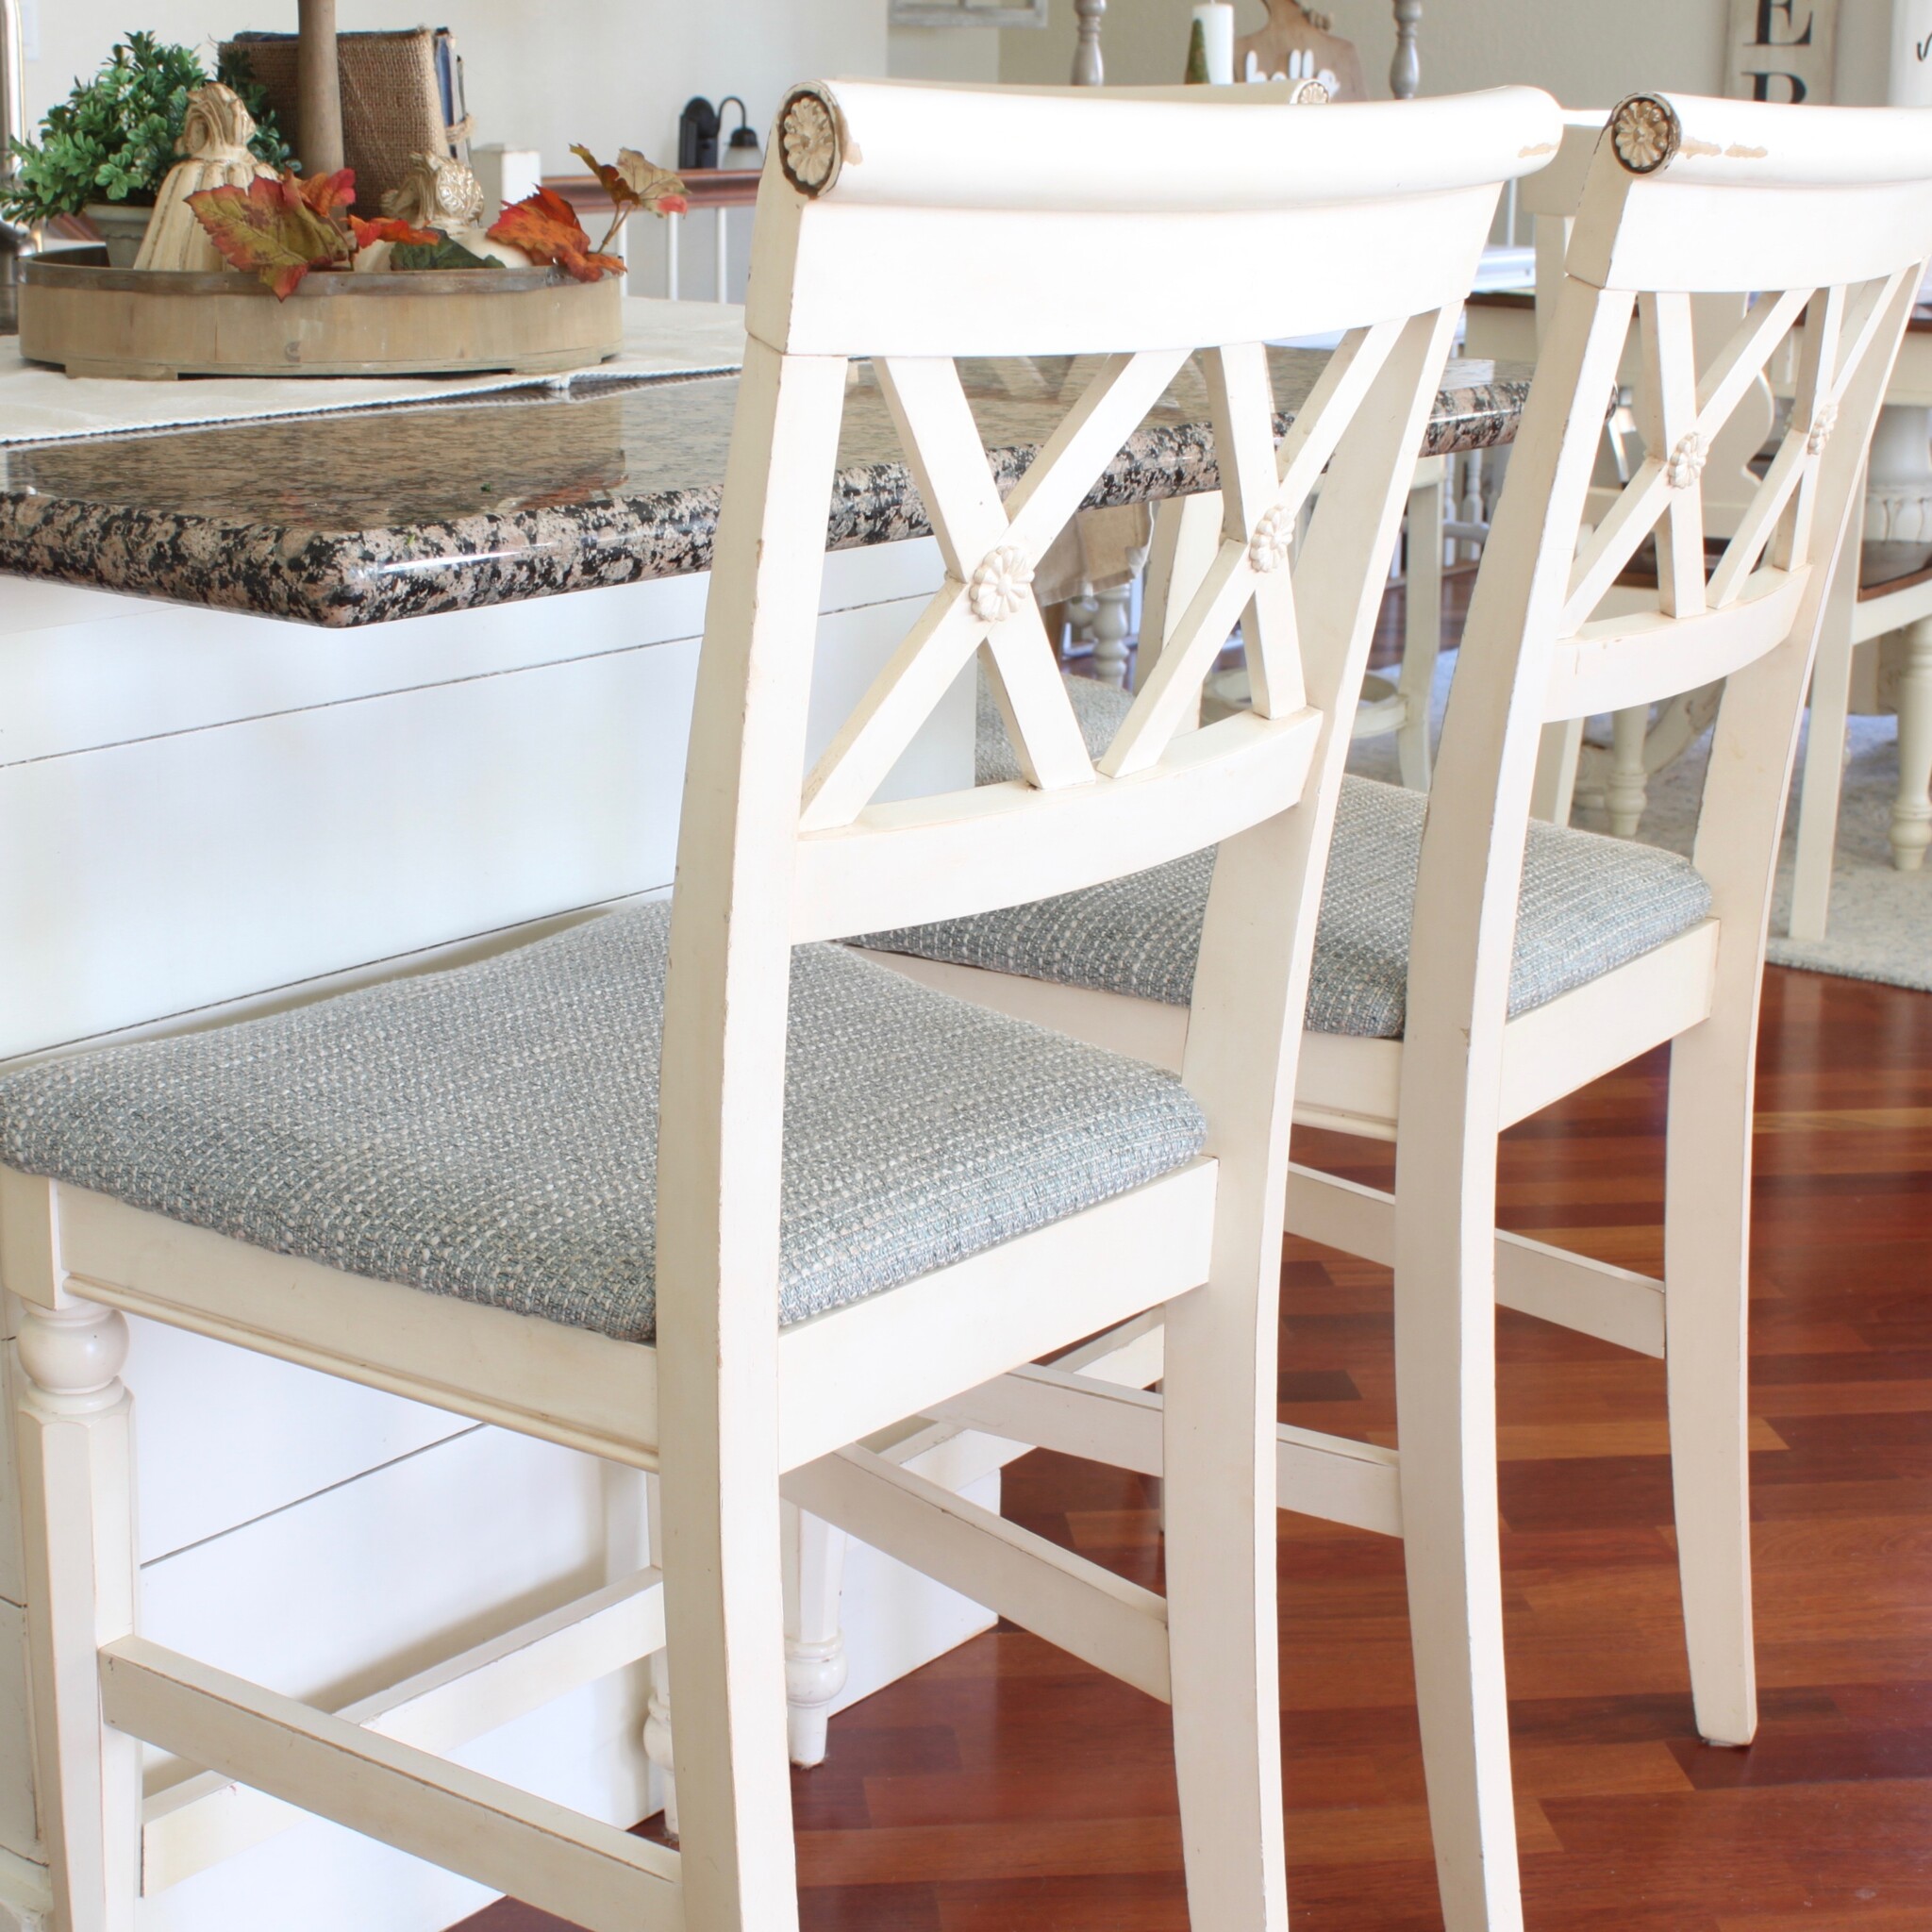
I knew I wanted a hearty, nubby, textured fabric that would hold up well to lots of bums. I also looked for a subtle light blue color, my go-to accent throughout my otherwise neutral-toned home.
It didn’t take long to settle on Kelly Ripa Home’s Mist Lola Texture fabric.
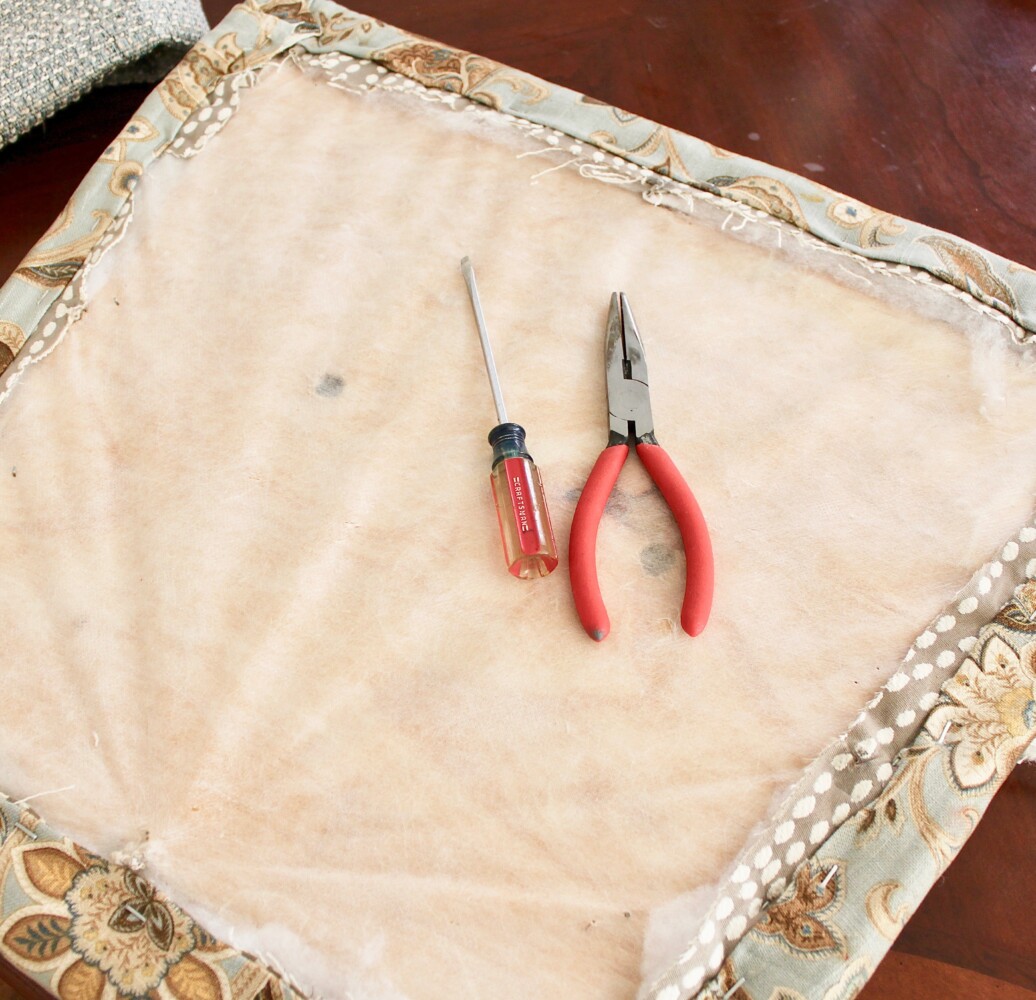
The first step of any reupholstery job is to remove the seat from the chair or barstool base. Most seats are attached to the chair frame with screws underneath, so a quick work with your Phillips screwdriver will release the seat.


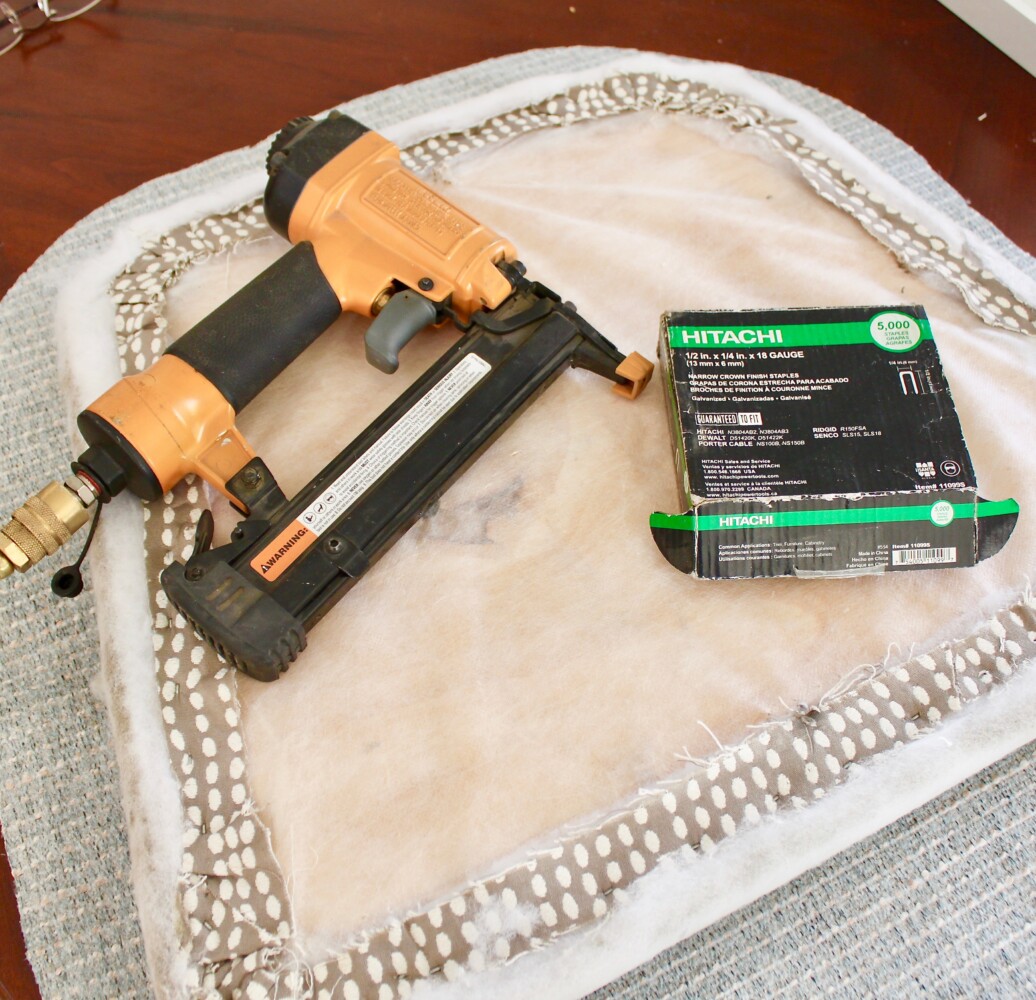
Next, remove any staples that held the old fabric in place. A simple needle-nosed plier works great for this job. Throw in a college student and a husband, and we made short work of it.
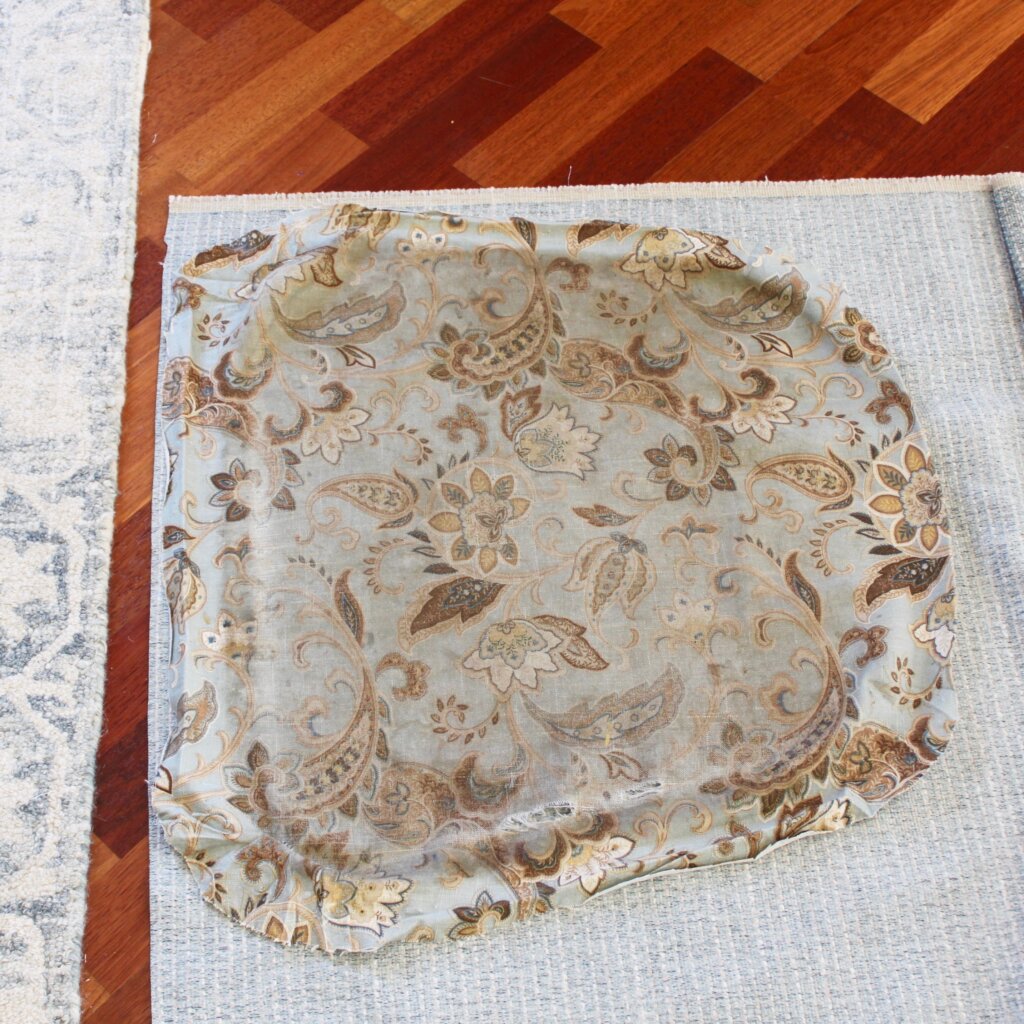
Removing the old fabric is not a necessary step, but given the grimy condition of ours, I opted to do so. (FYI: I believe we’re recovered these barstools 5 different times now.)
TIP: Before throwing the old fabric away, use it as a template to cut out the new fabric (if you can stand to look at that grime a second longer!)

Once new fabric is cut, lay it face down on a surface, set your naked cushion upside down on top, and staple away. (I’ve used a manual stapler in the past, but graduated to a pneumatic stapler because it’s so much more fun…not to mention quicker.)
TIP: I always start my first few staples along the front of the seat, then turn the seat around, pull taught against the back, checking to make sure my pattern is straight and everything is held snug, then place several staples into the back to hold everything where it should be. I then proceed with the sides and the corners until I’ve stapled all around the seat.
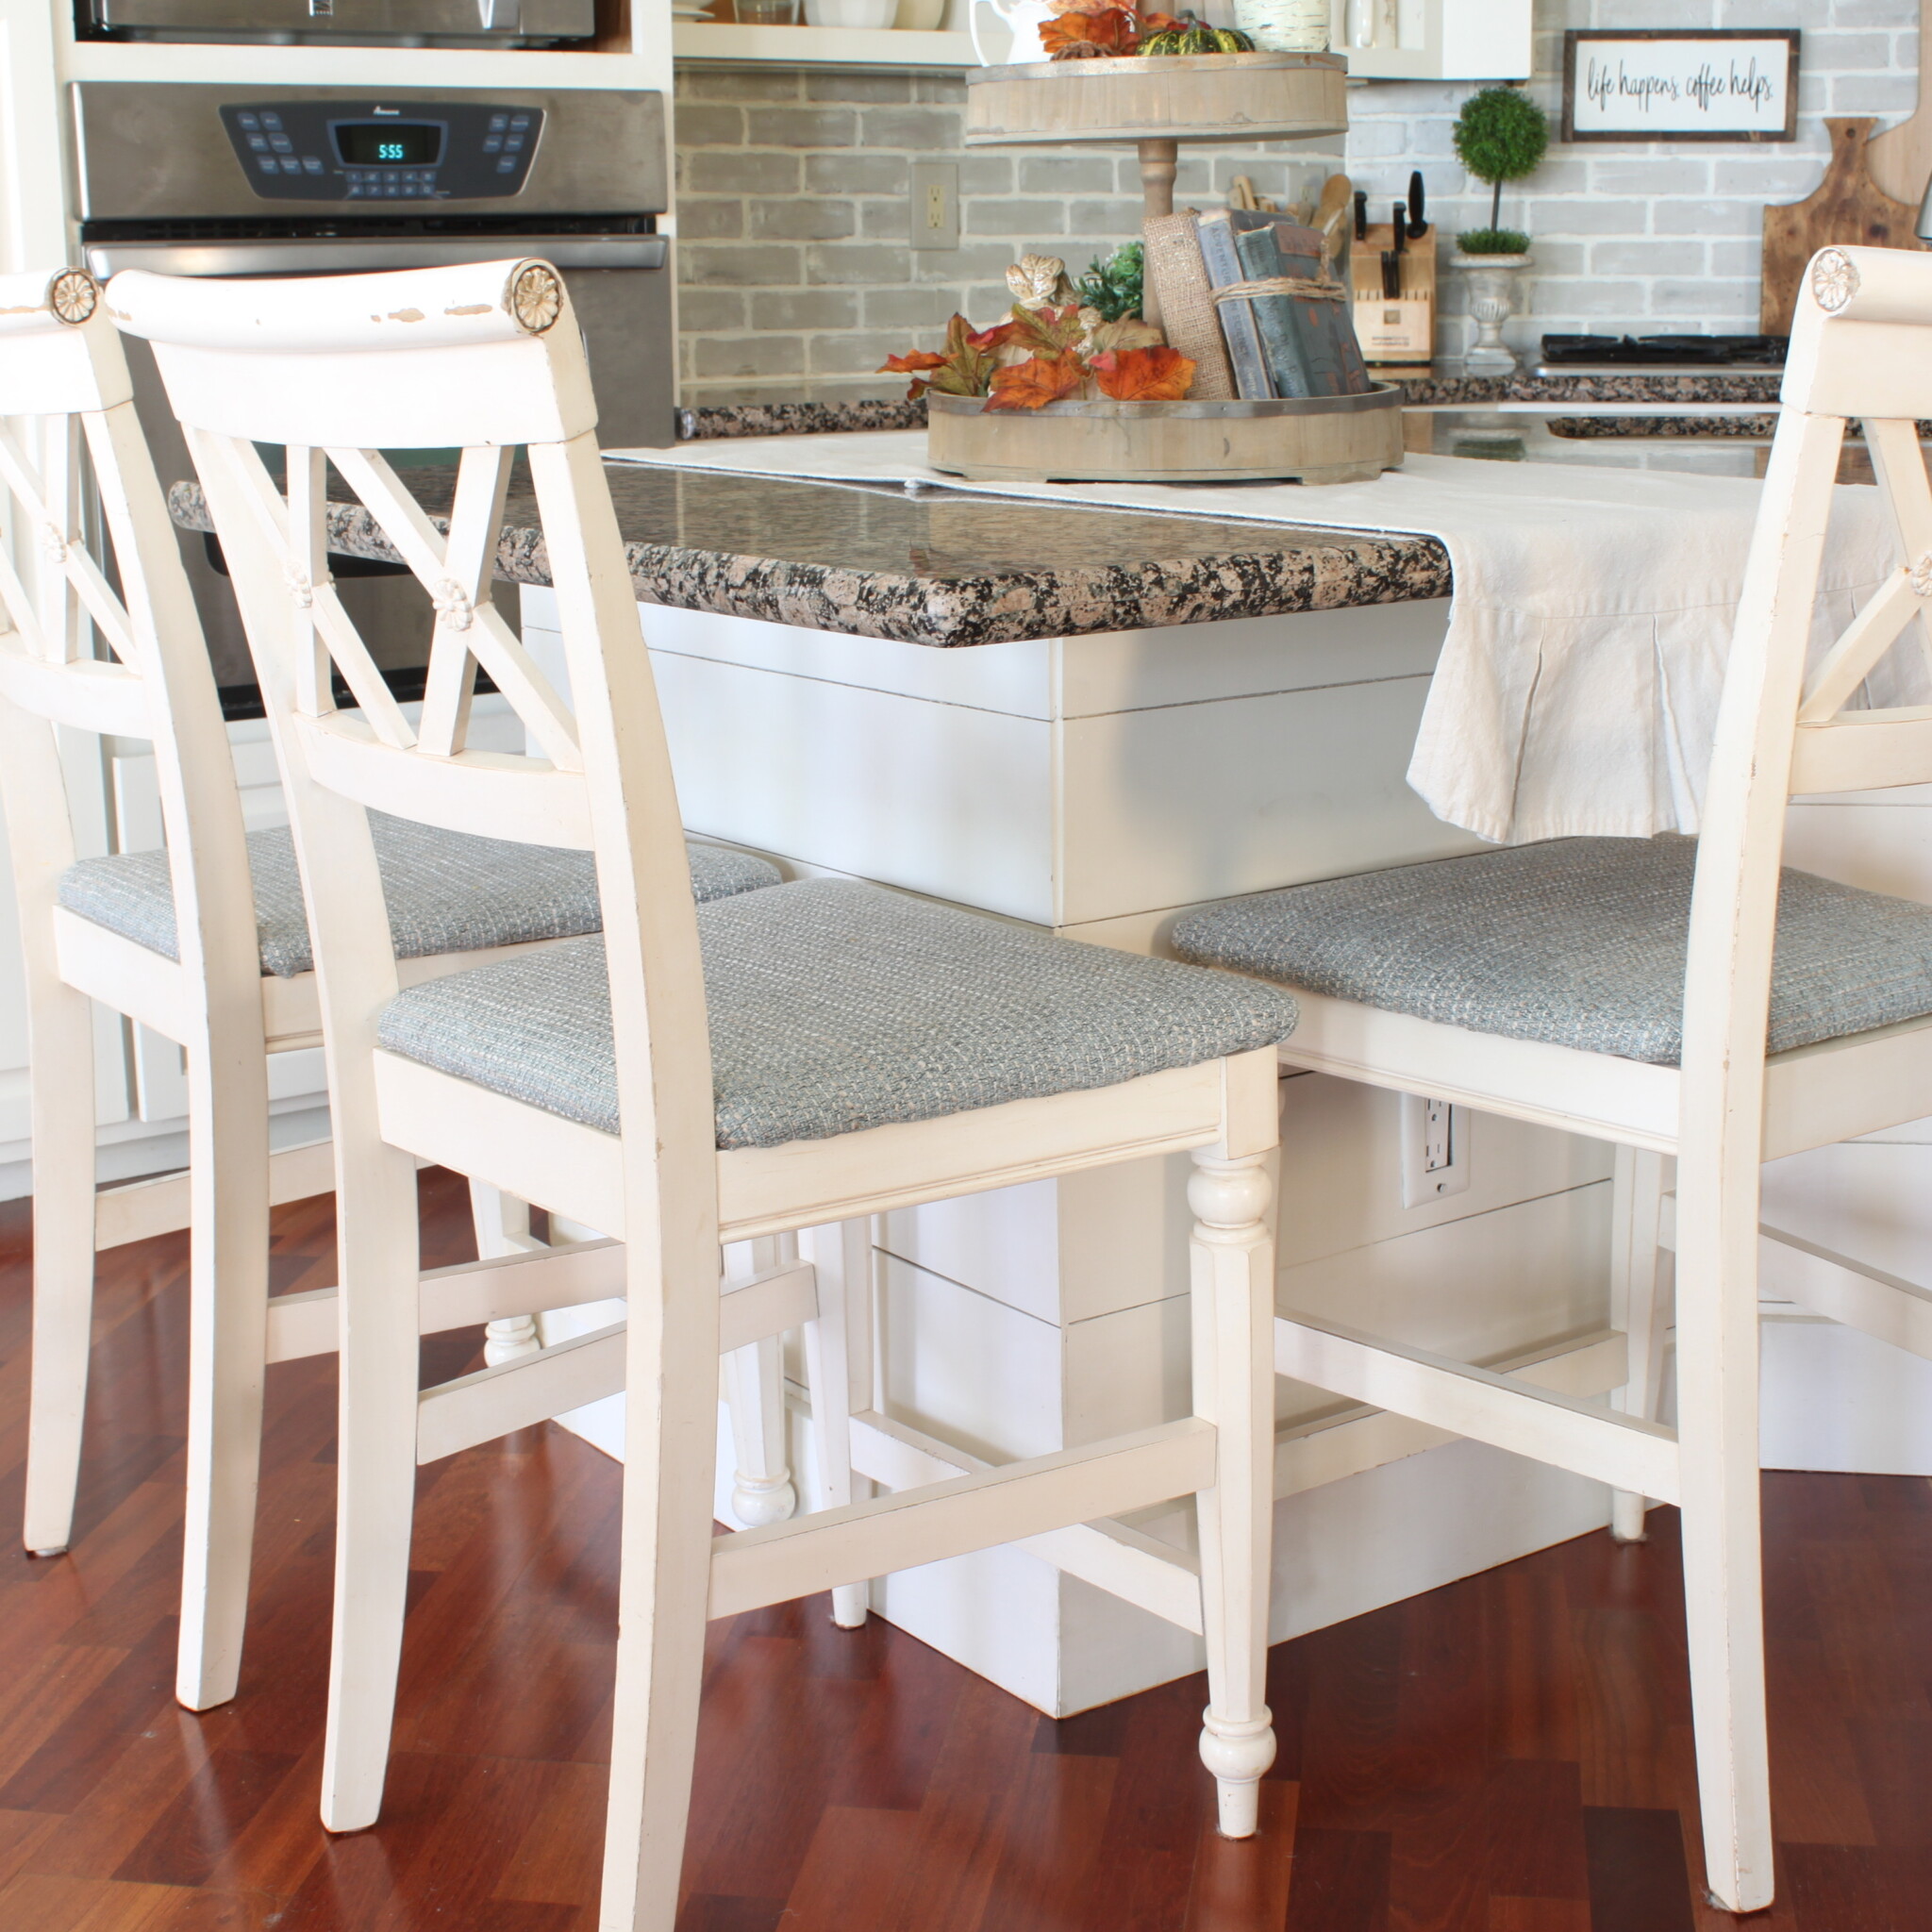
Reattach the newly upholstered seat to your stool frame, and voila!

What a difference new upholstery makes! My kids came home from school absolutely thrilled with the makeover. Even my husband remarked how much better they looked.
Bombing this specific task worked for a time….until none of us could take it anymore.
The fresh new seats were well worth the time.
Have you ever intentionally *bombed* a task in your own life? I’d love to hear about it in the comments below!
 My Best Tip for Avoiding Pinterest Overwhelm
 Part 2: My Bad Attitude…and How I Fixed It
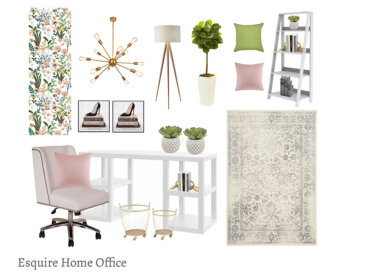
 A Studio for Mom ~ Part 1
I really like your bar stools. I have a countertop height island that they would lovely with. Do you have a source?
Thank you, Debbie! We purchased these stools in 2007 in Anchorage, AK, and I have looked and looked for similar stools to add to mine as I have absolutely loved them. The closest I could find is in link below, but they are not upholstered. Hope you find something you love!
https://www.wayfair.com/furniture/pdp/three-posts-bromborough-double-x-back-24-bar-stool-trpt6339.html?piid=33438496