The next morning, the kids headed back to school, Fireman came home from his 24 hour shift, and we headed right to Home Depot to rent a Floor Polisher with an attachment designed for removing adhesive and prepping concrete for finishing.
The round attachment that secures to the bottom of the Polisher is called a Coating Removal attachment. It costs $75 to rent the Polisher with the attachment for four hours, so we got right to work.
I hung plastic over the doorway to keep dust down in the rest of the house. (Warning: Even with this dust barrier up, my entire downstairs needed to be vacuumed afterward. I highly recommend ear and breathing protection throughout this process.)
Here is Fireman going over and over the floor to remove the adhesive. It took every bit of four hours, and you want to know a secret? I may or may not have sat my hiney down several times on that thing in order to apply more pressure to stubborn spots. I do NOT recommend this method, but you do what you gotta do, folks. After several jolting, vibrating, kick-back rides, there is no doubt I’m now qualified to place in a mechanical bull ride at the county fair.
As we neared the end, I followed Fireman around with our shop vac to suck up as much dust as I could.
Once the floor was completely ground down, the dust all vacuumed out, I used our multi-surface floor shampooer over the entire thing to wash it down and remove every last trace of debris.
To begin the painting process, I purchased a Bonding Primer from Home Depot along with 2 gallons of Concrete and Garage Floor Paint.
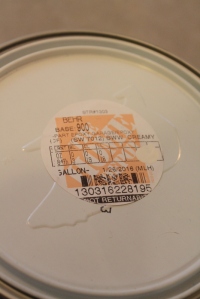
I asked the paint people to tint the Concrete and Garage Floor Paint to match the other white in my house, SW Creamy, which they do for no extra charge.
The Bonding Primer was extremely liquidy and didn’t take much to apply. I doubt I even used 1/2 a gallon. I used an extending rod on my roller to save my back.
After letting the bonding primer dry four hours, I feather-brushed around all the edges of the room with the Concrete Paint, then applied my first coat with a roller (again on an extending rod), letting the first coat dry overnight.
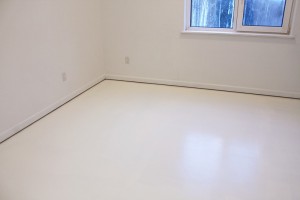
The next day, I applied a second coat. Because I could still see some uneven spots after the second coat of paint, I went ahead and applied a thin third coat this morning to even everything out. There is a trace amount of paint left in my second gallon pail…just enough to store for touch-ups down the road.
It’s drying beautifully after the third coat.
It is now time to head downstairs and begin measuring for my diamond pattern. I fell in love with this two-toned floor at Thistlewood Farm last year and it’s been in my head ever since. Would you believe this is a painted plywood subfloor?

Wish me luck!




 Vintage Market ~ Sneak Peek
 Yes, I Do Home Design!
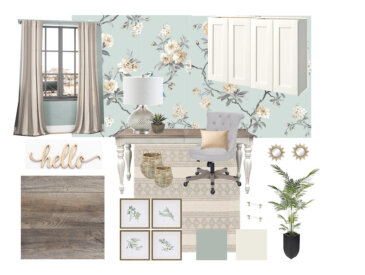 Office Makeover: The Design

Where was Gabriel with his video camera when you were sitting on the floor polisher? Now that I would pay to see!