If this is your first time visiting my blog, I am so honored you are here! I hope in some small way you find encouragement, inspiration, and validation as a mommy, a wife, and a creative soul. If there’s one thing I’ve learned about women in my decades of walking in the (sometimes) cute shoes of one, it’s that women long to know they’re not alone in their frustrations, their worries, their fears, their celebrations, and their milestones. Let me assure you, dear reader: YOU ~ are not alone. I am eager to share this blogging journey with you in authenticity, creativity, and homemaking.
One of the things I love to do in our home is combine my faith and inspiration with decorating so that our walls and spaces truly reflect the virtues and personal character we value. One way to do this is through painted wooden signs, an easy and inexpensive way to speak scripture, encouragement, and hope to all who enter.
Yesterday I carved some space in my afternoon and sketched out the “Be Still” sign below in our sitting room.
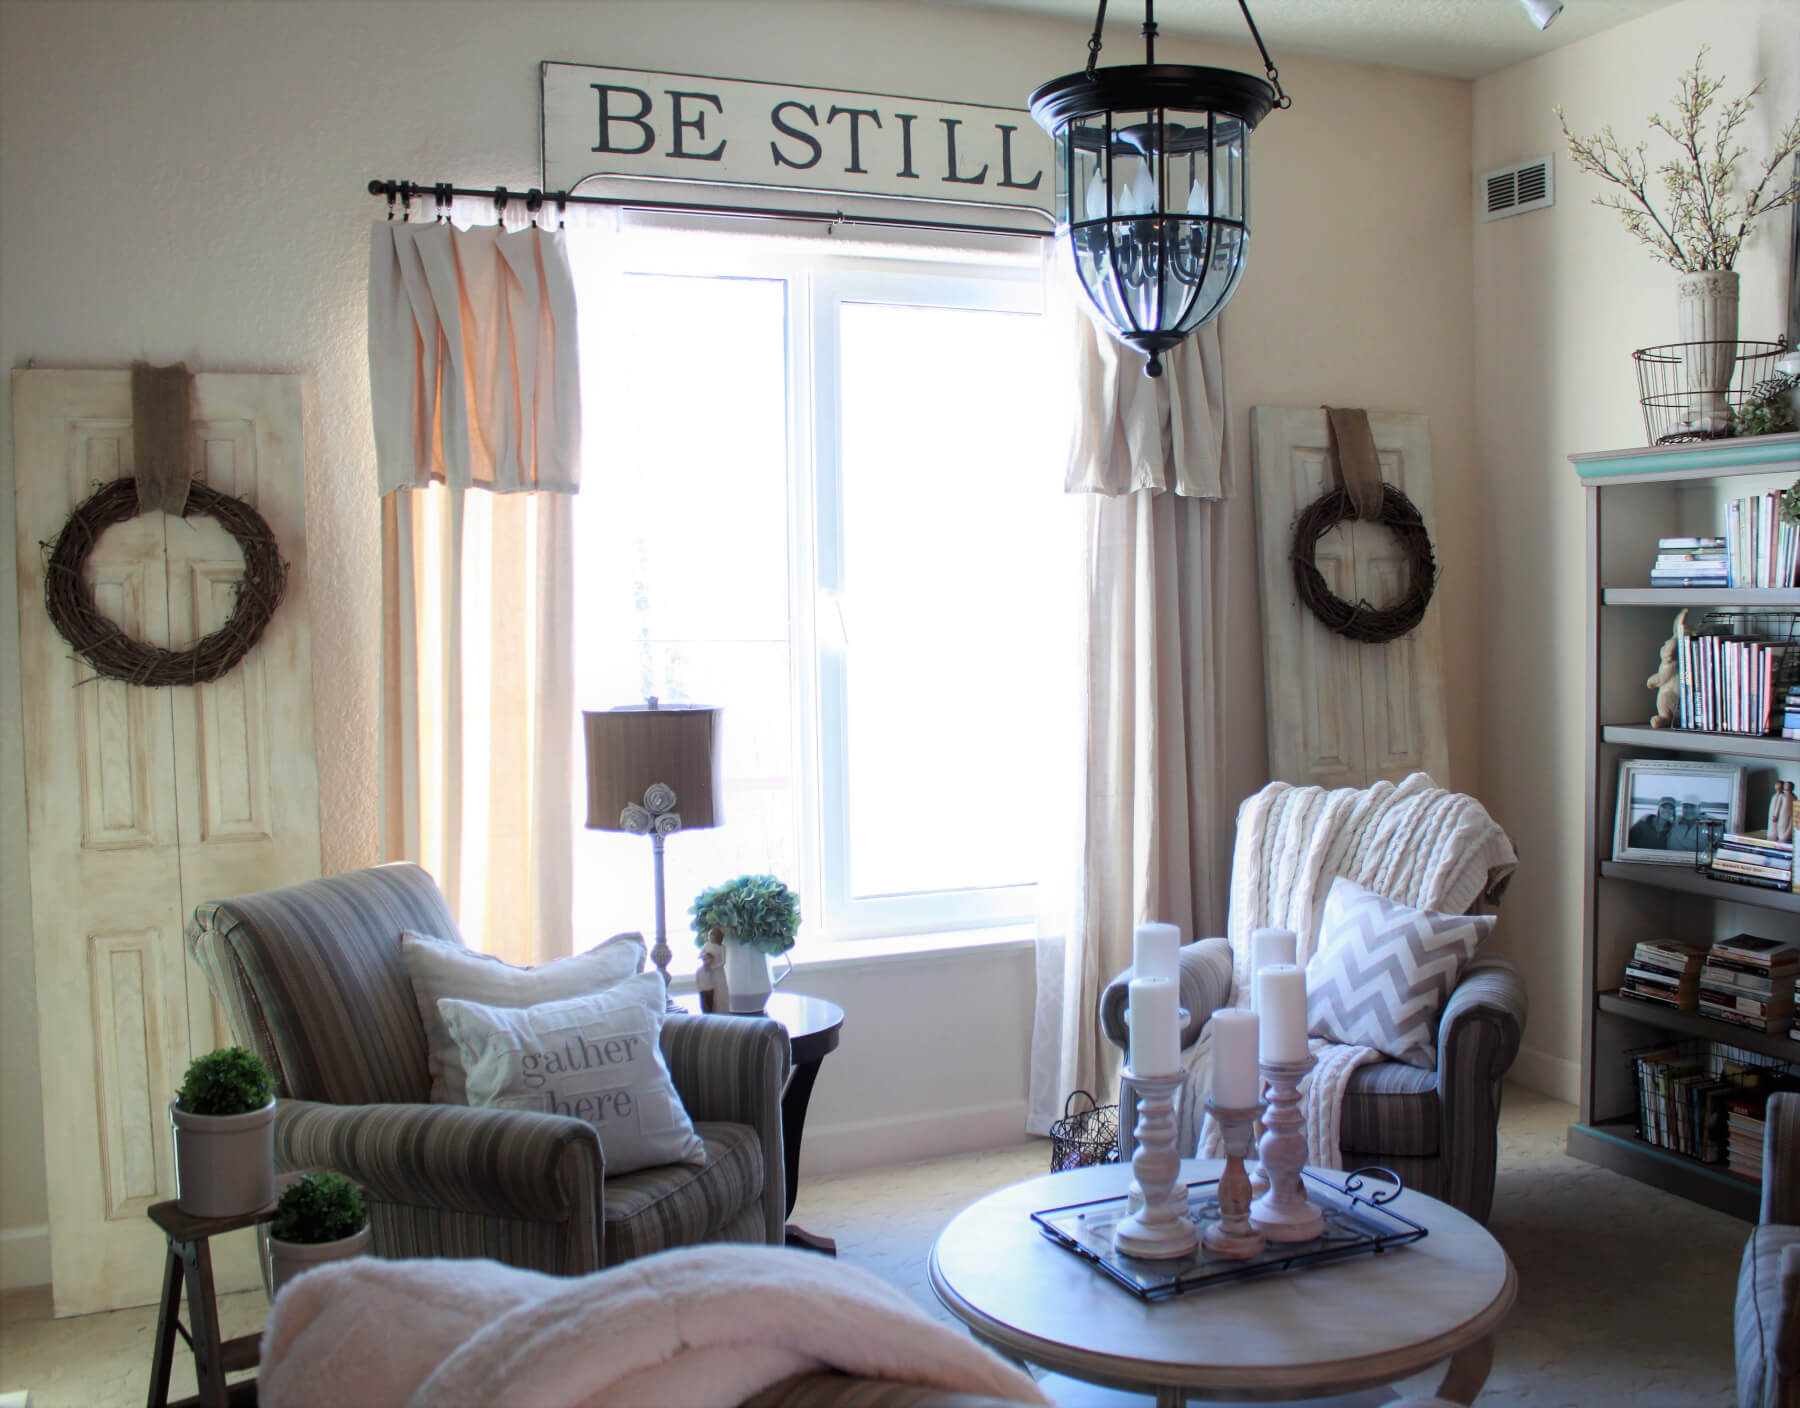
I absolutely love this reminder of Psalm 46:10 which says, “Be still, and know that I am God.” Each morning before I get ready for the day, I sit in that chair on the left with my double-shot coffee and practice this very thing…being still….and trusting that He is God, reminding myself that where my strength stops, His begins. His strength is made perfect in my weakness (2 Corinthians 12:9).
Oh, how I wish I were discerning and disciplined enough to remember this each and every day!
But let’s get to the DIY part of this post! I hope to show you how very easy it is to make your own hand-painted sign with some old wood, paint (of any kind), a printer, graphite paper, a pencil, and a paintbrush. Here we go:
First, I used an old salvaged piece of wood from a very dilapidated piano left out in the rain and elements. The perfect choice for a rustic, textured handpainted sign. I painted only one layer of JoAnne’s brand Chalkpaint called Sheep’s Wool which has a slightly creamy color, not pure white. I didn’t mind if the nicks, scratches and imperfections weren’t completely covered. I was going for a rustic look.
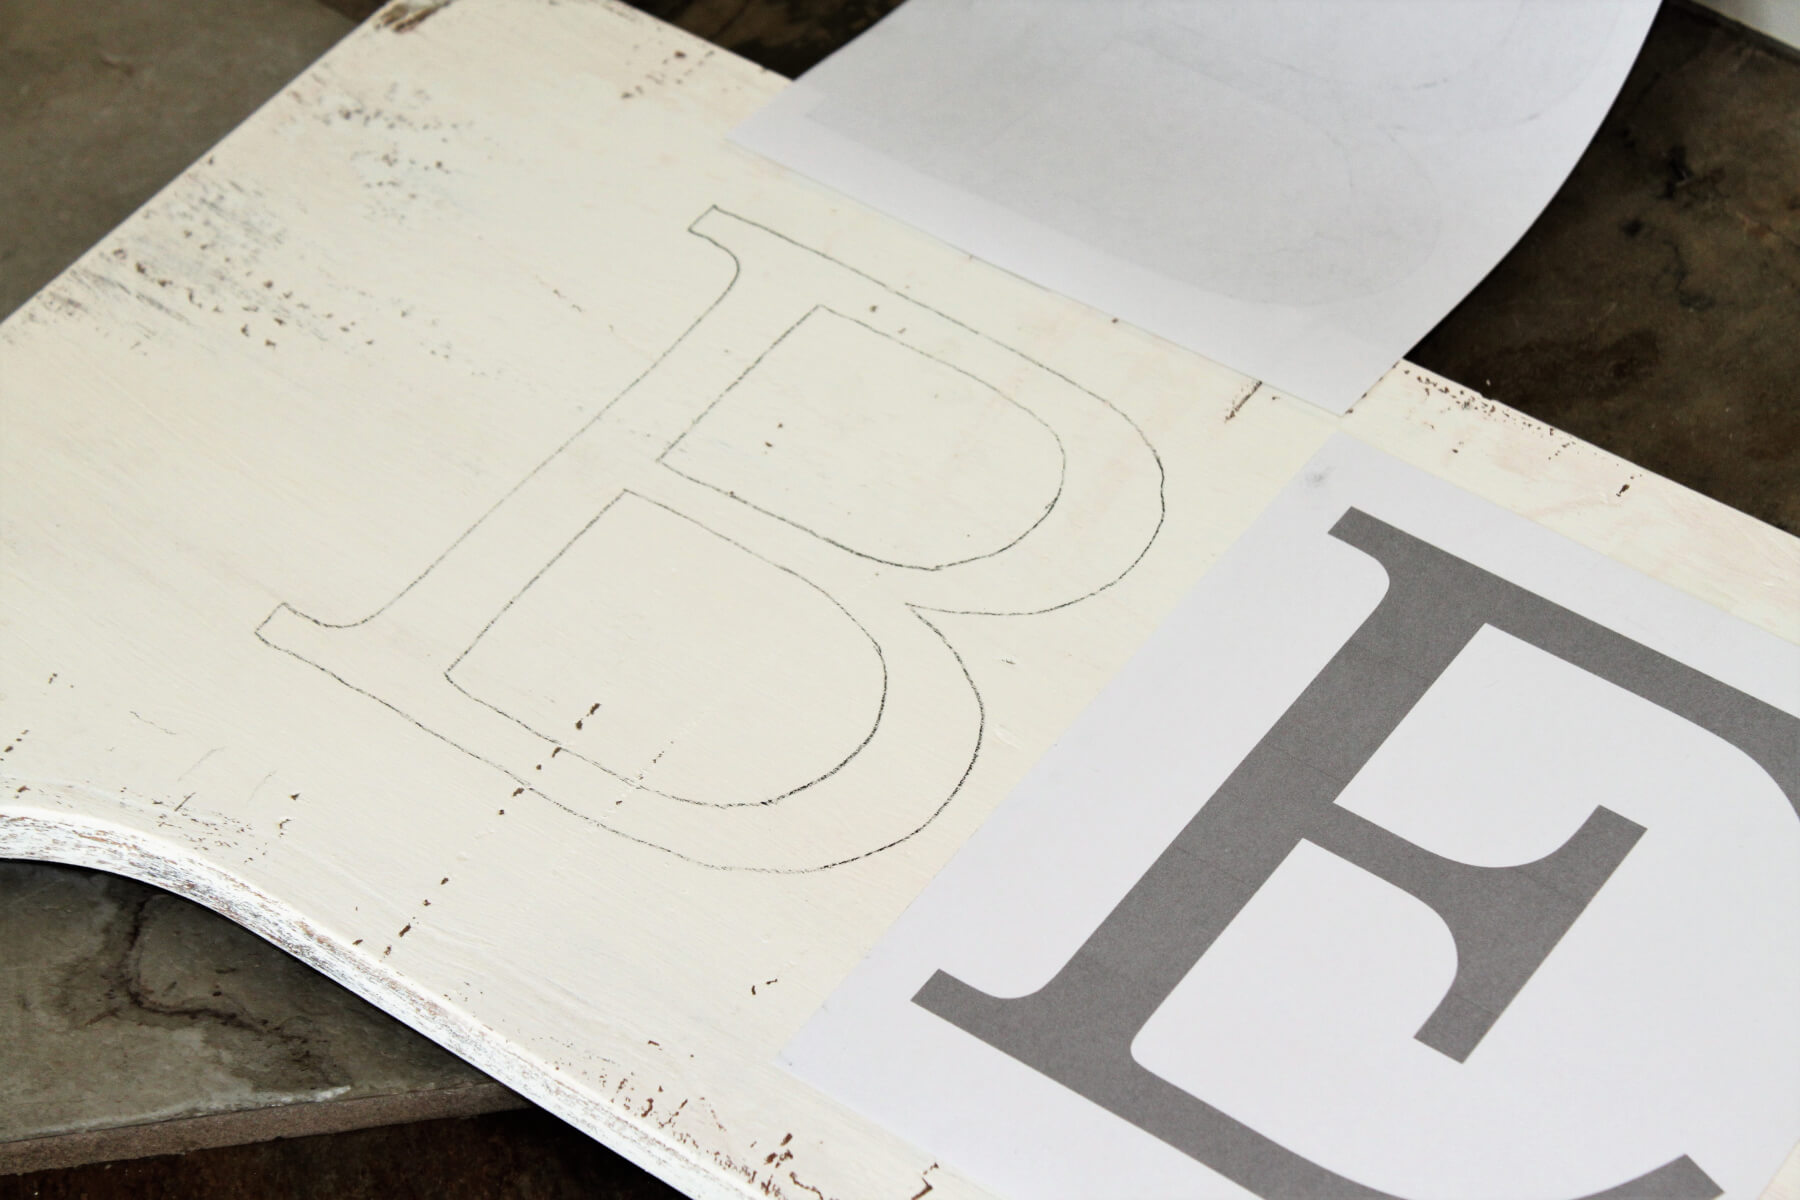
Next, I used Microsoft Word to create a New Document, set my font to Bookman at 680 pt, and then printed off the letters one by one. ( I switched the ink color from black to gray so I didn’t waste as much ink.)
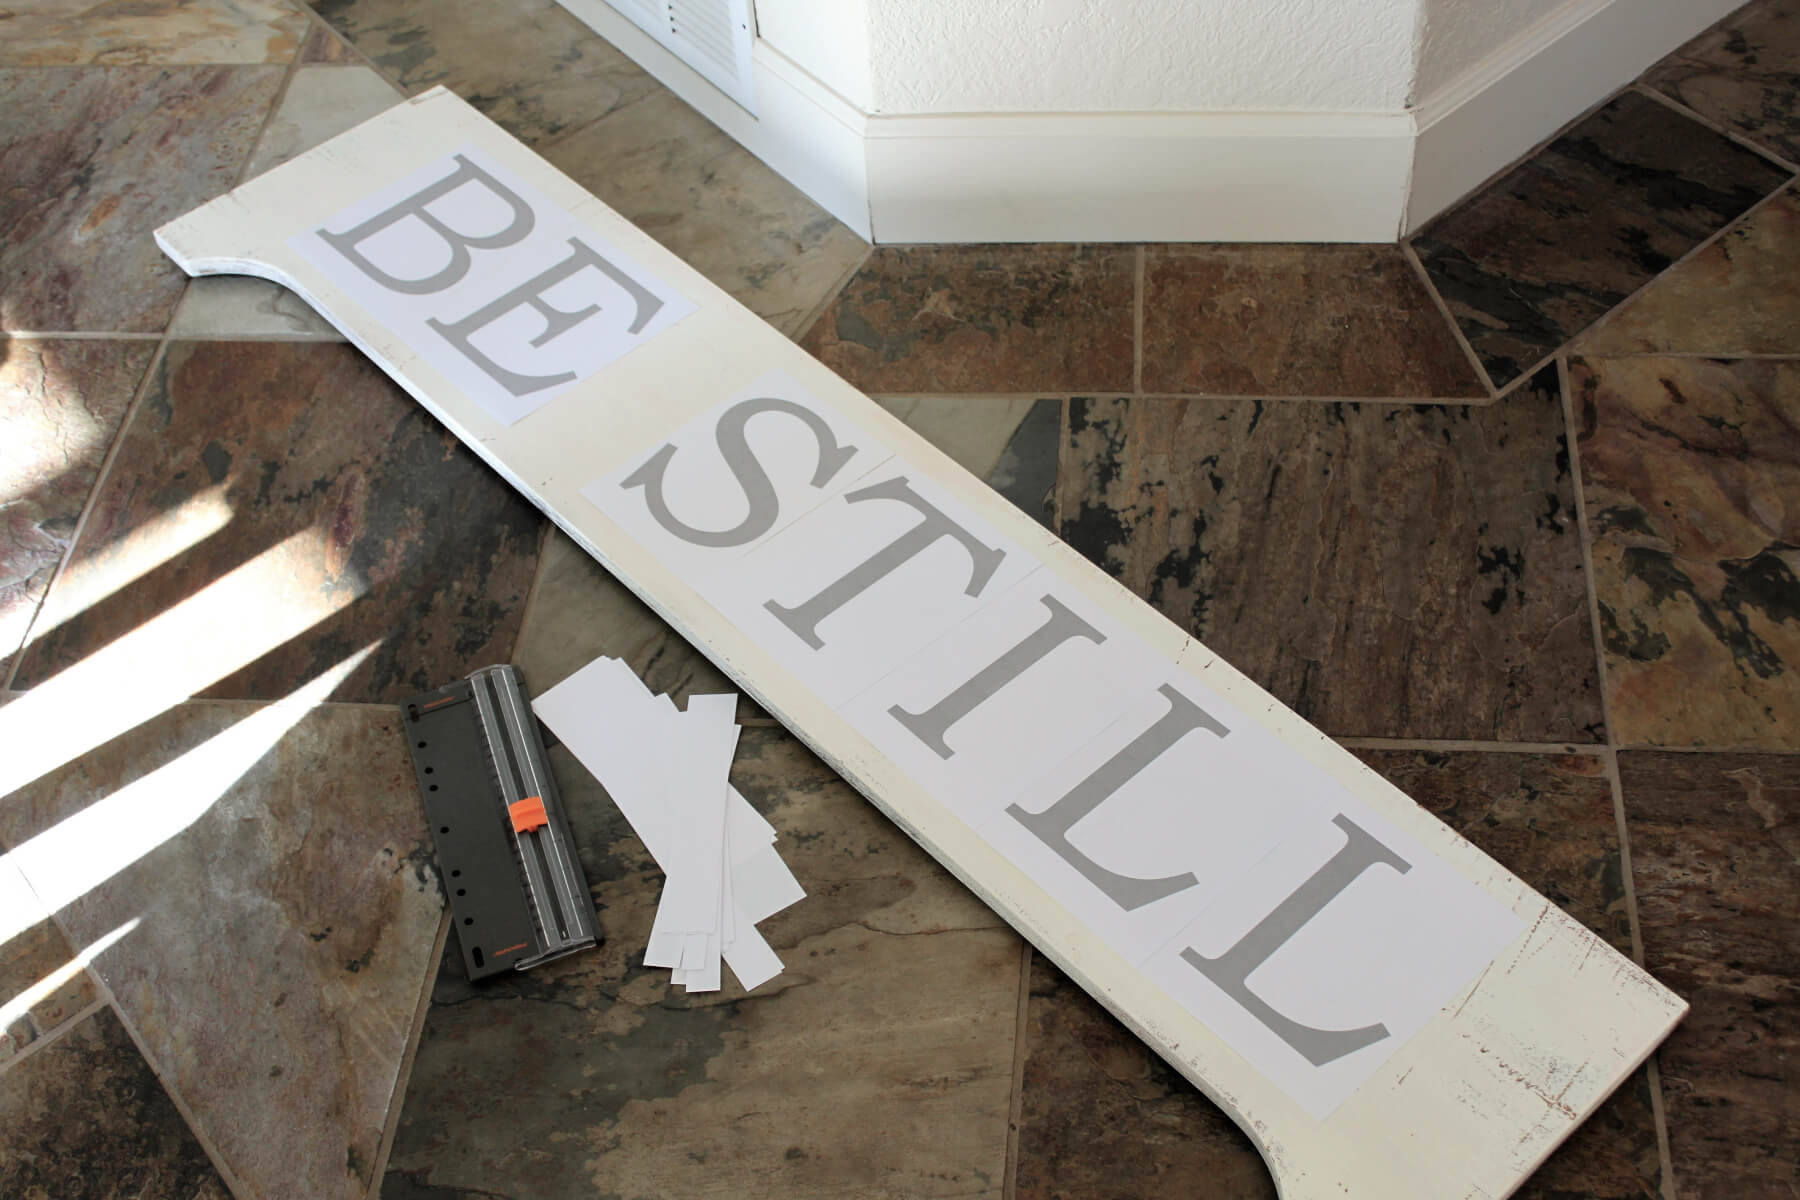
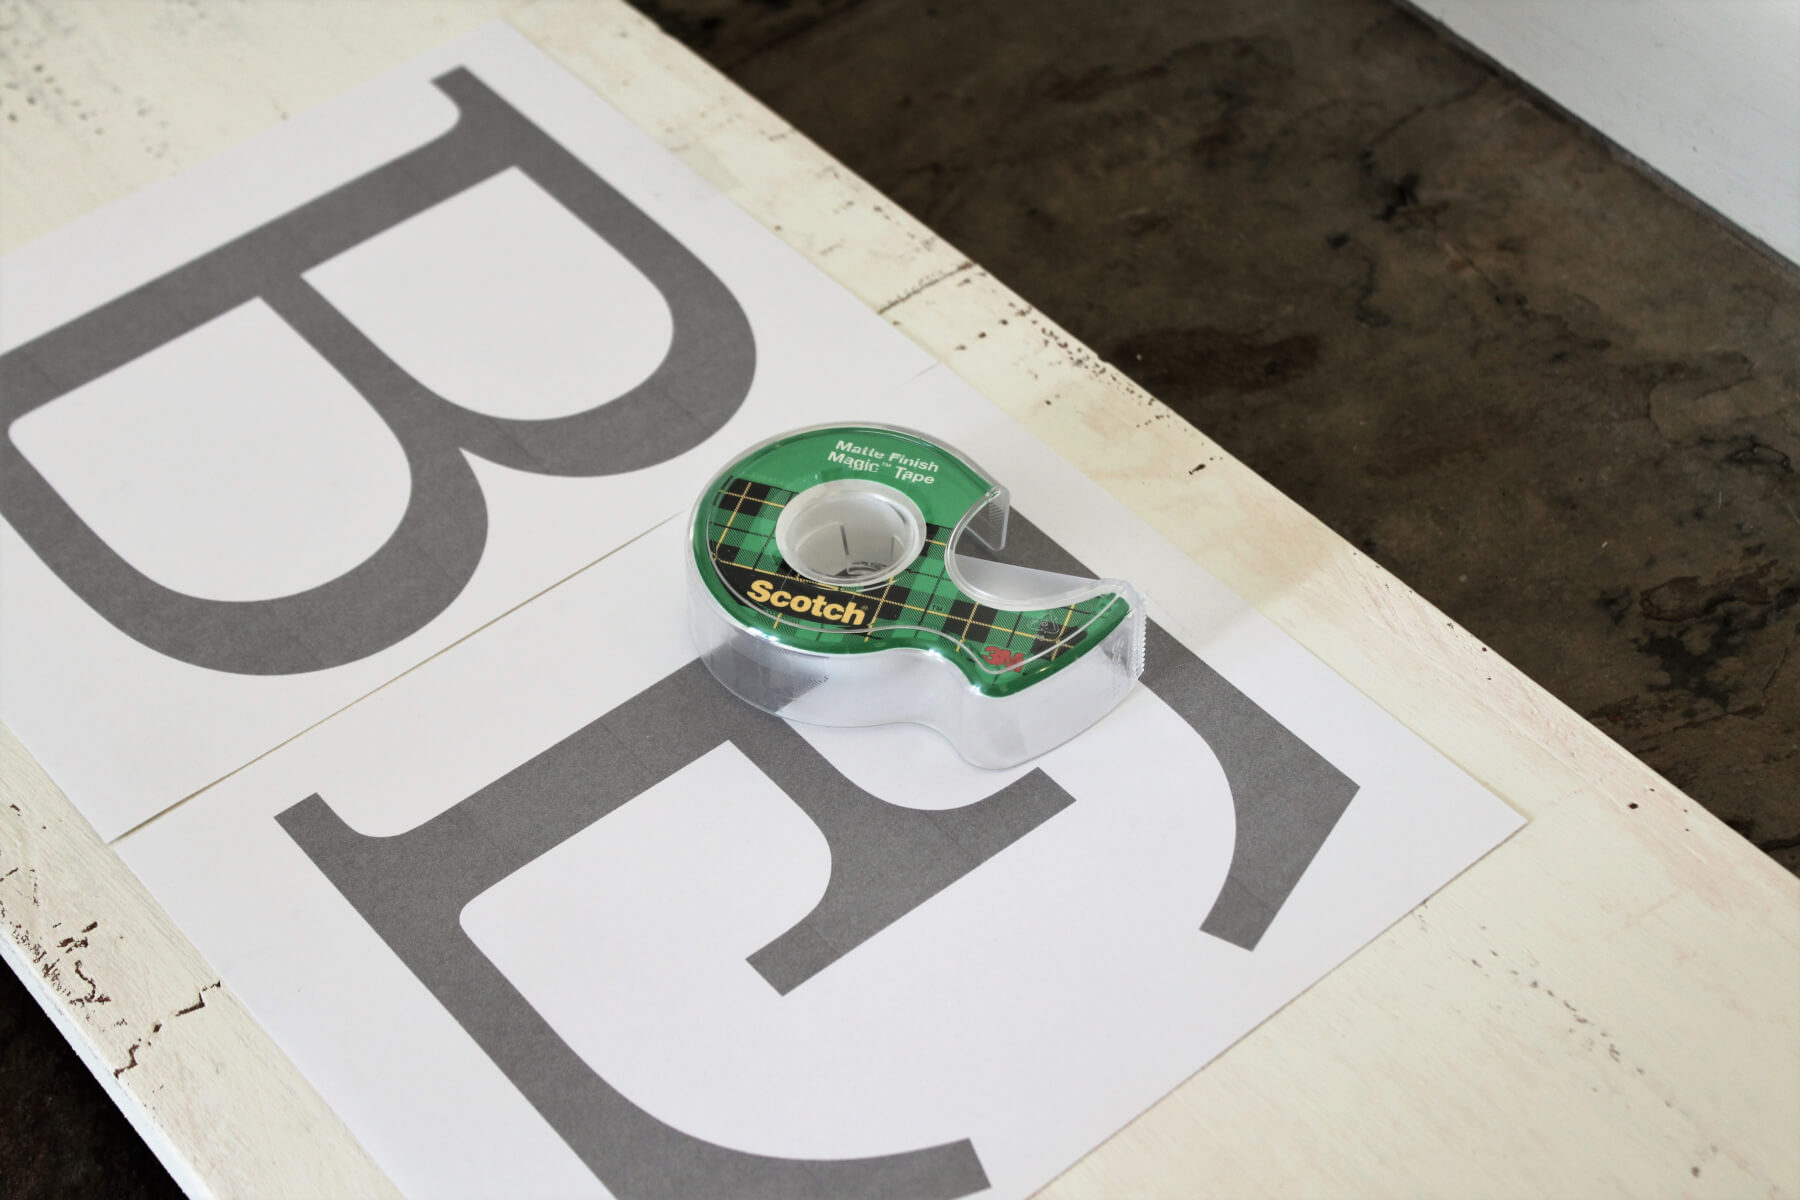
After trimming (with my paper cutter) and arranging the letters correctly on my painted board, I used a small piece of Scotch tape at the top of each letter to hold it in place for the graphite transfer.
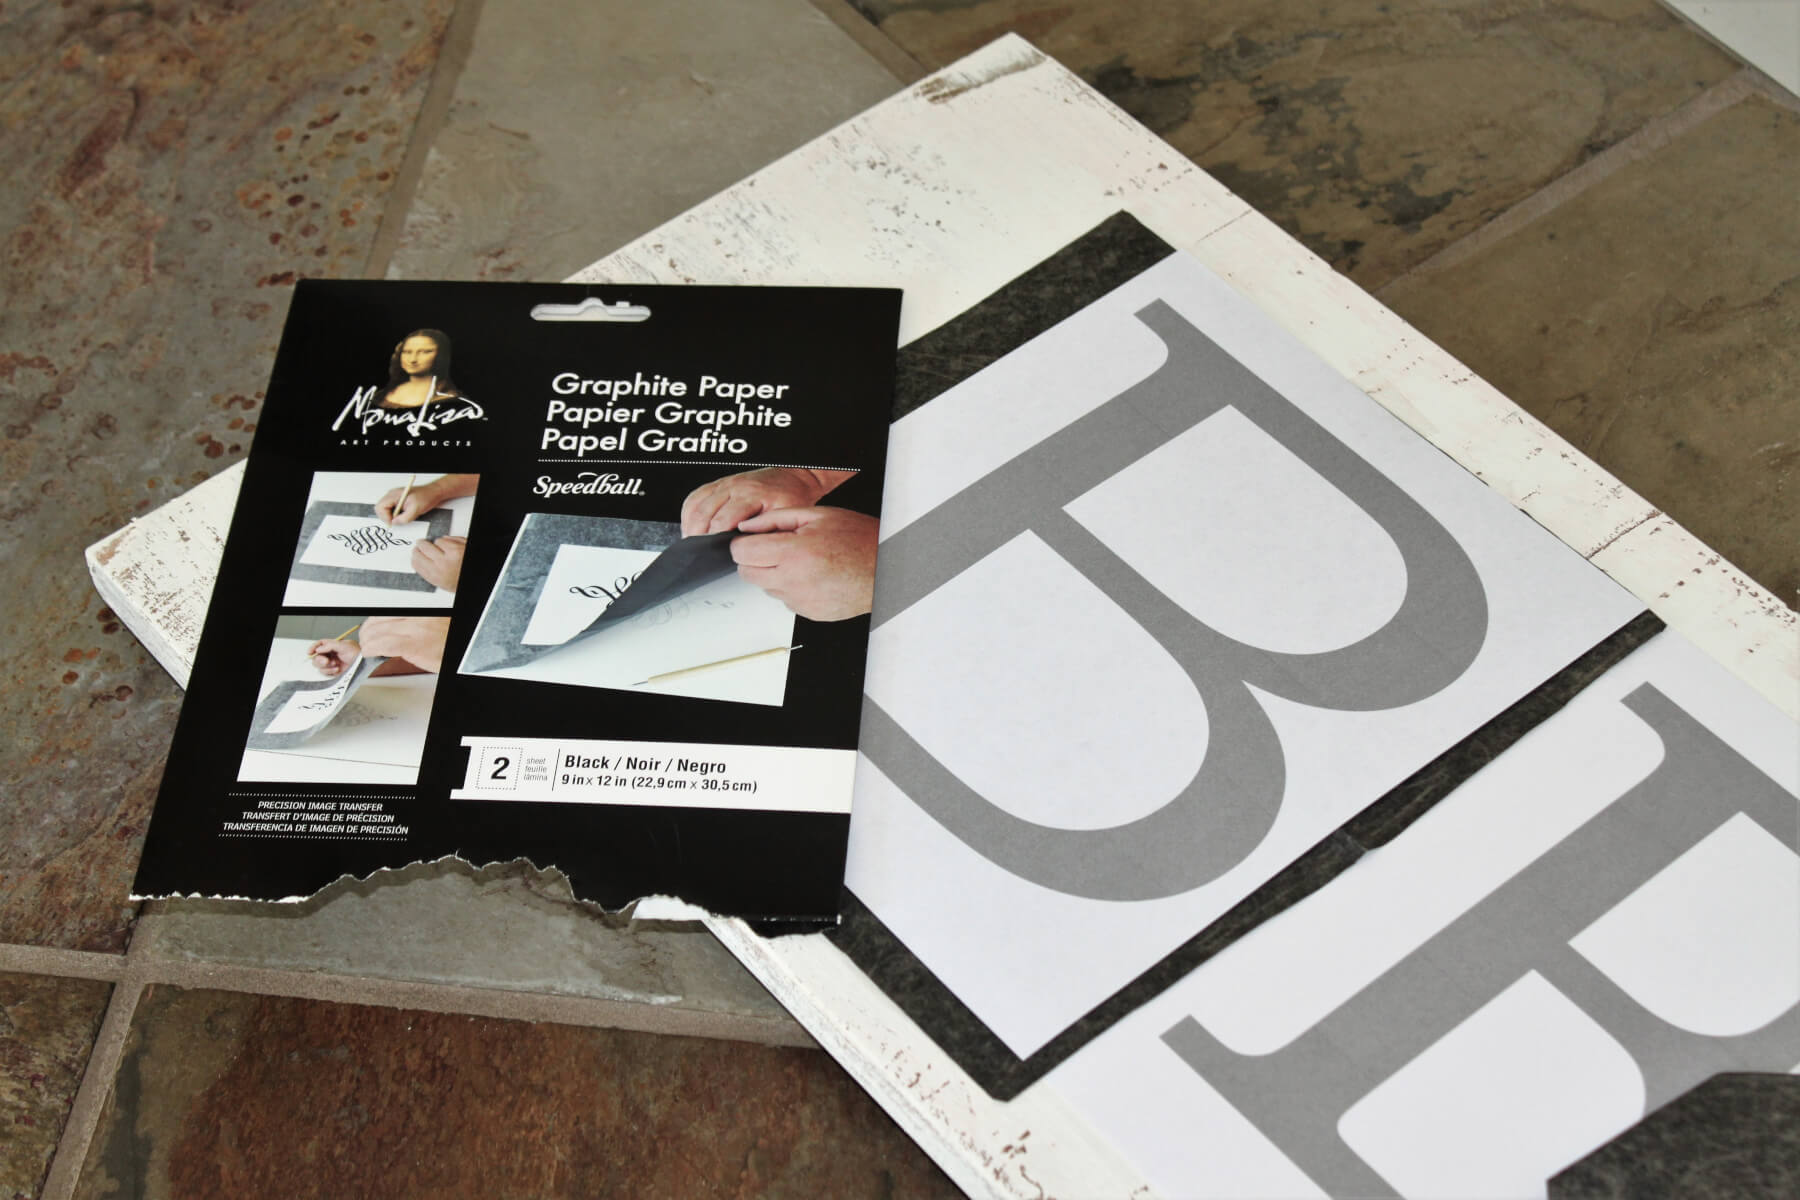
Placing a sheet of graphite paper (from any craft store; mine is from Michael’s) under each letter in turn, I traced around the letters until the graphite had transferred onto the board.

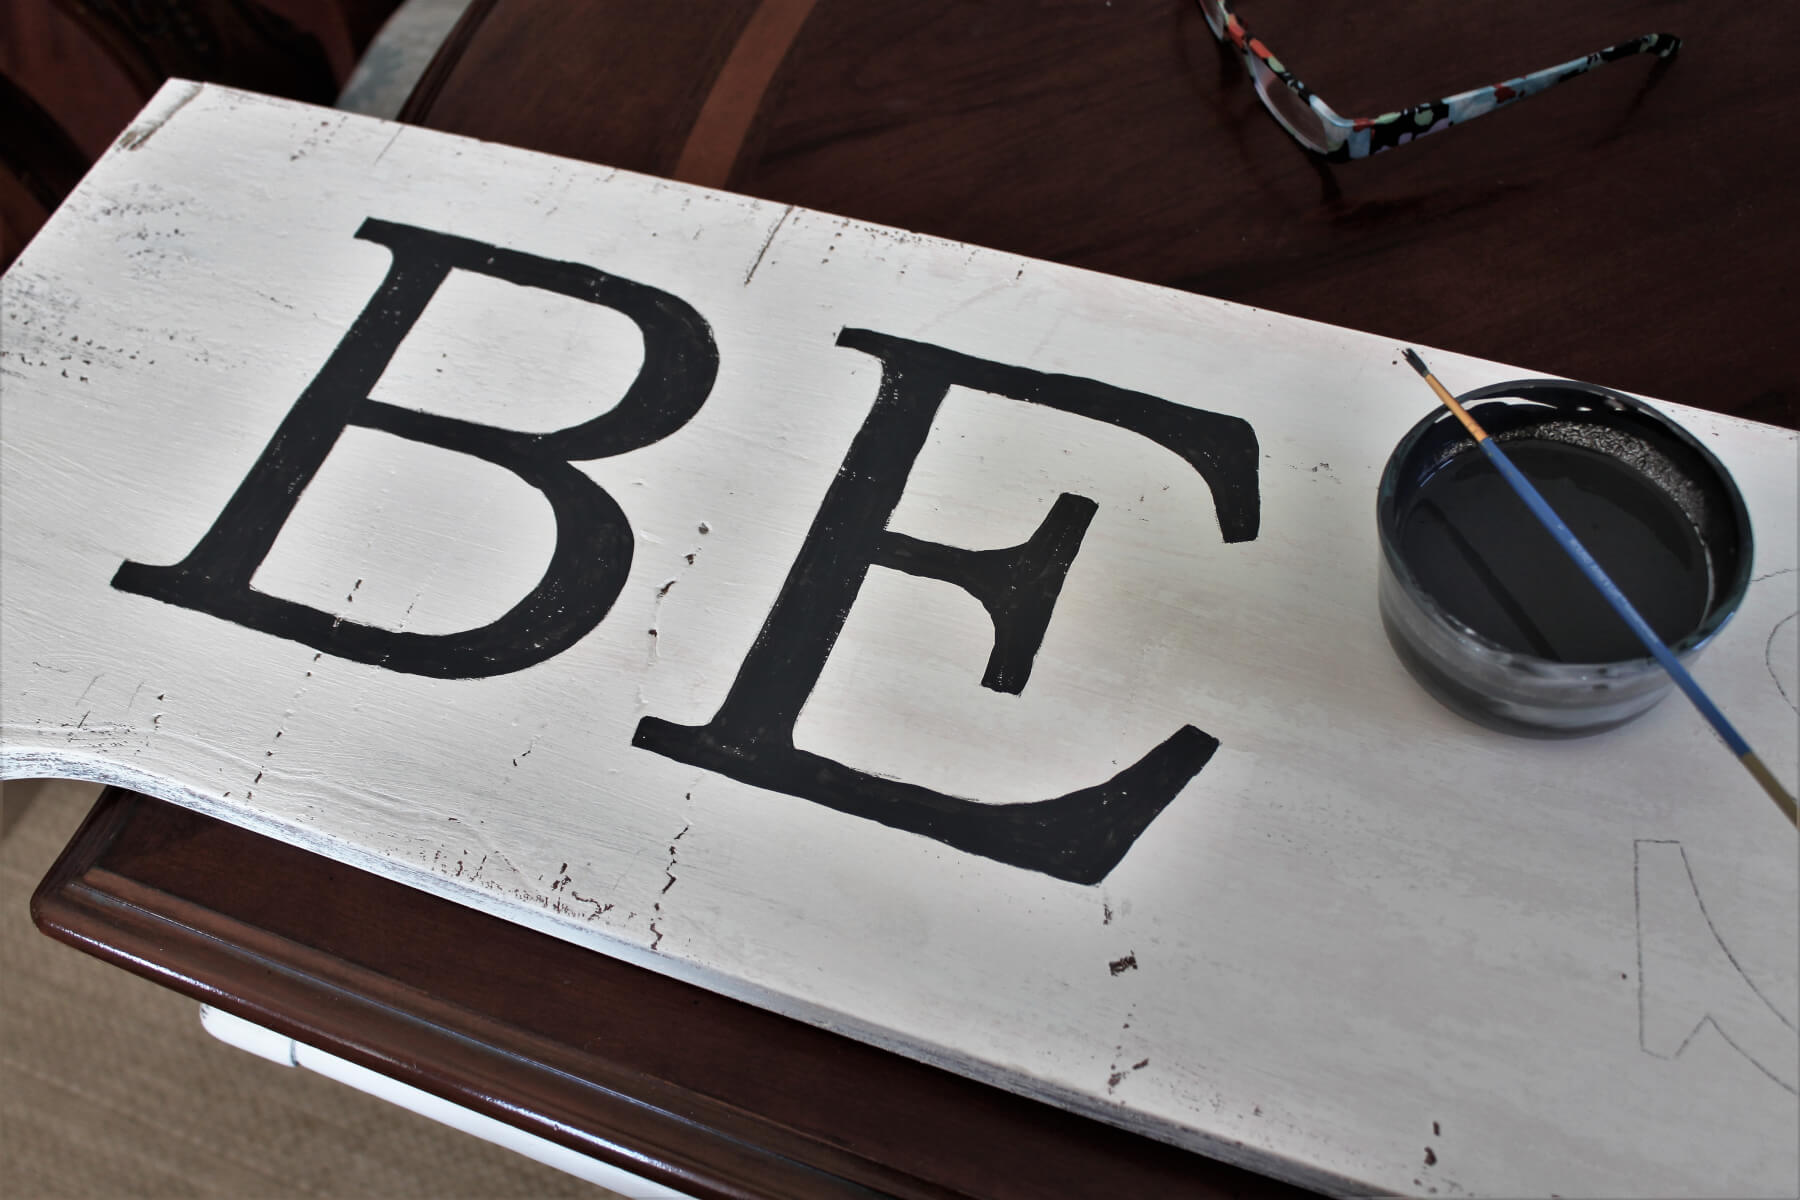
Finally, the painting. Using a simple, very standard paintbrush (see below), I painted each letter a dark gray color (almost black but not quite. This is a color I custom-mixed from paint I had on hand, but any black-like color would work). Acrylic paints are best, I’ve found, when painting detail work like this, but I used latex for this sign and it works fine, too. You may need to clean out your brush since the latex tends to clump (dry) more quickly.
The painting of the letters only took about 15-20 minutes. It seems like it will be daunting, but it’s not at all. Turn on some good music, download an inspiring podcast, or call a teenager in to tell you all about the nostalgic new release of Power Rangers.
To finish off the sign, I went around the edges about 1/4″ with dark gray paint as well (I think this adds a nice finishing touch), and then I screwed two picture-hanging hooks on the back. After soliciting said teenager from earlier painting conversation, we were able to center and hang this sign in less that five minutes. This timing even included using a level because sometimes, though rarely, we’re that over-the-top.
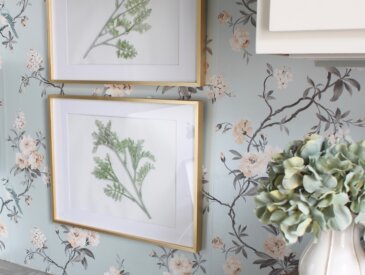
I’ve had fun lightening up this room for spring, and this sign is a meaningful, finishing touch. May you find time in your own week to “Be still and know,” and make sure to let me know if you try your hand at sign-painting. I’d love to see!
 Painting Granite and other Design Hacks
 On Change and What’s Best
 Our Kitchen