Wow, it’s been awhile since I’ve written.
Funny thing is, blog post ideas continually roll through my mind on a daily basis – a condition I’m convinced is consistent with bloggers everywhere.
Even Mr. Wonderful is known to throw out on occasional, “This would be a good blog post!”
Now if only I had the efficiency/time/organization/bliss to sit and blog about each idea. Ahhhh well, a litte MERRY will have to do for today 🙂
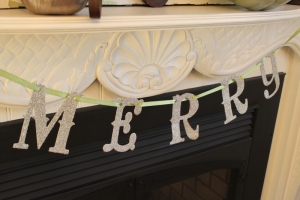
My daughter and I had fun crafting a MERRY garland yesterday, inspired by the glitter letters I see this time of year all over blog land.
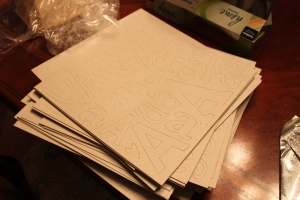
We started with these Chipboard Letters from JoAnn Fabric – letters I almost believed did not exist in this town. Who says God isn’t concerned with little crafting details in a girl’s life?
The cherry on top was to learn at the checkout that they were no longer a stock item, had actually been discontinued, and “Ma’am, we can sell them to you for 97 cents, but you can’t return them.”
Uhhhh, SOLD!
What’s great about these letters is that I can use them for stencils once the letters are punched out. So many cute fonts, too!
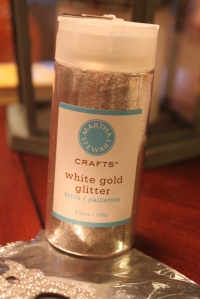
We also purchased this Marth Stewart Glitter from Michael’s, kinda spendy but I read it was one of the better glitters out there. I also had a 40% coupon. (One could REALLY splurge and purchase the German glass glitter from Meyer Imports, which I may have to do as fun as we had transforming cardboard into holiday festive adorable.)
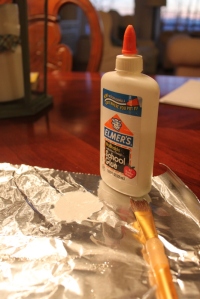
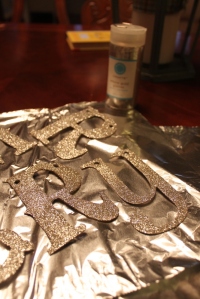
We used a paint brush to brush Elmer’s glue on the face of the letters,
then just sprinkled the glitter on, letting the excess fall onto our workspace foil. When the letters dried, we lifted them off the foil, lifted the foil up, creased it down the middle, and poured the excess glitter back into the jar.
I chose to hole-punch the letters before I glittered so I could string a ribbon through them for a garland, but I’ve also seen people use adhesive magnet strips on the back so you could hang them on a fridge or other metal surface.
Very cute.
Don’t look too closely at my middle ‘R.’ With only one ‘R’ of this font in the pack of letters, I resorted to tracing and cutting out another ‘R’ from thin cardboard which ended up being less sturdy than the chipboard.
It didn’t hold up quite as well through the gluing and ribbon stringing. It’s my cute, messy little ‘R.”
Which ended up being the perfect imperfection to reinforce my favorite mantra these days:
 Embracing Fall
 DIY Balance Beam
 Goals and Circumstance
I've missed you! This is too funny – I bought the exact same set of chipboard letters a few months ago, except mine weren't on clearance. It never occurred to me to later use the frames as stencils. You're a genius! Hmmm…what can I go home and create tonight? Love you!