Hand-painted signs have become a staple around here so I thought I would show you one of the methods I use to transfer fonts and designs onto wood, canvas, fabric, or whatever object you desire.
Here are the supplies you will need for the projector method of sign-painting:
- Design or words of choice
- Microsoft Word
- Transparency sheets
- Overhead projector (yes, these are still around!)
- Pencil
- Paint and paintbrush
First, decide on the design or words you want to use and download the image or type the words in Microsoft Word. I’ve used poems, Scripture verses, popular sayings, and single words. A wonderful resource for images and fonts is The Graphics Fairy. This site is loaded with thousands of free vintage images and ephemera, but I’ll warn you ahead of time: Stay focused when you visit her or you may never come back!
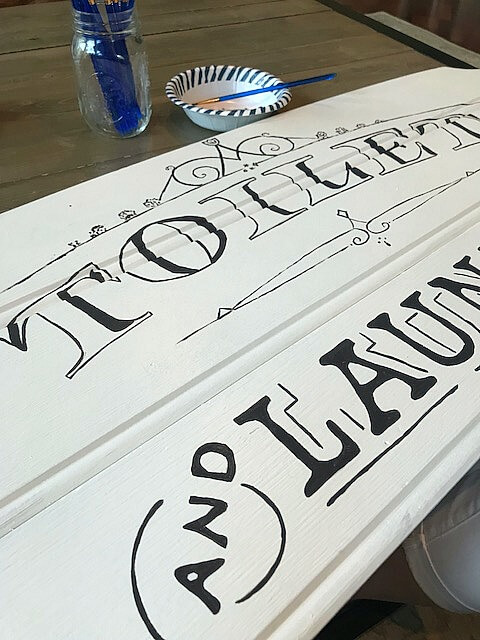
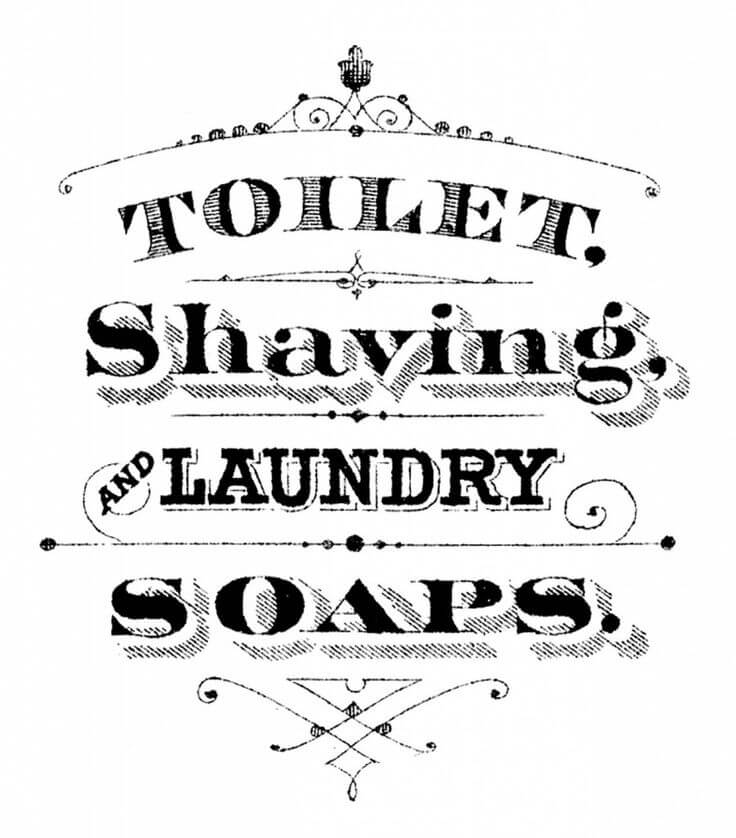
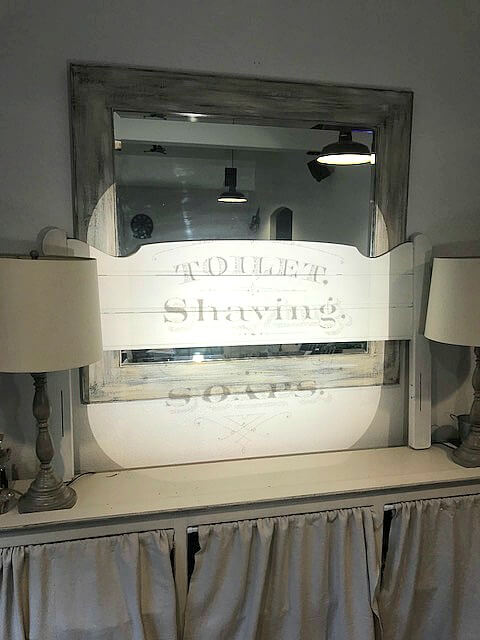
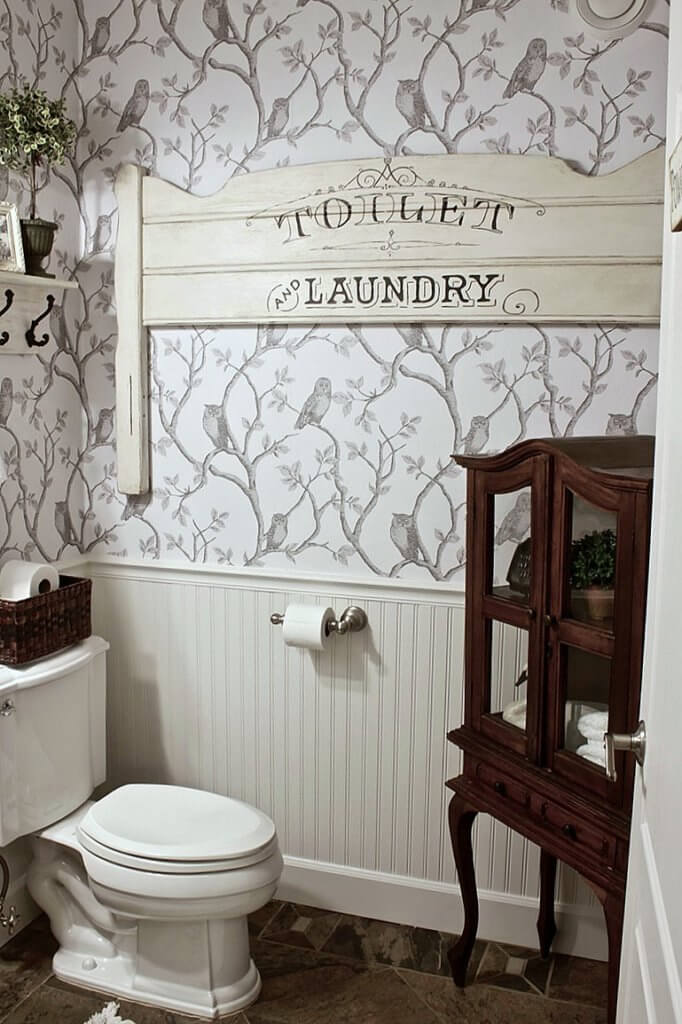
I found the following image on The Graphics Fairy and used it on the headboard in my powder room. Even though I printed off the entire image, I used only a few words for my sign.
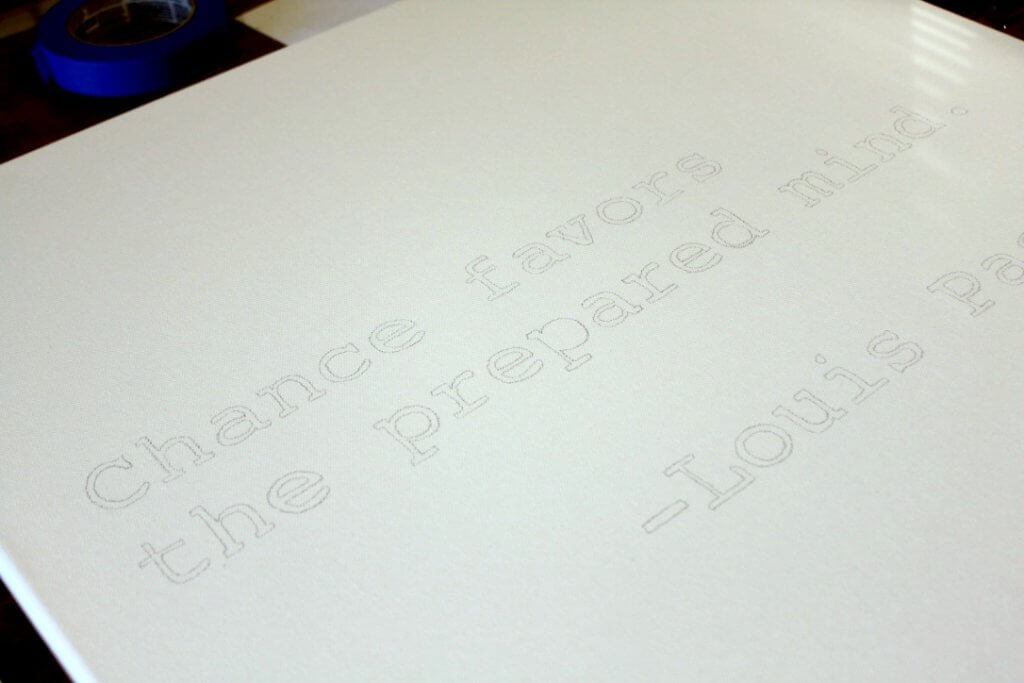
Once your image is downloaded or typed in Microsoft Word, place a transparency in your printer’s paper-tray and print your image or words on the transparency paper. (I always print off a white paper copy, too, and keep the two together for ease in handling and reading.)
![]()
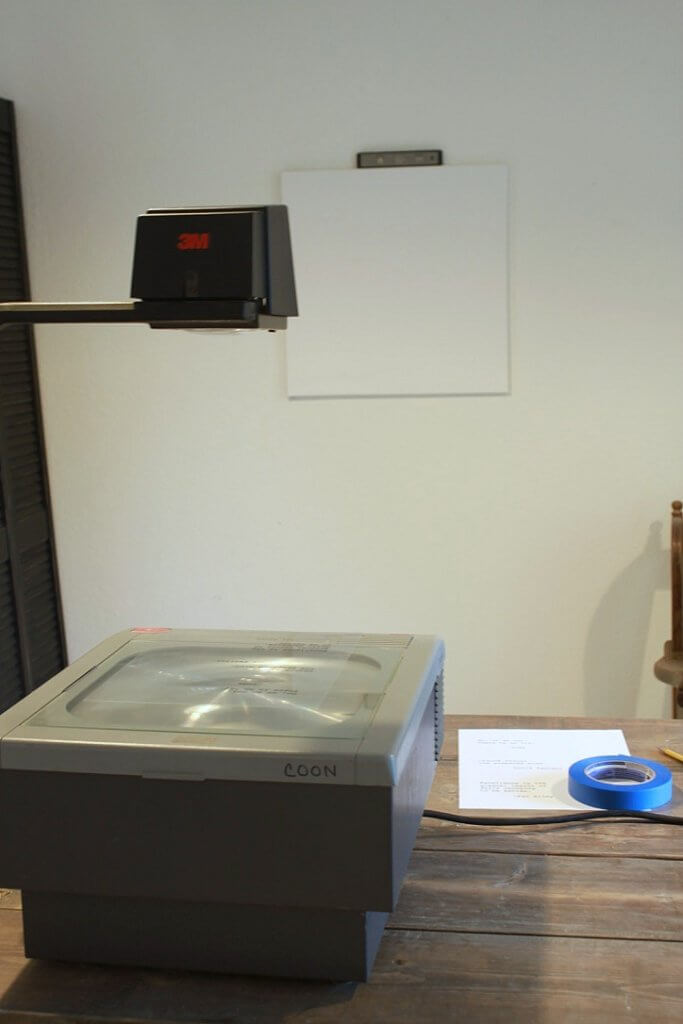
Place your overhead projector on a table directly in front of a wall and place your transparency on the projector. Once you turn the projector on, the image should display on the wall.
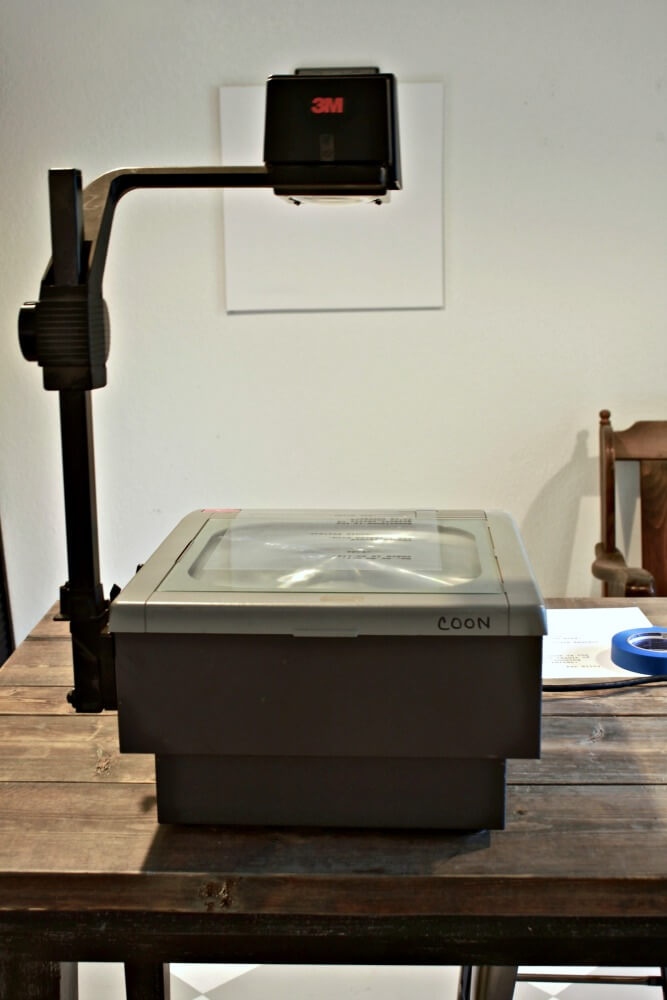
Next, place your canvas, fabric, wood sign, etc. on or against the wall to “receive” the projected image (this can be tricky, but I’ve used push pins, tape, another table, etc. to get the object I’m painting on positioned accurately). Notice I also used a small balance up top to make sure the image was traced straight onto the canvas.
Once you get the image and/or words centered on the object and sized according to your liking (the projector arm can move up and down to adjust size of image), use a pencil and trace lightly around the image. This goes very quickly. I like to turn on some good music or an inspiring podcast while I trace 🙂
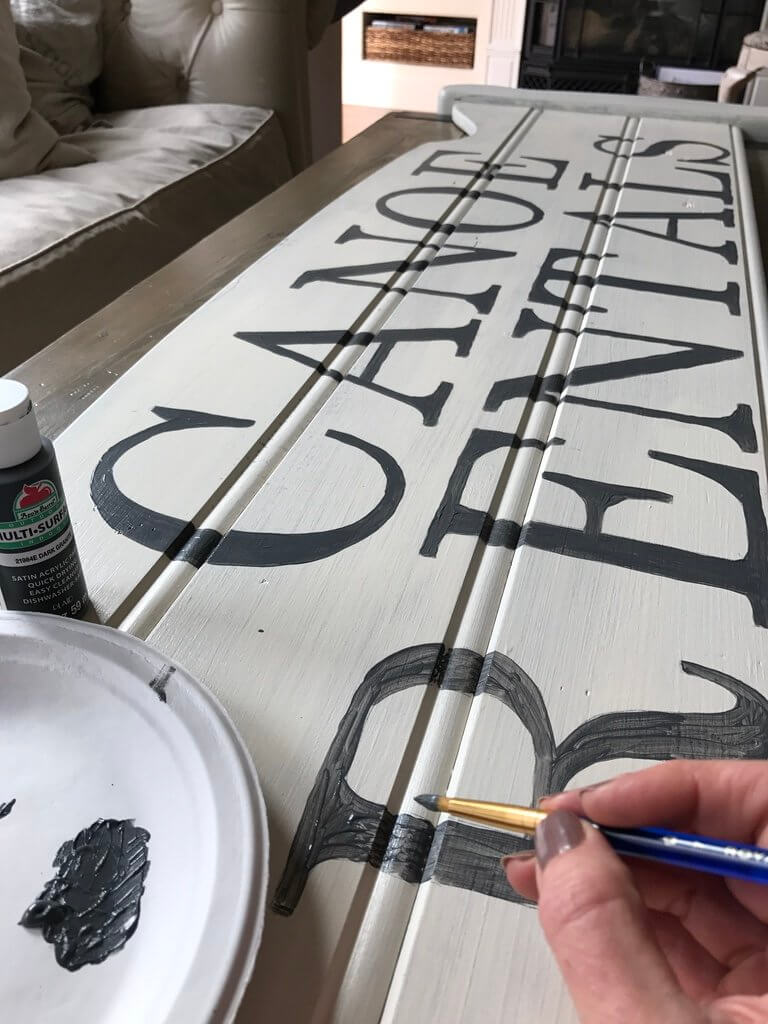
Once you’ve traced the image, it’s time to paint! Move your now-traced image onto a work surface, choose your paint color and small brush, and begin. (I usually squirt a small dab of paint onto a paper plate for easy cleanup. ) Any paint will do, but I’ve found acrylic is the best for detail work like this.
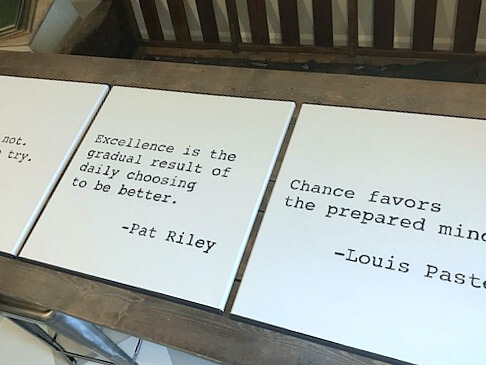
I have used this method for a client painting quotes on canvas for her office,
on a headboard in our powder room,
to paint a whimsical Canoe Rental sign for my Vintage Market last summer,
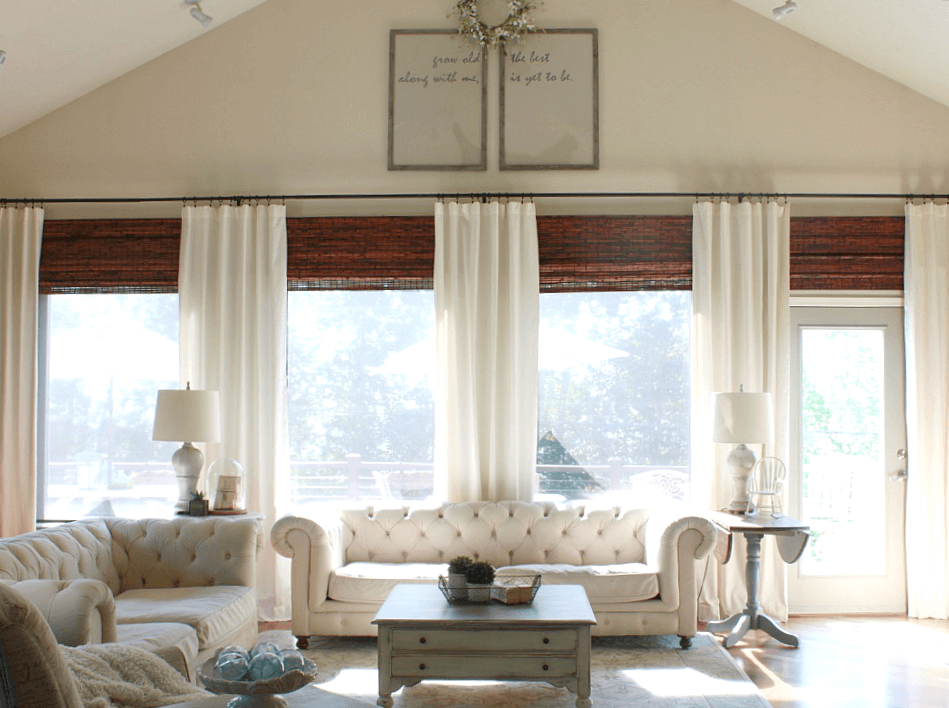
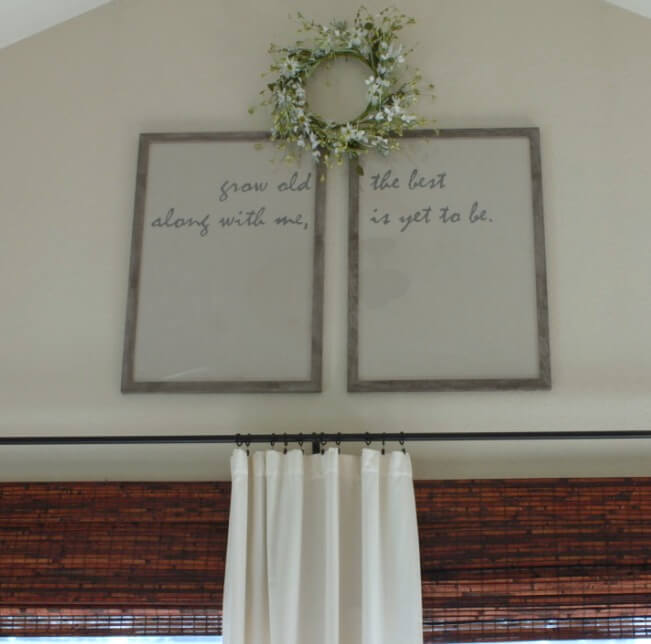
and most recently the poem hung in two frames in my living room.
If you have access to an old projector (check with your children’s school or at church to see if they have one stashed in a back storage room somewhere), this is an inexpensive, simple way to add personalized, meaningful decor to your home.
 Painted Bookshelves Reveal
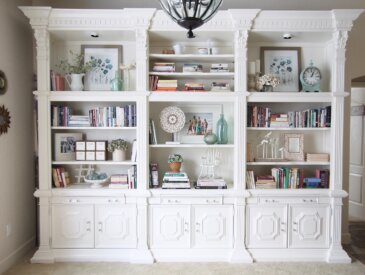 Painting Large Bookshelves: The Paint Tent Method
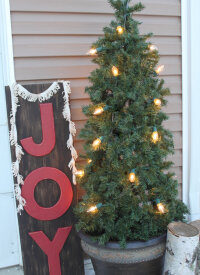 DIY Tomato Cage Christmas Tree